Thimbleanna

Quilting

Peep Day

Happy Sunday!  Are you all having a good weekend?  I’m having a Fabulous Fall weekend!  I spent all day yesterday at a fun sewing day with my quilty peeps.  We have such a hard time getting together this year and it was wonderful to be able to spend some time with my BFFs.

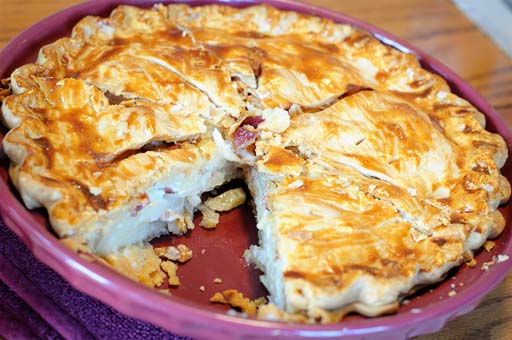
Junie outdid herself by playing hostess.  She waited on us hand and foot!  We always have a potluck of sorts for lunch (there is a little planning — we each choose what “course” we’ll bring.)  She made this deeeee-licious Potato Bacon Torte.  You should try it — the recipe is HERE, and I promise, if you like those ingredients, you won’t be disappointed.

Potato Tart

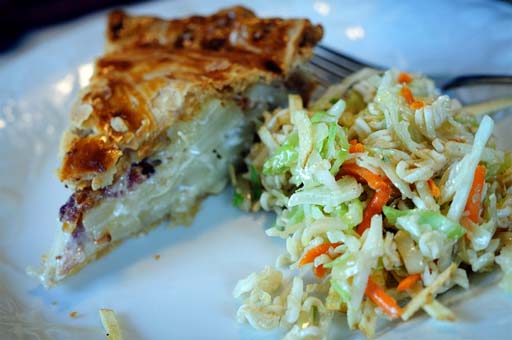
Gurney brought our salad — it was fantastic too.  I conned Gurney out of the recipe because I loved it so much.  (In a large bowl, mix together: 1 lb. cabbage that has been shredded (or you can buy the preshredded cabbage mix that has carrots too), 2 pkgs. chicken ramen noodles, 3 chopped green onions, 3/4 c. slivered almonds, 5 Tbsp sesame seeds.  Add to that a dressing that you’ve made ahead of time and chilled:  3/4 c. oil, seasoning packets from the 2 ramen noodle pkgs., 5 Tbsp vinegar, and three Tbsp sugar.  After you’ve thoroughly tossed the salad and dressing, top with 1 c. shoestring potatoes.)  It was yummy too and made the perfect side to the potato torte.

Lunch

Jewels made her fantastic Lemon Dessert which we practically begged her to bring (ok, we did beg her to bring).  I posted this recipe HERE several months ago, so this is a recycled picture.  The dessert definitely wasn’t recycled though and it was even better than the first time!

Lemon Dessert

I managed to be the big slacker in the group — I picked up donut holes for our breakfast and brought some fresh sliced fruit.  Hey peeps, I think that’s a tradition we should keep — the previous hostess gets a slacker day — Junie, you’re up next!

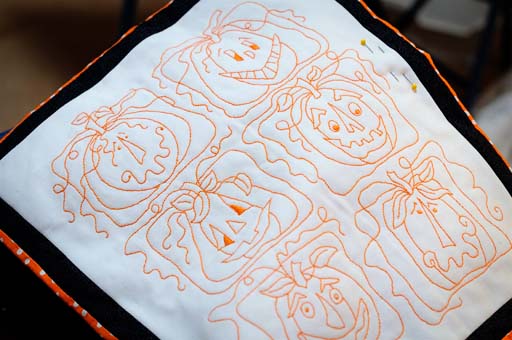
As for projects, we were all busy all day.  Gurney finished up this ADORABLE little pumpkin quilt as a gift for a friend.  Her embroidery is perfect and we all loved this piece.  Gurney gets the prize for cutest and most creative project!  (And because I know some of you will ask, hopefully maybe Gurney will read this and leave her pattern source in the comments.)

Gurney Project

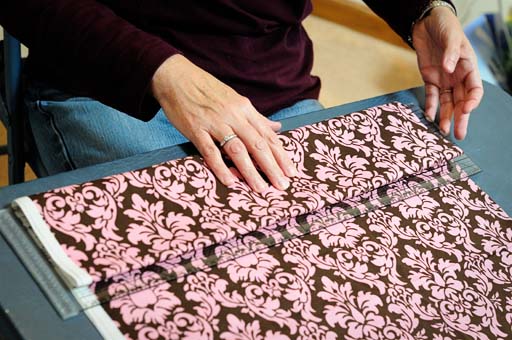
Junie worked on folding her fabric stash — when she wasn’t meeting her hostess duties.  Fabric folding is a huge project, so she’ll be at this for several more days!

Junie Project

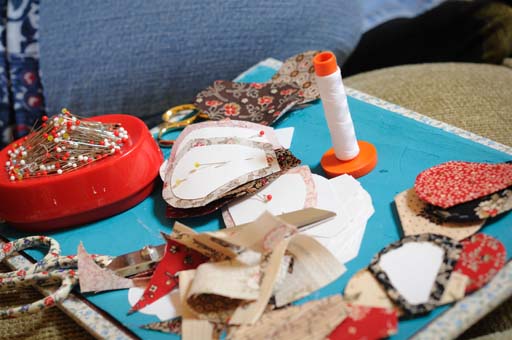
Jewels worked on these adorable mini-dresden pieces.  Jewels does beautiful hand paper-piecing and I can’t wait to see this project unfold.  (Aren’t those fabrics pretty?)

Jewels Project

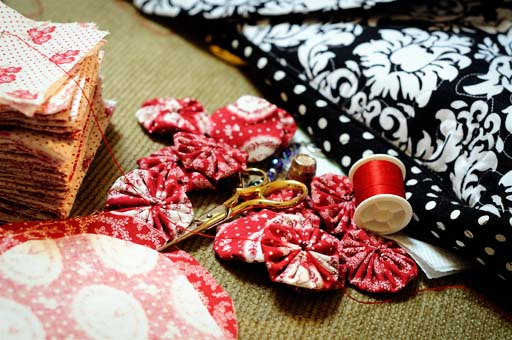
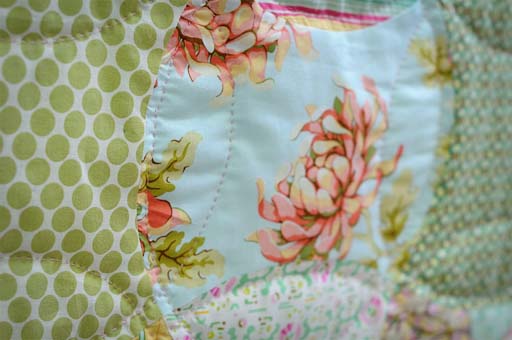
I kept plugging away at my yoyos and also did a bit of handwork on a backpack that I’ve been working on.  The backpack will be just like the black and white backpack in this post, without the little bride tag, of course!

My Project

So, as you can see, we had a wonderful day.  Gurney has had a grandbaby explosion in the last few years (with another one on the way!) and since she lives two hours away, it’s made it really hard for us to all find a free weekend.  Thank you quilty peeps for an awesome day — let’s not make it so long until the next one!

XOXO,
Anna

Jumbo Applecore, Part 3 of 3

Thanks for all the Applecore quilt love! This is really a pretty easy quilt to put together, if you get the template right. The trick is to get the length of the convex curve to match the length of the concave curve.

Applecore Quilt

The very easiest way to make an applecore quilt is to buy your applecore pieces already cut out for you. But, that’s not always practical — you might want to use your own scraps, or you might want to make an applecore quilt in a size that’s not available in pre-cut pieces. The next easiest way is to buy a plastic template, but you still have the issue of templates probably not being available in all sizes. So, for my money, the best way is to make your own template. Some of you probably already know how to do this (Annalea spelled it all out just the way I do it, except for the last few steps, in the comments section of part 2!), but for those of you who don’t know how, here are a few pictures to help you along.

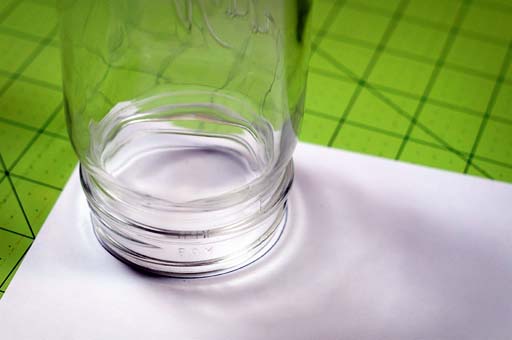
First, you have to determine how long you want your applecore to be.  (My jumbo applecore was a little over 10″ long.)  Then find a circle that has a diameter equal to that length.  Look all around you for circles — cans, dinner plates … heck if you want a really jumbo applecore, run outside and trace the circumference of a car tire!  For our little sample, I’m using a canning jar.  (And please ignore my funny green cutting mat and try to remember that I sew in a dungeon — thus, no natural light!)

Applecore Quilts

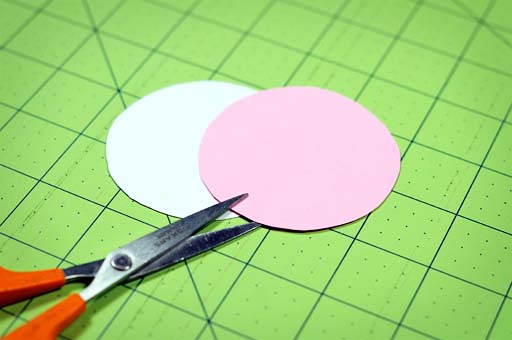
Trace around the jar and cut out your circle.  Then make another identical circle — I’m using a different color of paper to make it easier for you to see what we’re doing.

Applecore Quilts

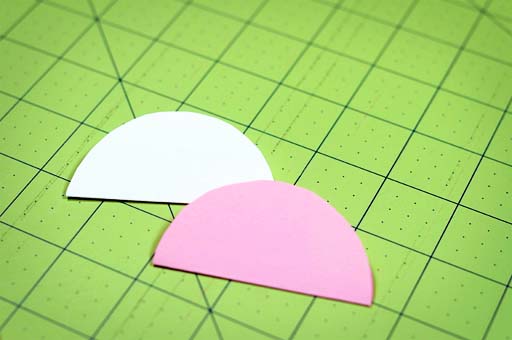
Fold both circles in half.

Applecore Quilts

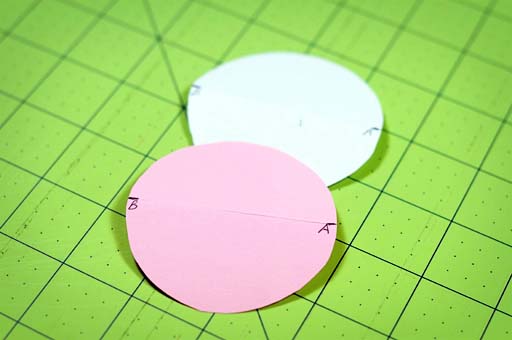
Unfold your circles and label the endpoints of each line.  This step isn’t really necessary — again, I’m trying to make it a little easier to explain this process.

Applecore Quilts

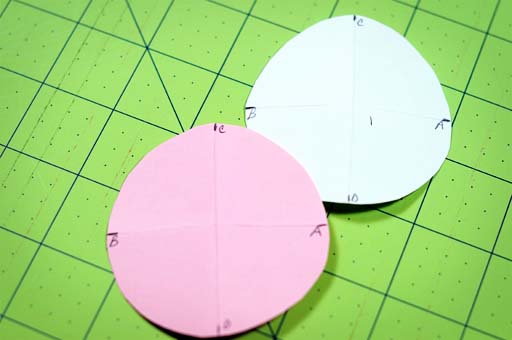
Fold the circles in half again, by bringing the A to touch the B, and mark the endpoints of the new lines.

Applecore Quilts

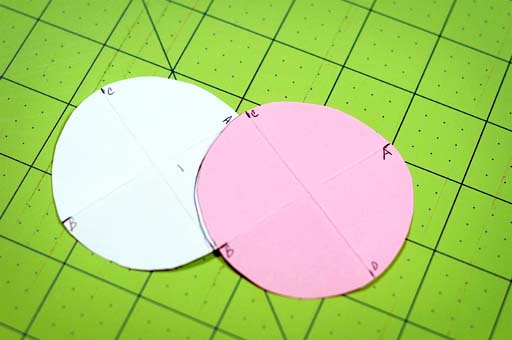
Now, your circle is divided into 4 equal sections.  Place the pink circle on top of the white circle and match up the white A to the pink C and the white D to the pink B.  You can match up any group of points, as long as your circles look like the ones in this picture and your folded endpoints are touching.  Then trace the curve of pink C to pink B onto the white circle.

Applecore Quilts

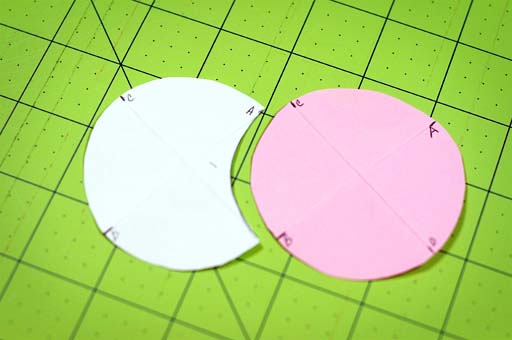
Cut the white circle on the traced arc.

Applecore Quilts

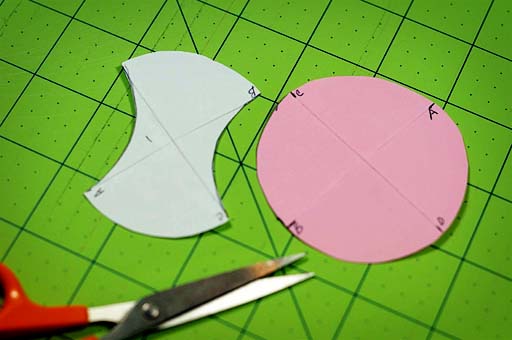
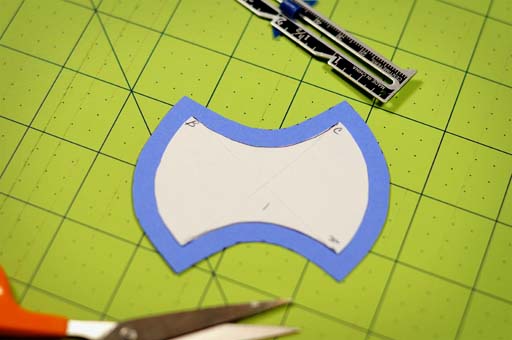
Repeat this process for the other side of the circle and voilà, an applecore!

Applecore Quilts

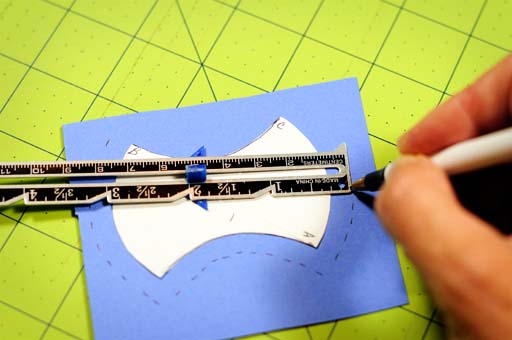
Now, the most important part — you have to add your 1/4″ seam allowance.  Glue your template to another piece of paper and mark a 1/4″ seam allowance on all sides of the applecore.

Applecore Quilts

Cut along this new line and and voilà again … a template!

Applecore Quilts

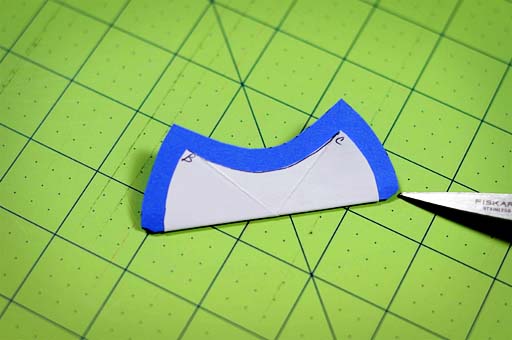
One more thing that I find very helpful is to mark the center points on each arc, so that you can match them up when sewing.  Fold your applecore in half lengthwise and clip a little v into the edge of the template on each end.

Applecore Quilts

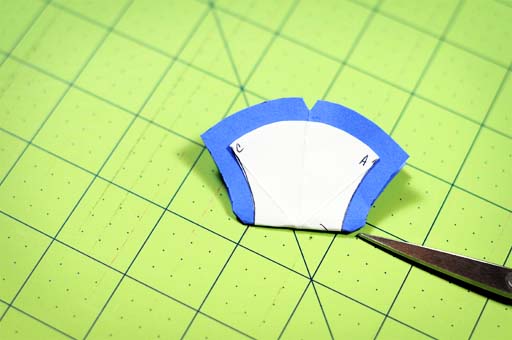
Repeat this process for the concave sides of the applecore.

Applecore Quilts

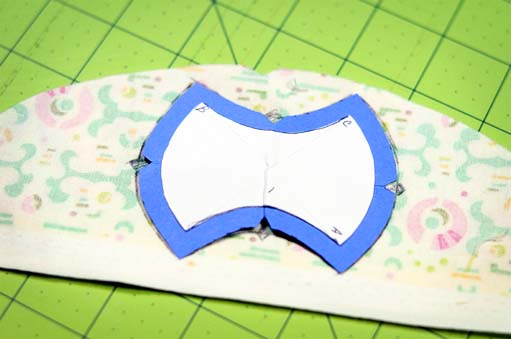
Your template is ready to use!  Now, I know … those of you in the zoom, zoom age of rotary cutters aren’t going to want to have to deal with this old fashioned template method.  “But, it takes too long” — I can hear you now.  Quit yer whinin’!  Expand your horizons!  This way really can be fun and even … dare I say it … relaxing.  Trace around your template, onto your fabric, being sure to mark those midpoints.

Applecore Quilts

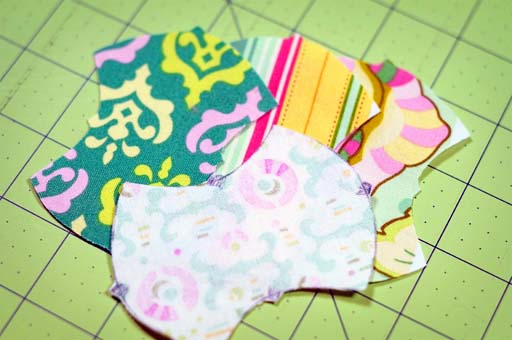
My jumbo applecore has 90 pieces in it — I traced and cut on 4 layers of fabric at a time and it only took me about 90 minutes to get them all cut out.  So, here are our little samples.

Applecore Quilts

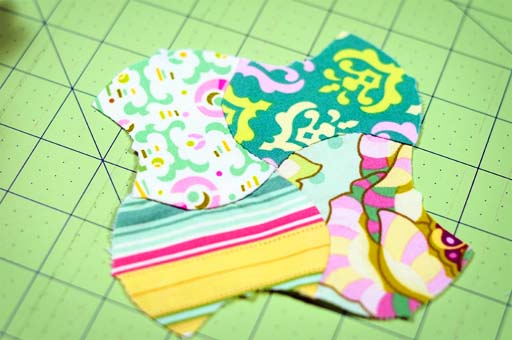
And here they are all sewn together.

Applecore Quilts

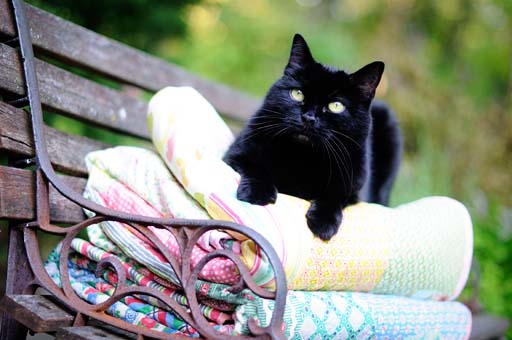
So, there you have it, in case you’re interested in making an applecore quilt in any size.  And if you’re really lucky, when you’re all done, your quilt will be kitty cat approved!

Applecore Quilts

XOXO,
Anna
Jumbo Applecore, Part 2 of 3

Oops, sorry about that little delay in posting part 2 of my applecore story.  It’s been busy here in ThimbleannaLand.  MeMum and I wasted enjoyed our day at the Country Living Show in Columbus, Ohio on Friday.  It was a fun day, but the show was a bit disappointing — especially when you consider the ridiculous price charged for tickets.  To help recover the day, we decided to swing by the outlets at Jeffersonville to visit the Williams Sonoma outlet store, but, to add insult to injury, the outlet store has closed.  GAH!  We were SO disappointed!  Oh well, it was good to have MeMum all to myself for the day.

So, on to part 2 of the jumbo applecore.  As some of you may have guessed from my recent toe-grabber stitching activity, I decided to copy grandma’s jumbo applecore quilt.

Applecore Quilts

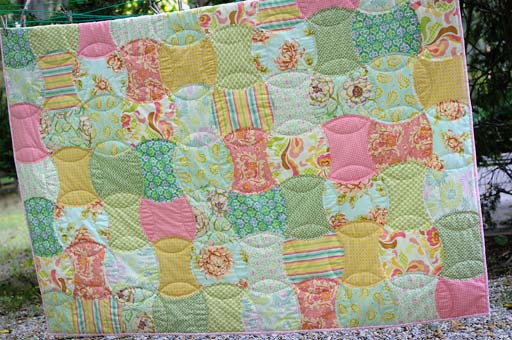
I’ve had this Fresh Cut fabric sitting in the stash for 2 or 3 years now, and the crush is wearing off, so I decided I better use it.  Do any of you do that?  Do you hoard a fabric that you just can’t bear to cut into for so long that you’re not that crazy about it anymore?  That drives me nuts, so I decided I should hurry and get this project sewn.

Applecore Quilt

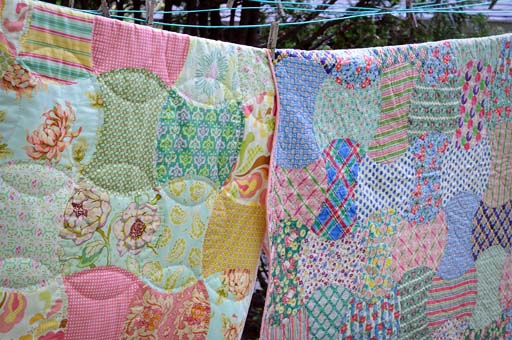
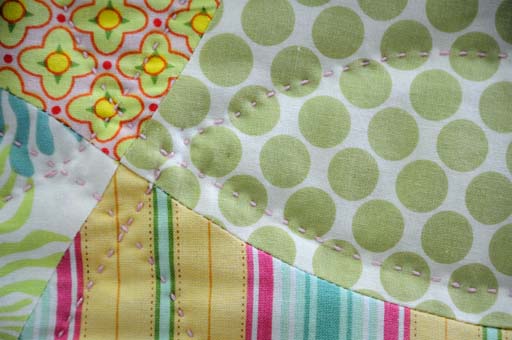
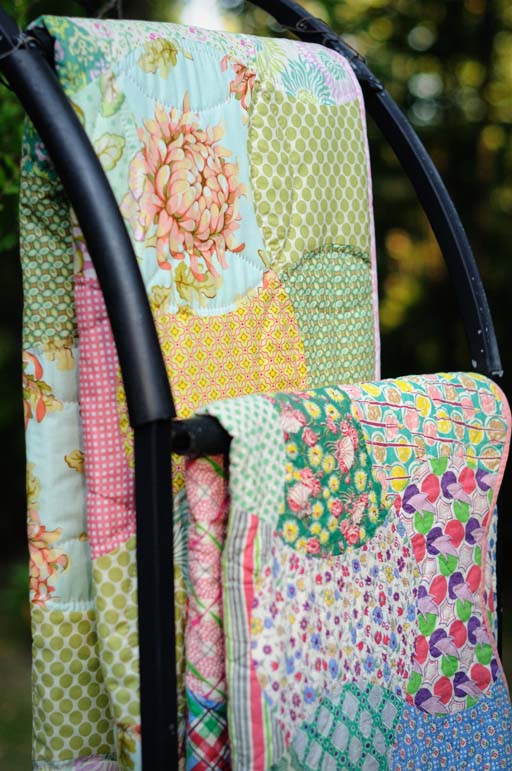
I love this applecore pattern as a way to showcase big prints that you don’t really want to cut into smaller pieces.  On the last post, I discussed the clamshell quilting pattern that we used on grandma’s applecore.  For this quilt, I decided to quilt it using big circles.  I used pearl cotton and quilted bigger stitches.  I wouldn’t use this technique for everything, but I think it’s just fine for bigger “funner” quilts.  I think the quilting makes a big difference — when I look at grandma’s applecore, I see the applecores, instead of the quilting — when I look at my applecore, I see the big circles, instead of the applecores.

Applecore Quilt

I love the curvy binding on grandma’s quilt, but I really don’t like the pointy corners that you end up with, so I decided to try just a straight binding on my applecore.   It was fun to try both bindings and I’m still not sure which one I prefer — do you have a favorite?

Applecore Quilt

As for the jumbo applecore template. I made it by taking a plastic template for a much smaller applecore quilt and increasing the size on a copy machine.  As it turned out, this wasn’t a great technique and I had some trouble with puckering — fortunately the quilting helps to absorb much of it.  The fact that the applecores are off a bit is also emphasized in the quilting — if you look closely, you can see that the circles aren’t perfect circles — they have a bit of an elliptical shape to them.  (As an aside, do you like how MeMum’s trellis makes a perfect outdoor quilt rack?)

Applecore Quilts Applecore Quilts

While I was quilting this quilt, I pondered the wonky applecore template and wondered how I could make sure that the concave part of the applecore matched the convex part of the applecore.  I just always assumed that this was a template that you would have to buy, since you can’t just draw it with rulers and graph paper.

Applecore Quilts

By the time I was half-way done quilting the first row of applecores, I had an ah-ha moment.  Turns out there’s an easy solution.  You might already know it, but if you don’t, I’ll show you in part 3.  ;-)

XOXO,
Anna

Jumbo Applecore, Part 1 of 3

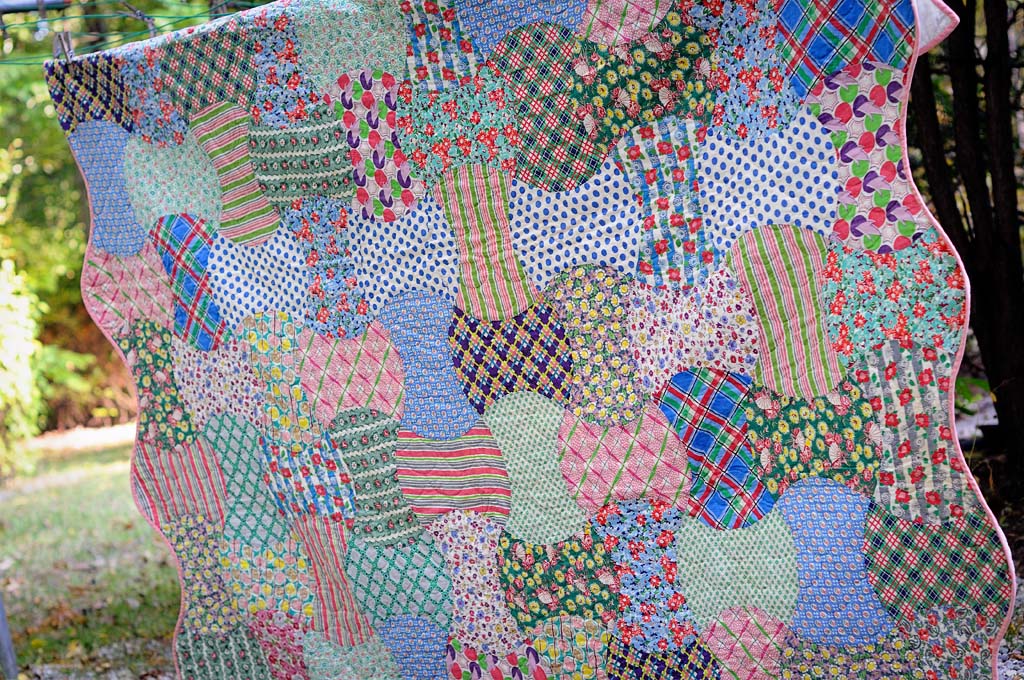
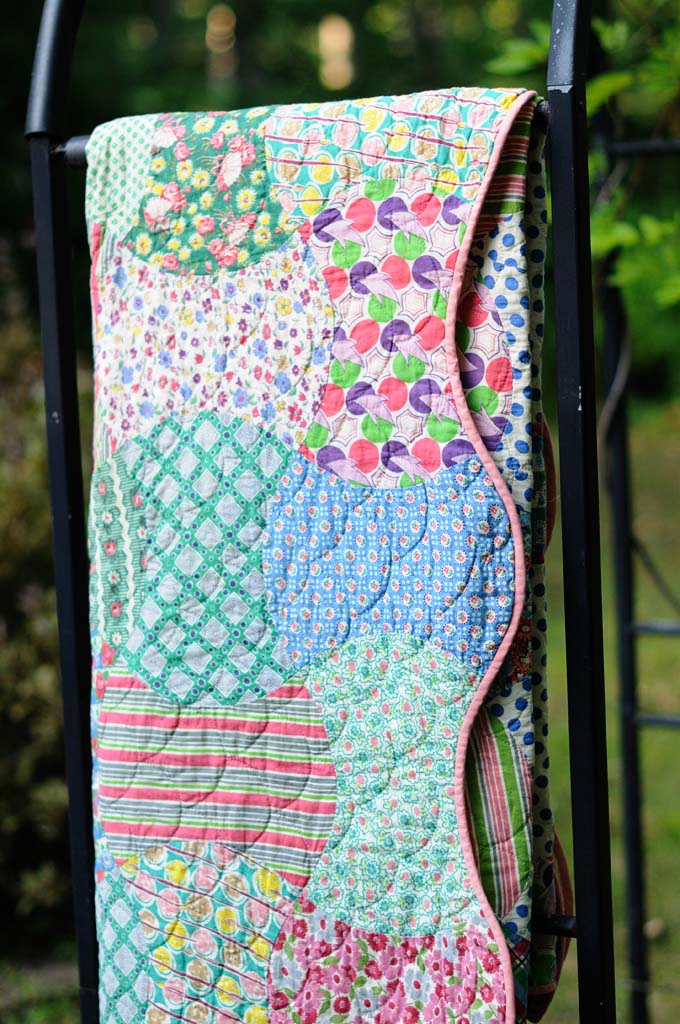
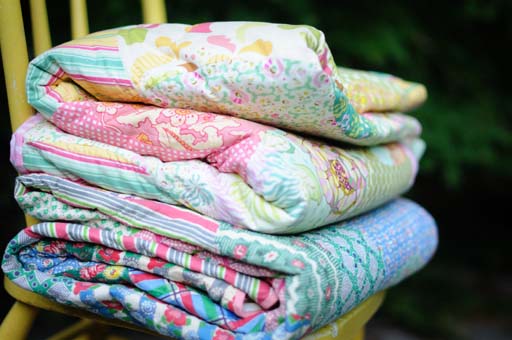
As I promised on my last post, we finally have some quilting here in Thimbleannaland.  A few years ago, MeMum, BigDaddy, TheManoftheHouse and I had a hot date every Wednesday night.  The menfolk would watch t.v. while the womenfolk quilted.  The first quilt we finished was this jumbo applecore, probably pieced during the 30’s or 40’s.

Applecore Quilt

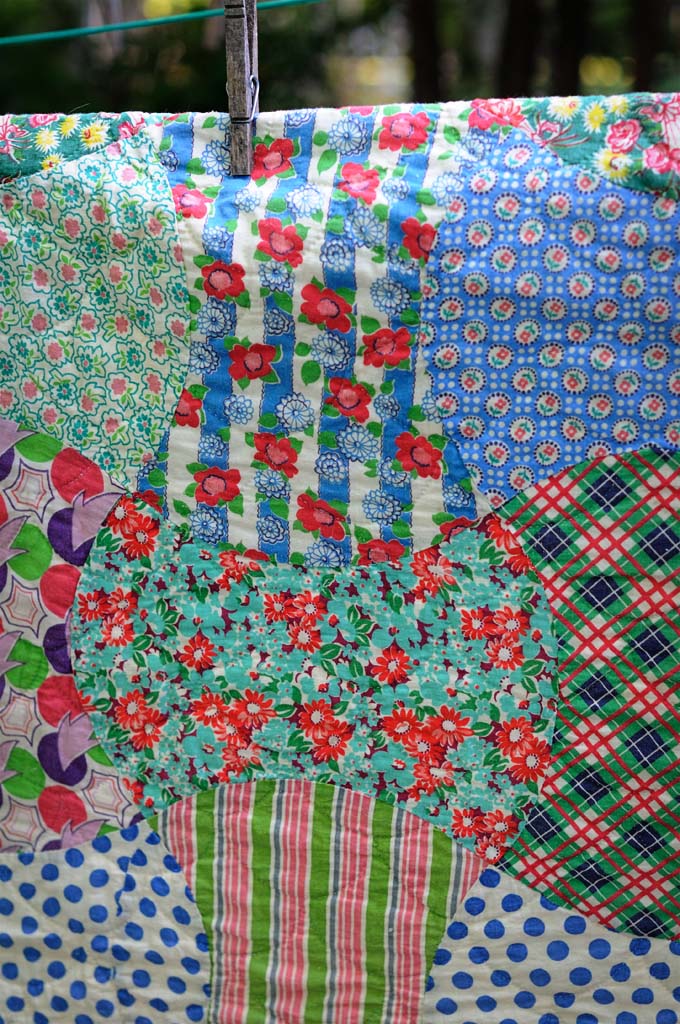
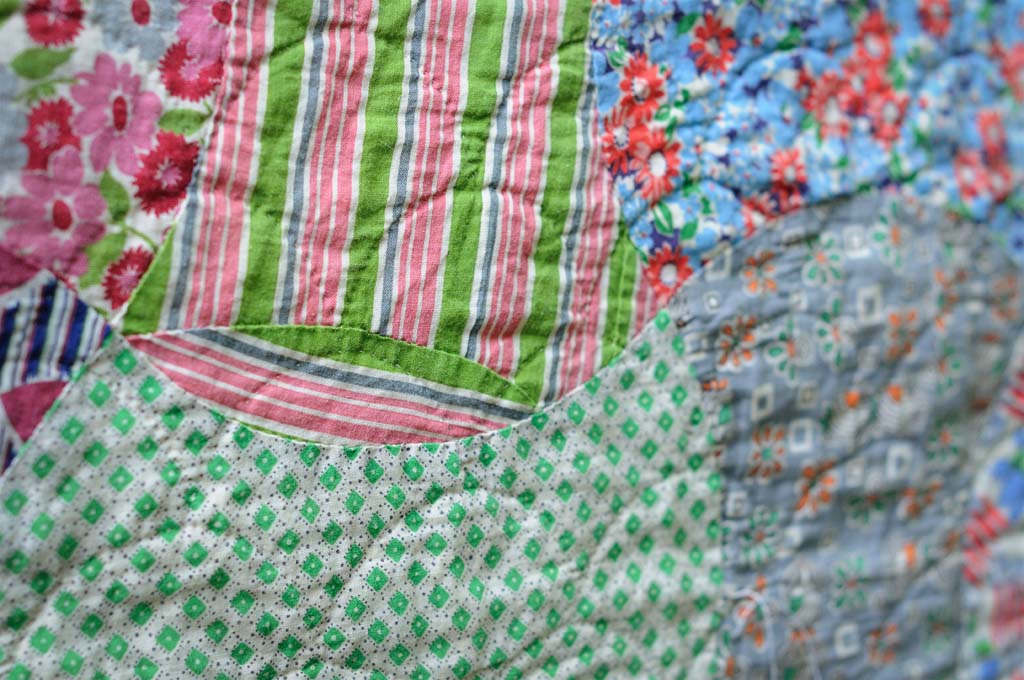
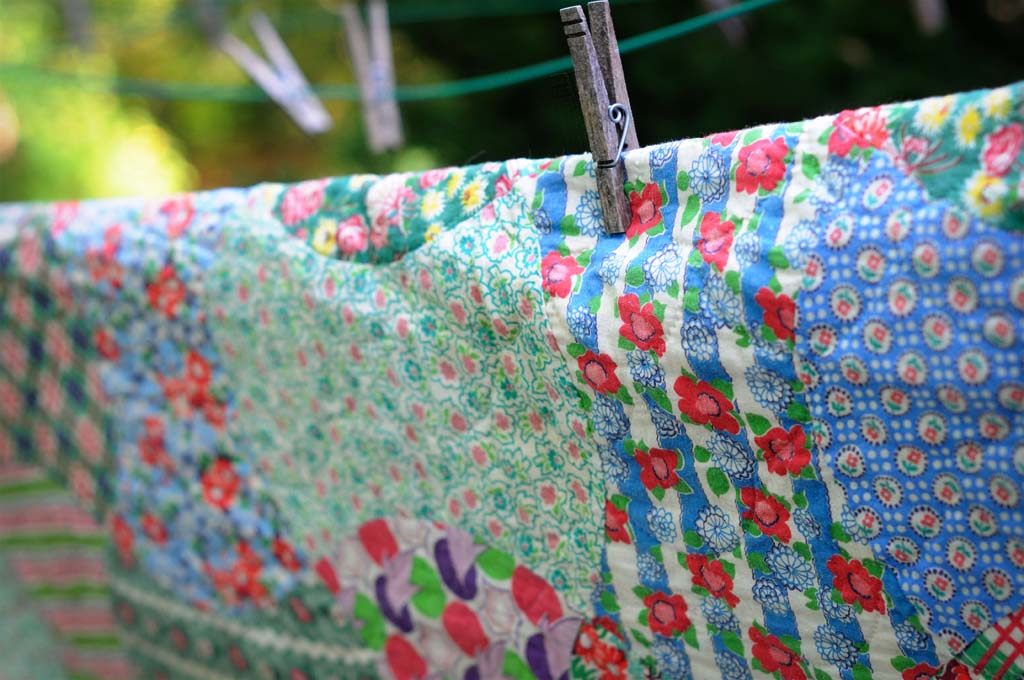
This quilt is all handpieced and MeMum thinks that my father’s mother did the piecing. We don’t know for sure, but as far as I know, we don’t have any other quilts by her. I don’t remember her ever quilting — I knew her as a knitter and crocheter.  I love some of the prints in this quilt and would love to see them re-made.  And look across the middle at that blue and white polka dot that’s back in style now.  What’s going on there?  Why are they all placed in the same row?  Inquiring minds want to know!

Applecore Quilt Applecore Quilt

This is a funny little quilt, but I love it.  My favorite piece is the striped applecore that has been pieced.  I like to think that my grandma loved that pretty pink, green and blue stripe and wanted to use every last scrap in this quilt.

Applecore Quilt

MeMum and I decided to quilt this quilt with an all-over clamshell pattern and let me tell you…it was a bugger (booger?  buggar???  how do you spell that anyway?) to quilt.  The fabrics are sort of feedsack heavy and we used a very weird consistency batting that MeMum had in her stash.  We had to quilt each stitch individually because it was so hard to get the needle through the fabric and batting.  I think we both complained the whole way through this quilt, and our stitching definitely wasn’t at its best.

Applecore Quilt

Needless to say, we were very happy when it was finally finished.  It was fun to work together though — two people quilting are twice as fast as one!  There is more to this little applecore story…stay tuned for part 2….

XOXO,
Anna
Help! I’ve Fallen and I Can’t Get Up!

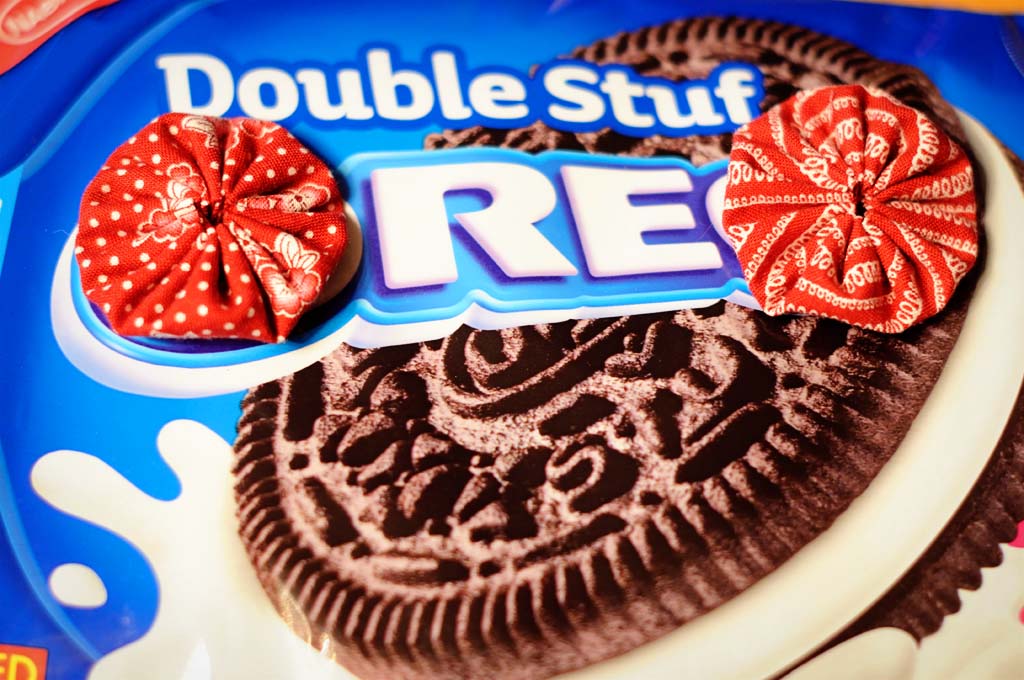
I’ve been bitten.

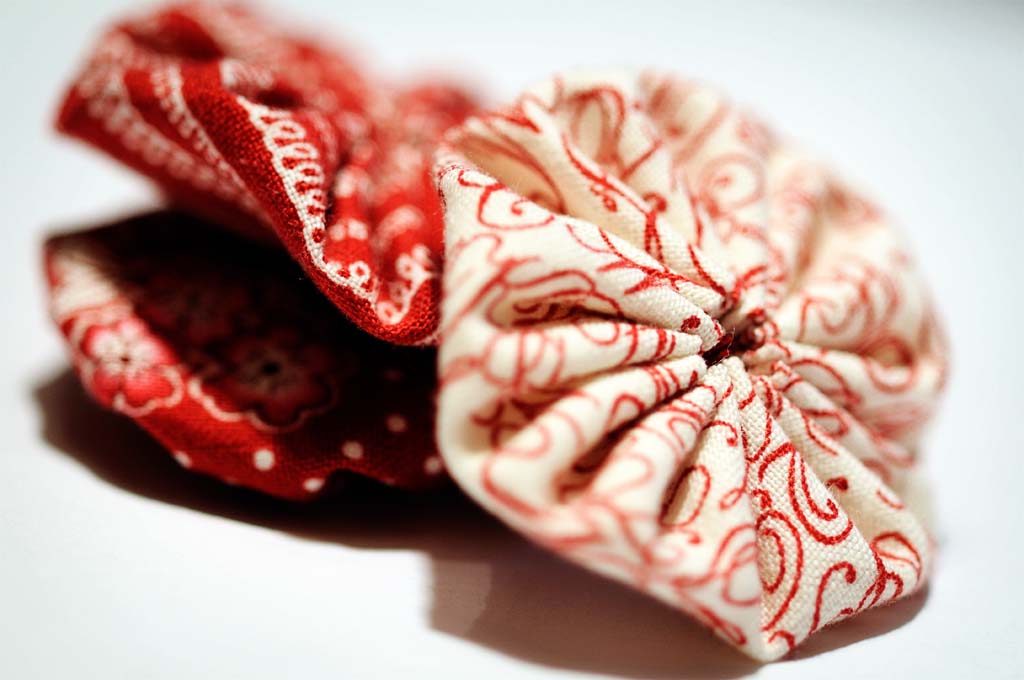
Yoyos

They’re addictive and they’re everywhere I look.

Yoyos

Even Anne at Bunny Hill is making them.  She’s been bitten too.

Yoyos

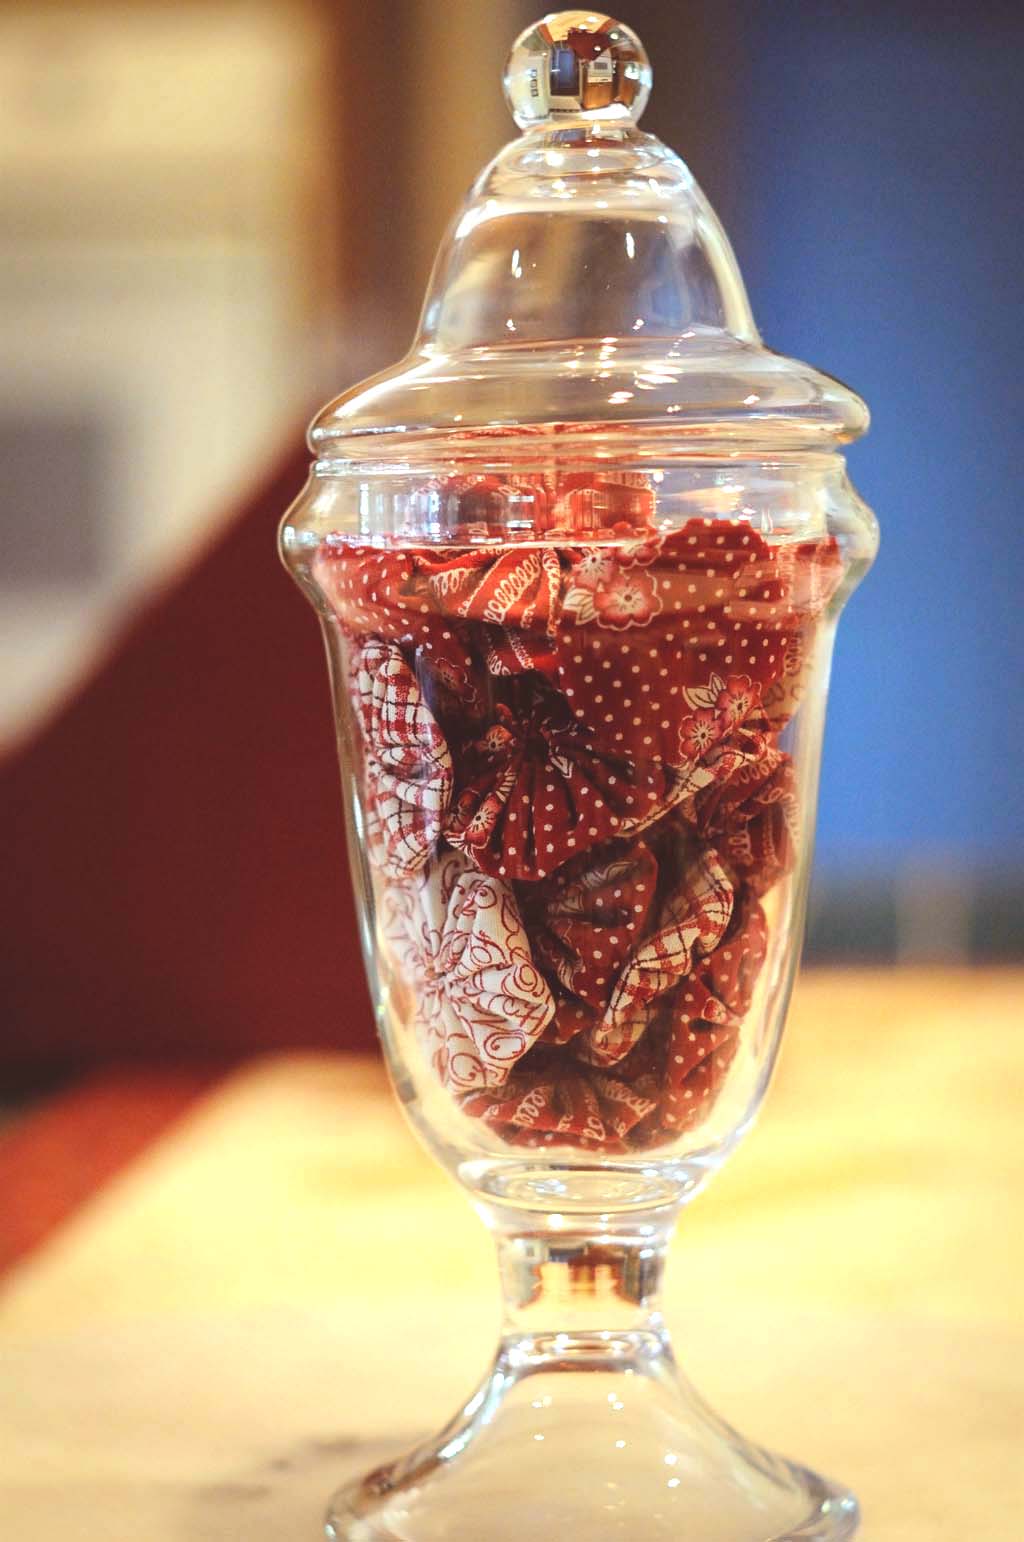
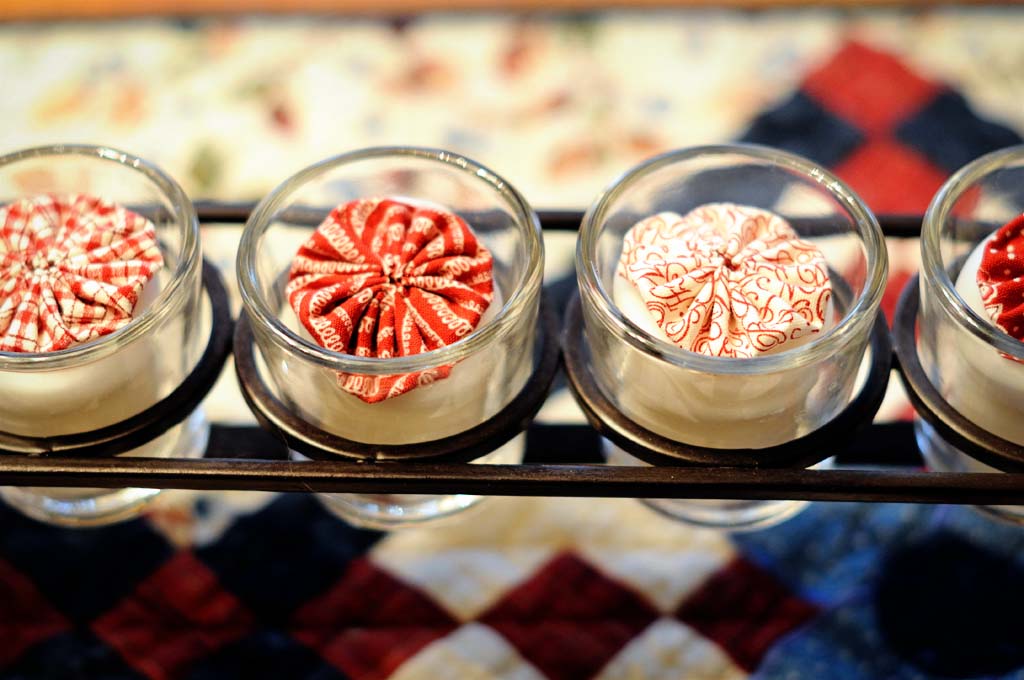
Look Anne…I even have a Williams-Sonoma jar full of yoyos, just like yours!
Yoyos

Ok, you have three jars, and I only have one, but don’t you think I should get extra credit since my yoyos are made from your gorgeous Chelsea Manor fabric?  (Which…ahem…{cough}{cough}is the cutest redwork collection around {imho}!)

XOXO,
Anna