Thimbleanna

Quilting

Breakity, Break, Break

Thanks for all the Bunny Love!  Every now and then, we have to get a little silly around here.  You know … it keeps TheManoftheHouse rolling his eyes.  (And speaking of TMOTH, have you guys seen these funny Scottish Toyota commercials, here and here?  Not sure why I thought of that … maybe it’s the man-car relationship?  Then again, if that runner were TMOTH…LOL)

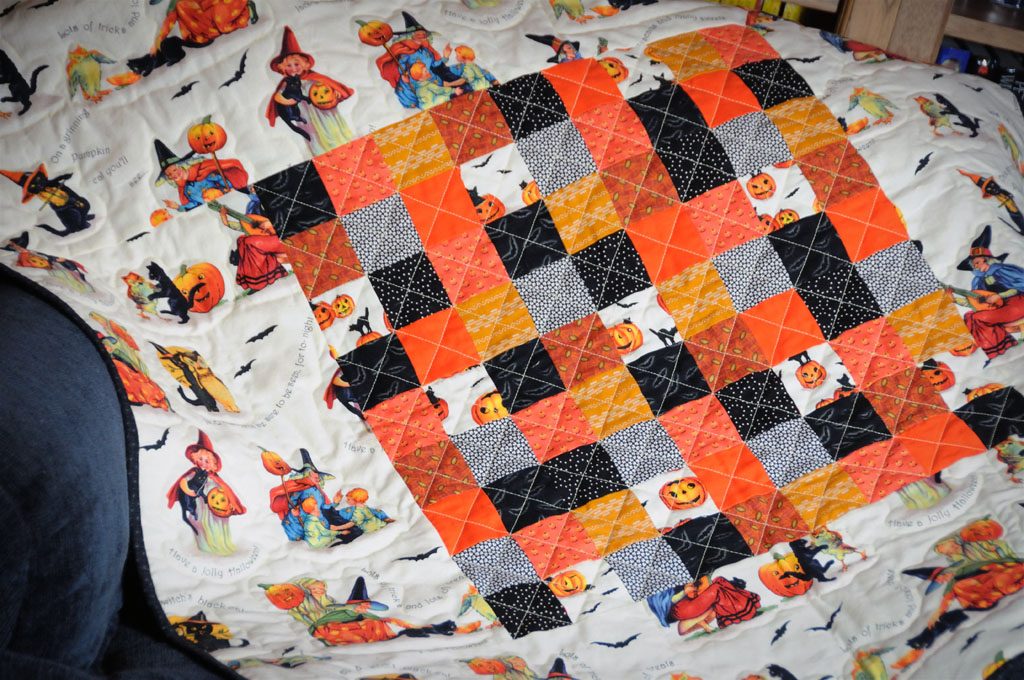
Anyway, while I was busy sewing this weekend, I made a table topper for MeMum.  We were shopping this summer and she bought this vintage looking border fabric and gave it to me to make a table runner.  ‘Cause we all know MeMum can’t quilt LOL!

Halloween Table Topper

I usually put the vintage-y print in the center and piece in the borders, but I thought I’d switch it up a little this time.  I think I’d like it better this way if I had one more dark border around the outside.  I’ll know for next time.  All of the little prints in the middle are from a fat quarter pack that I bought at Judy Rothermel’s booth at the Chicago Quilt Show in April.

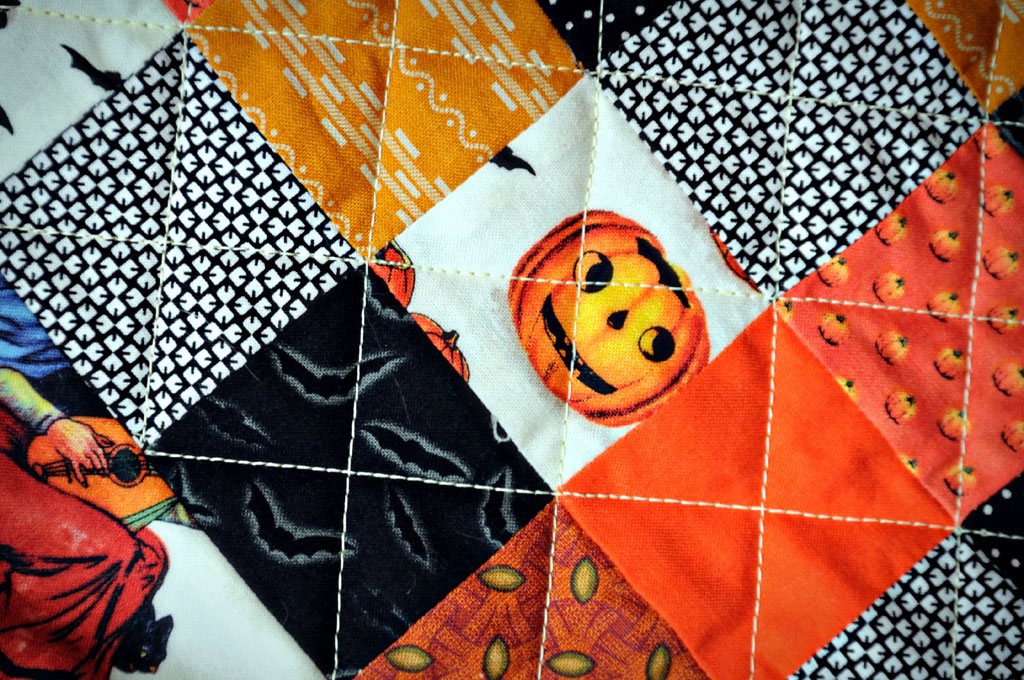
Halloween Table Topper

I love the little black bat fabric and the tiny pumpkin print on the right edge of the picture.  Each of those patchwork blocks is a 2 inch square.  I’ll give this to MeMum tomorrow — Don’t Look MeMum!

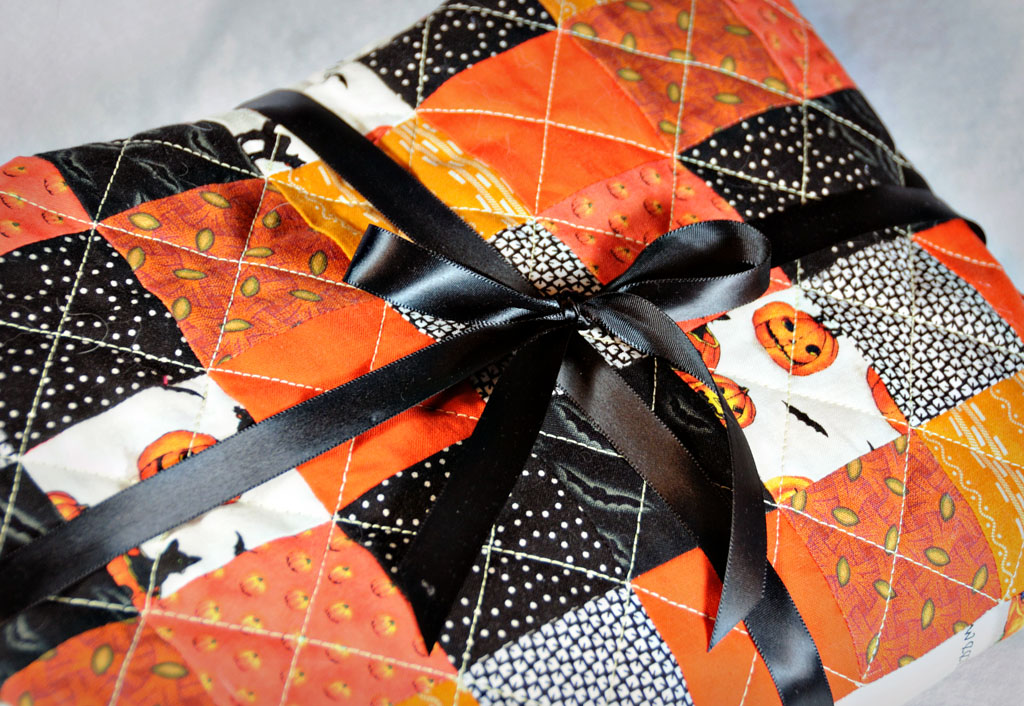
Halloween Table Topper

And while I was in the Halloween mood, I made up a few quick candy corn gift bags using this Halloween Clip Art from Martha Stewart.

Candy Corn Bags

Now, Boys and Girls, I’m going to take a little bloggy break. I’m going to turn off ye old computer and hopefully when I return I’ll have some fun stuff to show you. In the meantime, if any of you want to take a break, now would be a good time and then I won’t have so much to catch up on when I return.  Really, it’s the least you could do — I’m taking this little break out of consideration for all of you.  If I’m out of the picture, you’ll all have a better chance at winning the giveaways that occur in the next few weeks!  So, go forth, win,  and behave yourselves!

XOXO,
Anna

Finished Quilting

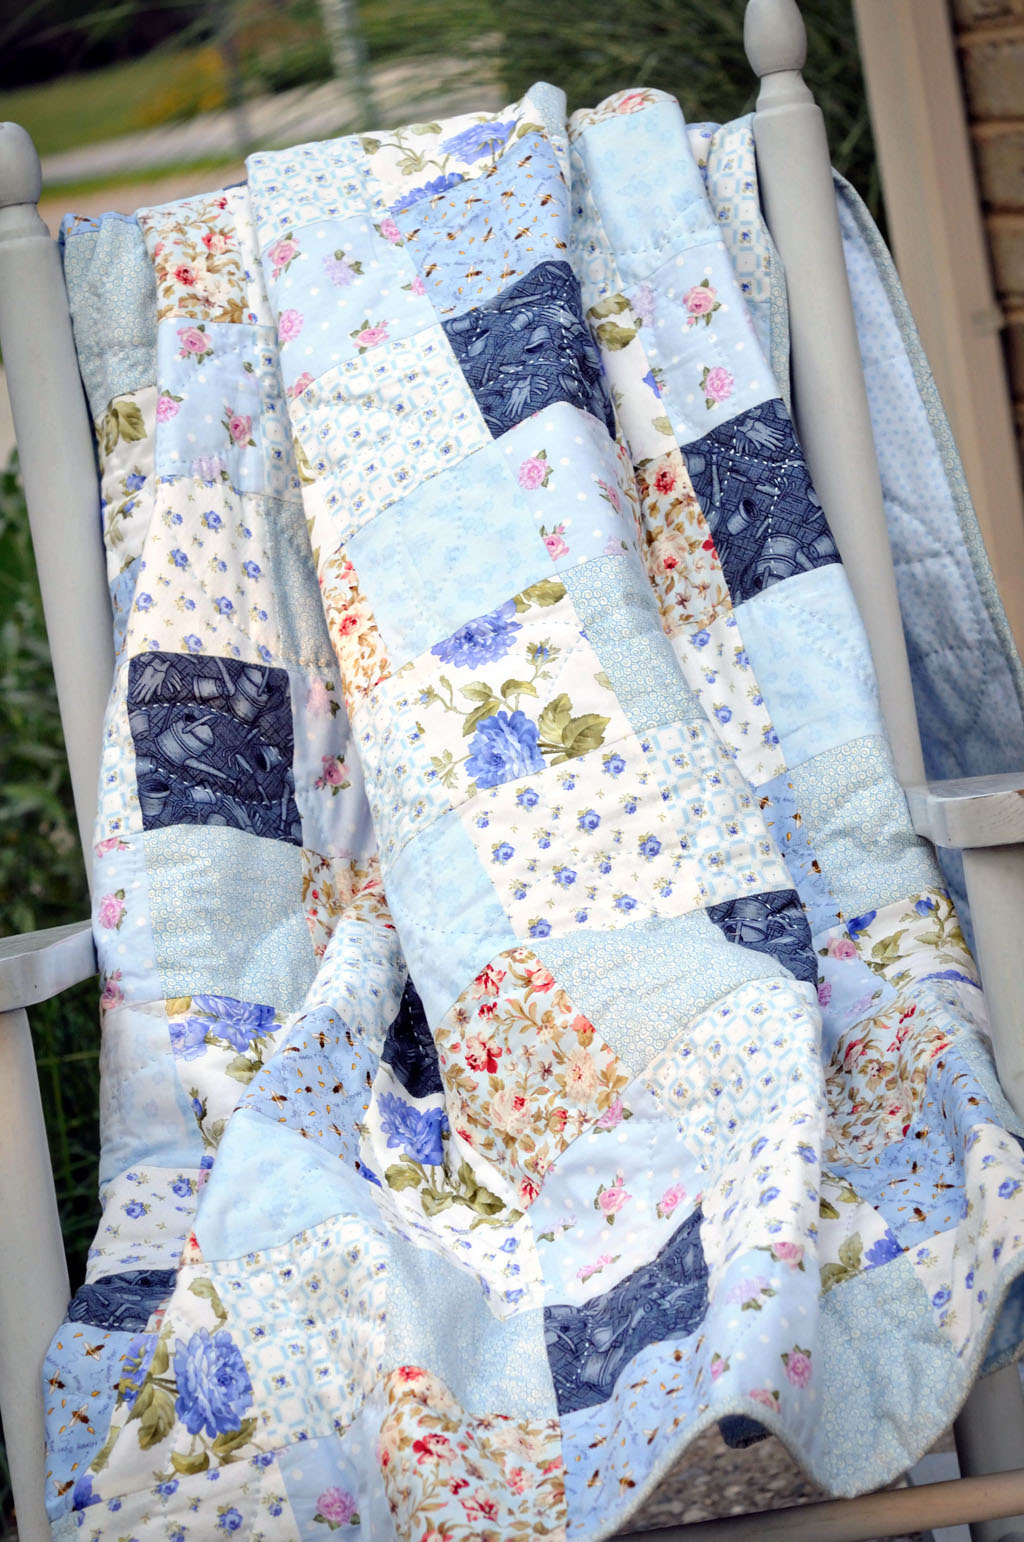
Whew!  I finally finished my little bluebird quilt.  For some reason this took about 10 times longer than I thought it would — I guess I’m getting slow in my old age.

Bluebird Quilt

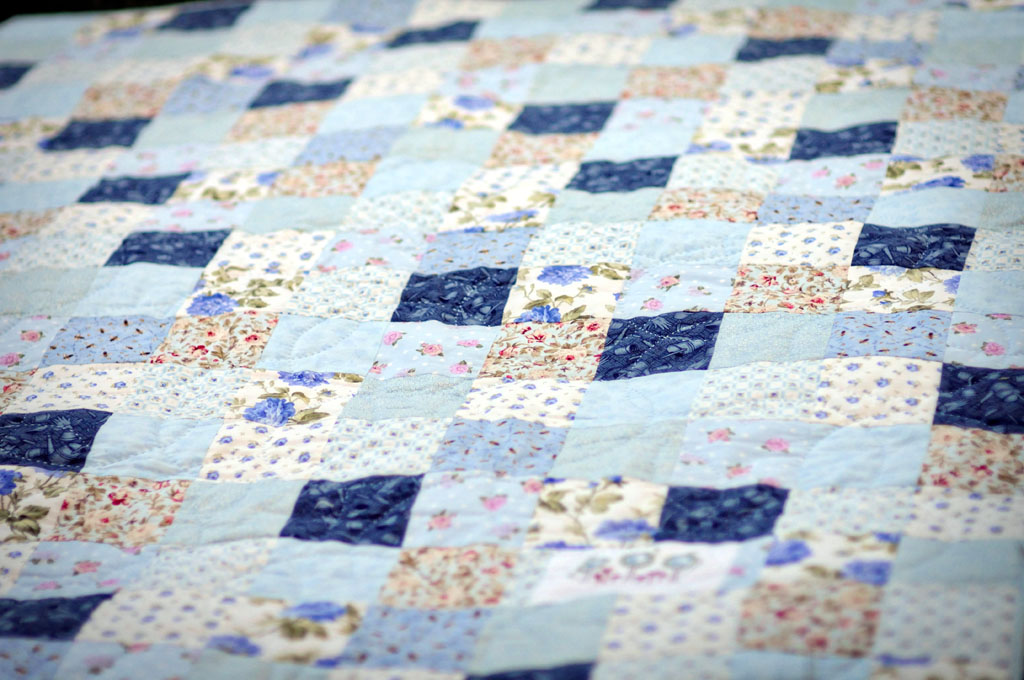
Two of my very favorite standby quilting techniques are plain, big patchy squares and big toe-grabber stitches.  (Called toe-grabbers ’cause they’re so big your big toe could get caught in them while you’re sleeping.  Ok, so it’s a bit of an exaggeration, but we still call them that.)  So, I combined both of those for this little throw quilt.

Bluebird Quilt

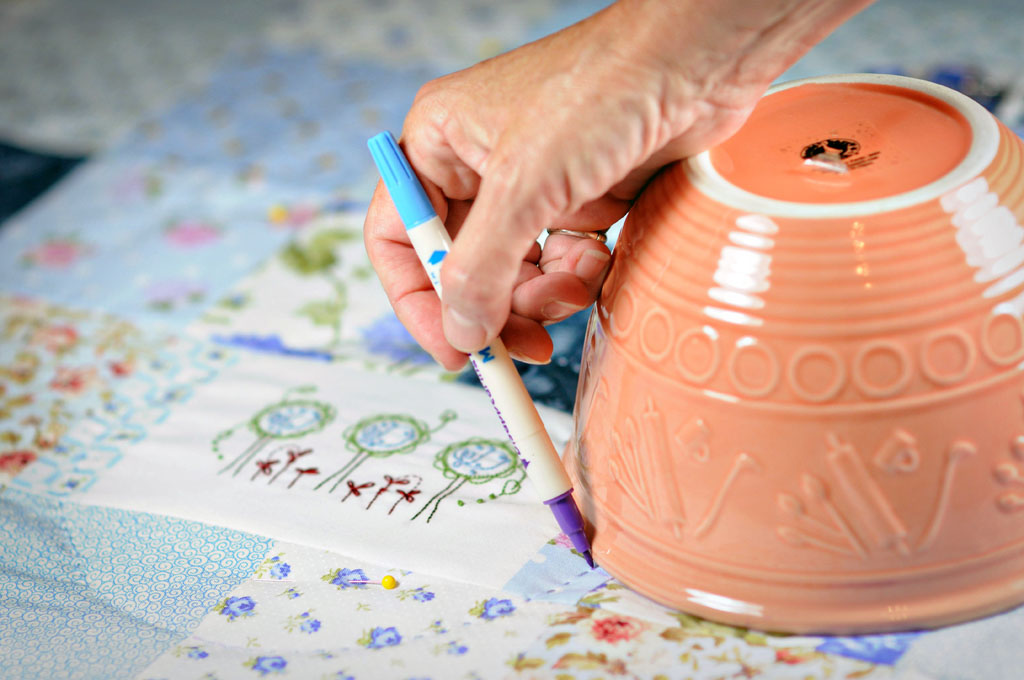
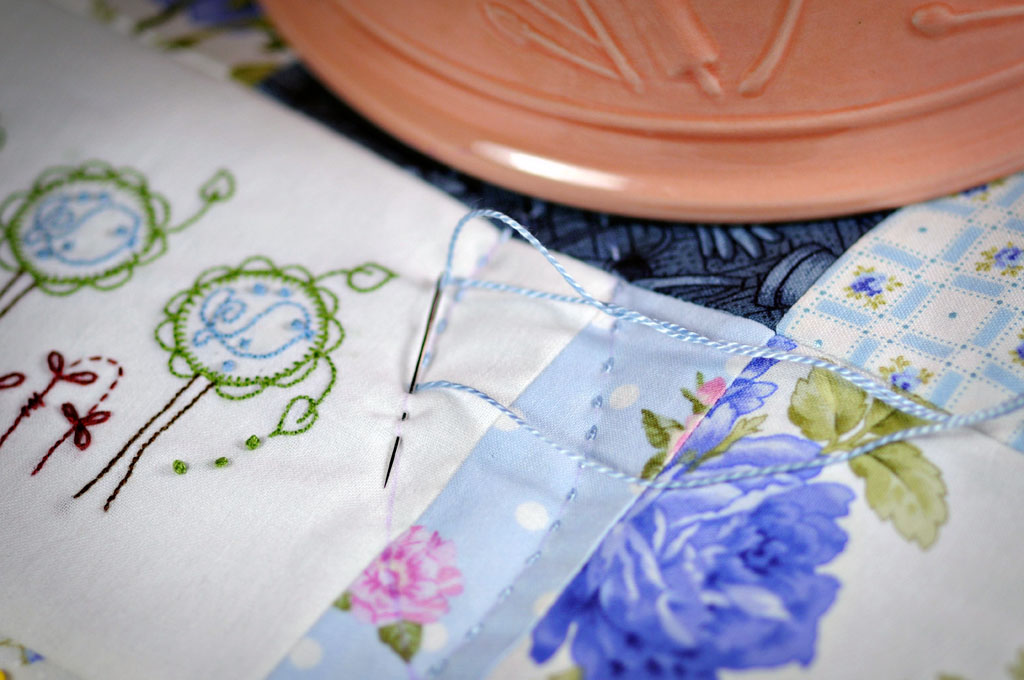
Since the quilt pieces are all squares (4″ squares), I like to quilt big circles on them.  In this case, I used a smaller bowl (7″ diameter) than I usually do (8 1/2″ diameter), so that could be why the quilting took me so much longer than I expected.  Bigger bowls work just fine too.   I invert the bowl and use a disappearing pen to trace two interlocking circles at a time.  Then I quilt each circle with pearl cotton and a big needle.

Bluebird Quilt

Sometimes, by the time I get to the second circle, the ink has disappeared already, so I have to re-draw it — I love that air-soluble ink.  After I quilt two circles, then I draw two more, and so on and so forth until the quilt is done.

Bluebird Quilt

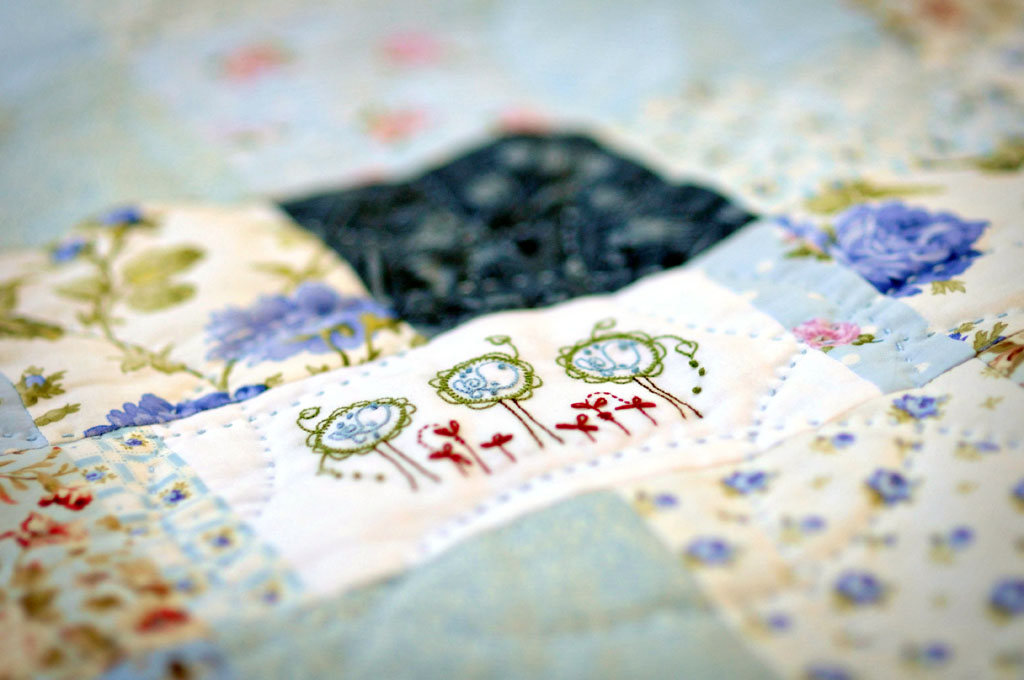
The only embroidered block in this quilt is the block with the three little birdies and I placed them in the bottom right hand corner.  They sort of blend in, so it’s a fun little surprise when your eye finds them.

Bluebird Quilt

I used lots of flower prints, a gardening print and a print with little bees on it, because this quilt is for a friend who loves to garden.  Maybe it will keep her warm on a chilly evening while she sits in her garden and enjoys the fruits of her labor.

Bluebird Quilt

The back of the quilt has a nice cozy flannel.  I love to put flannel on the back of throws — it gives them a little more weight and makes them extra cuddly.

Bluebird Quilt

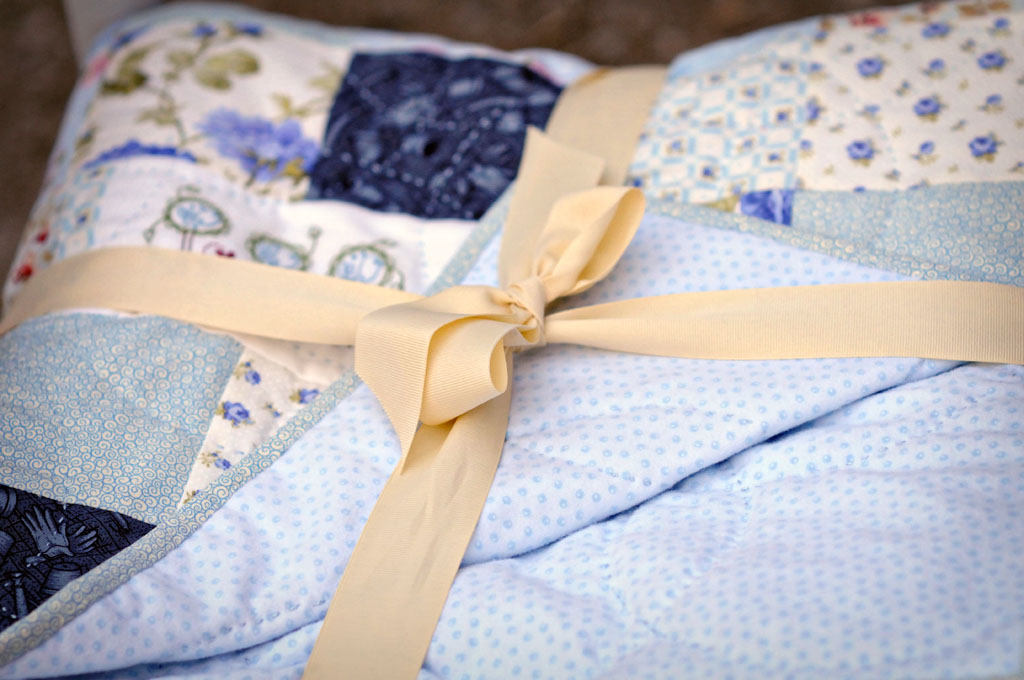
And see that clever presentation technique that I’ve learned from all you bloggers out there? I love it!  (Oops, I forgot the cute little metal ring tag — I’ll have to work on that!)

So.  A finished quilt.  That doesn’t happen very often for me, so I’m really excited!  Did you finish anything fun this weekend?

XOXO,
Anna

Second Grade Quilts

Since a new school year starts in many areas of the northern hemisphere this month, I thought I’d show you a project that I did with my boys when they were in second grade.  You know, just in case any of you young mothers are all distraught with so much extra time on your hands and you need a new project LOL!

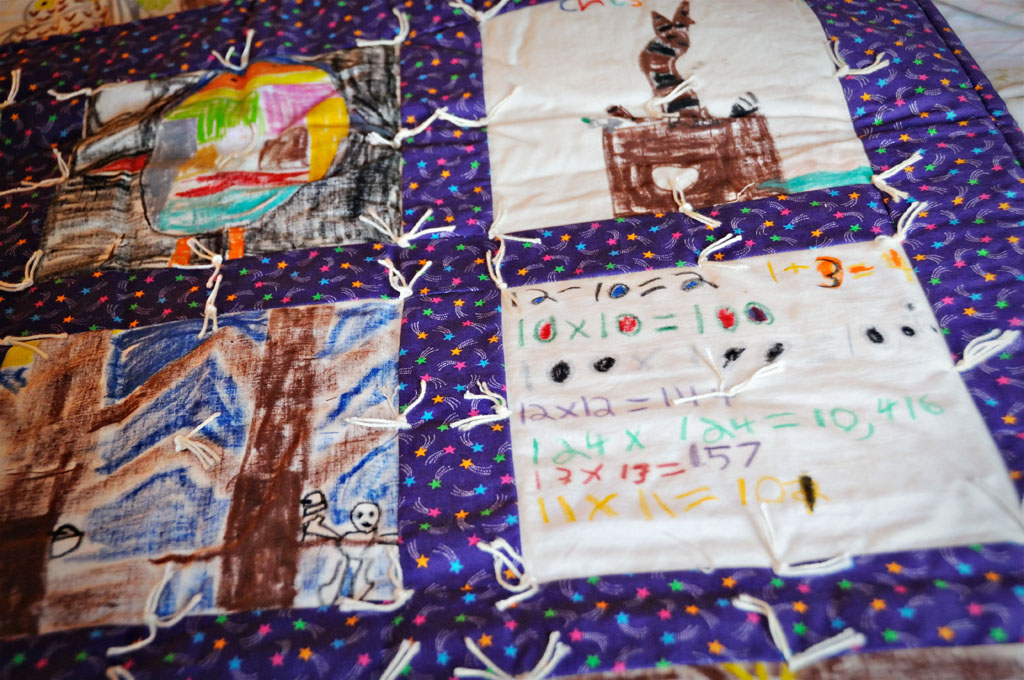
I had seen quilts where each child in a class would make a block and then the quilts were hung in the classroom or school lobby or given to a teacher. But for some reason, I wanted my child and all the other children to each have their very own quilt, so when TheFirstChild was in second grade, I approached his teacher with a quilt plan.

Second Grade Quilts

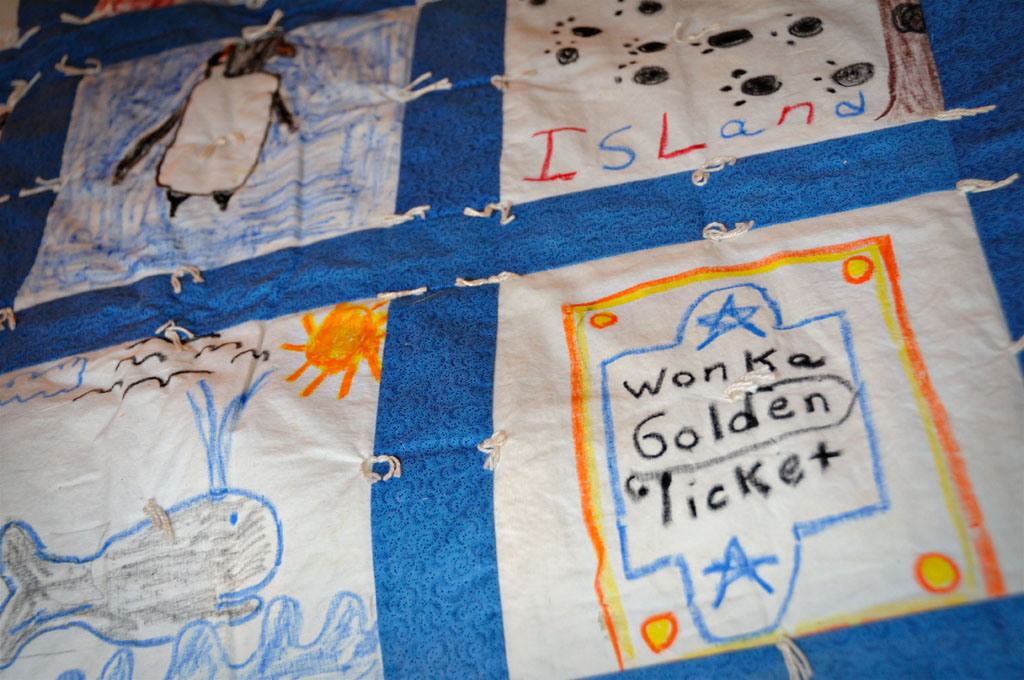
Fortunately, she was an awesome teacher and she was all for it. During the school year, the second graders covered a lot of different units — things like whales, penguins, Alaska, syrup making, and for TheFirstChild’s year, the presidential election (it was 1992 and I could show you his block showing who he’d vote for, but then I’d have to terminate you.)  The teacher incorporated this year-long project into those units.

Second Grade Quilts

We started by having each child pick the fabric that they wanted for their sashing and I prepared 12 blocks (with freezer paper on the back to stabilize them) and a little sewing kit for each child. At the end of each unit, the teacher would have the children draw something about that unit on their blocks. Up to this point, the teacher did all the classroom work herself.  I think there were 17 or 18 children in the class.

Second Grade Quilts

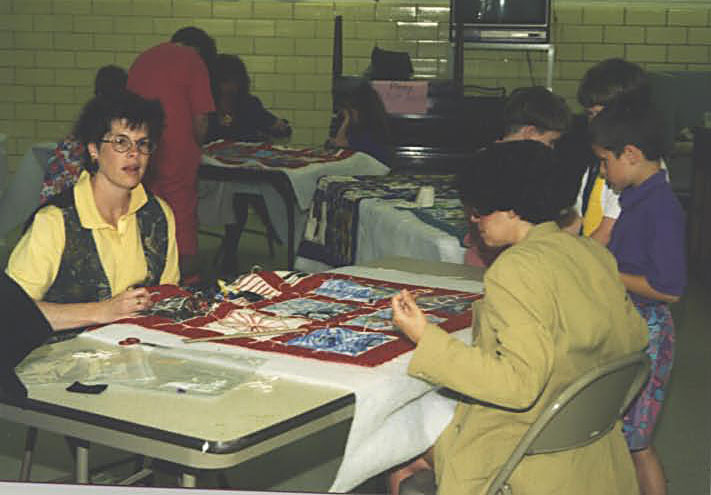
Each time they completed three blocks, I would come into the classroom and we would have an hour or two of sewing. They hand-sewed two middle sashing strips between the three blocks to complete one row. Oh, how I loved watching those little hands work!  As each row was completed, I would take the rows home and sew the horizontal sashing to connect two rows. This was done by machine so that all the horizontal rows (where the pressure would be if the quilt were to be hung) would be stable. I confess, while sewing those horizontal rows, I occasionally stitched over some of the hand stitching in the vertical rows. For the most part I left the hand stitching just as the child had completed it, but some of those little big stitches just weren’t going to be in it for the long haul.

Second Grade Quilts

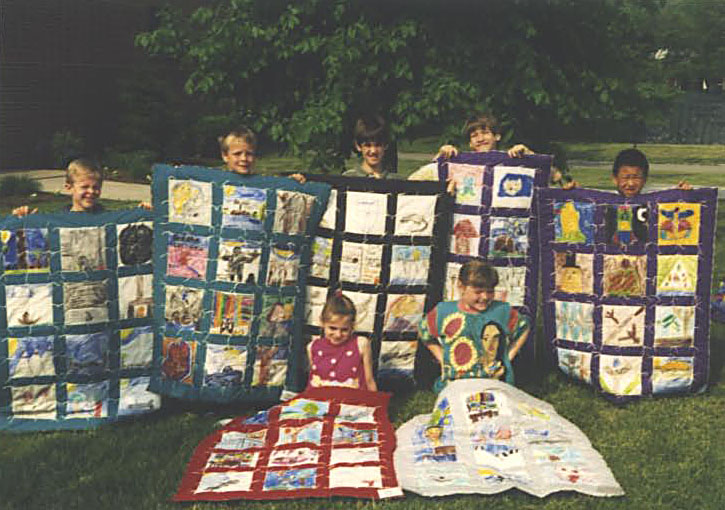
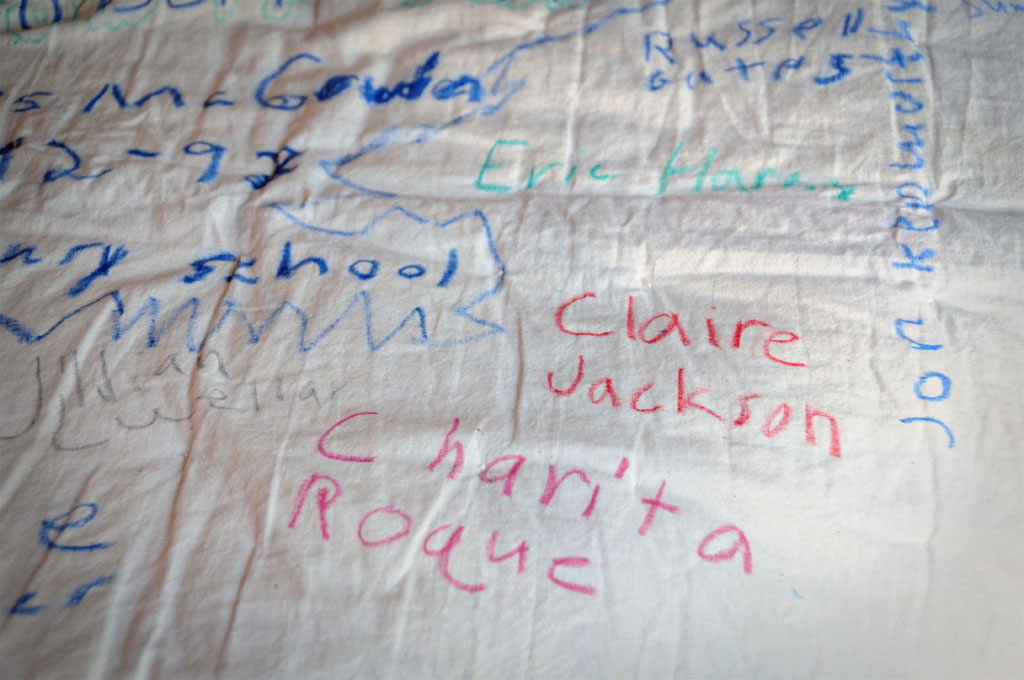
By the end of the year, each child had enough completed blocks for a quilt. I put the borders on each quilt and we had an afternoon quilting bee. Each child brought in a parent or friend helper and we tied all the quilts. First, all the muslin backs were laid out on the tables and the kids rotated in a big circle so that everyone signed the back of everyone else’s quilt.

Second Grade Quilts

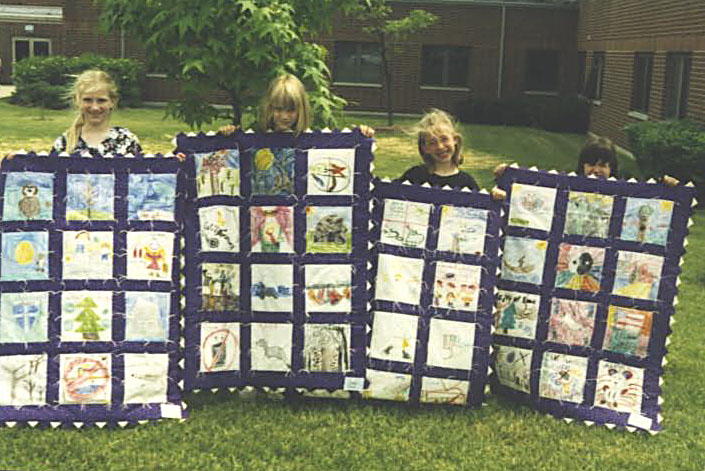
Then, we all sat down and went to work. If someone got done early, they helped someone else, until we were all done.  Surprisingly, I think the boys enjoyed the project more than the girls and many of them were better sewers than the girls! I took all the quilts home and serged the edges. For my own boys, after the school year was over (and after the “quilt show” where the quilts were hung for a week) I put normal bindings on the quilts (I did, as a working mother, have my limits and there was no way I had the time to bind all those quilts!) In the picture below, you can see a few of the girls in one lucky class that had a grandma who put prairie points on all of the quilts for that class. I was thrilled when I saw that! Most classes aren’t that lucky though (a few have had a mother who was willing to bind them all) and the serged edge has worked out just fine.  (I did send binding instructions home with the kids in case their own mothers wanted to bind them.)

Second Grade Quilts

The quilt project turned out to be a big hit and the following year, all three of the second grade teachers wanted to participate. Each class had a volunteer mother, so I wrote out explicit instructions (’cause they were non-quilters) and they were off — with no other help from me. The third year, TheSecondChild was in second grade, so I again participated.  MyDadLovesMeBestSister was the volunteer for all three of her kids, too. The last time I checked, the project was in its 15th year and still going.  Maybe someday I’ll have a grandchild in that school and I can be the grandma who does the prairie points!

This was a VERY fun project and it was really just an excuse for me to be at school more with my kids — I loved it there!  So, if you feel the same way…here’s your excuse — they’ll never catch on!  ;-)

XOXO,
Anna

Whistle While You Work…

Well hello there!  Did you all have a mighty fine weekend???

It was all work here in Thimbleannaland.  I decided I couldn’t stand it anymore, so I rolled up my sleeves and started cleaning on Friday and cleaned all weekend.  Sadly, there are still a few rooms that need attention, most notably the sewing room.  I think I had sewing stuff in almost every other room so all that junk got dumped into the sewing room.  That will be another weekend down the drain of productivity.

The motivator that got me cleaning was the departure of the kids last week.  I started with their rooms and now that they’ve taken all of their stuff I have my guest room back.  When SweetiePie came to stay a year ago, I packed away my quilts, so I put them back on the beds this weekend.

Boys Quilts

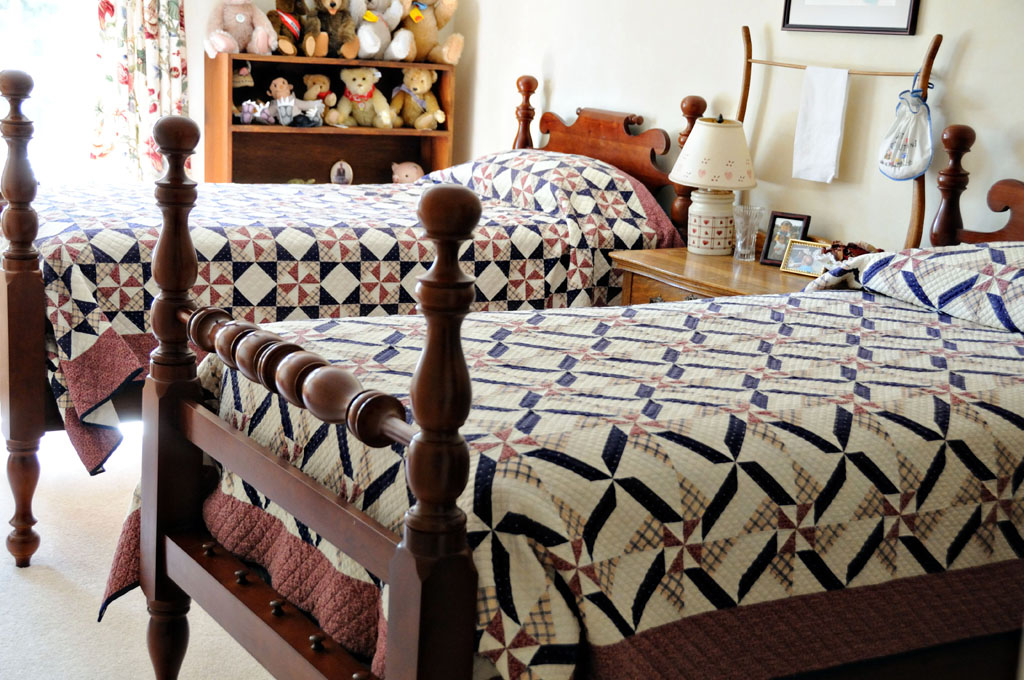
I made these quilts for the boys when they were very young and shared a room.  The colors matched a cute little toy soldier wallpaper that covered the walls.  (Thank goodness we moved before they got older and I had to remove all that wallpaper!)  I’ve always loved the pinwheel block so I knew I wanted to incorporate it into their quilts.  I also wanted to use the same fabrics on each quilt, but make them each a little bit different because they boys are both different.

Boys Quilts

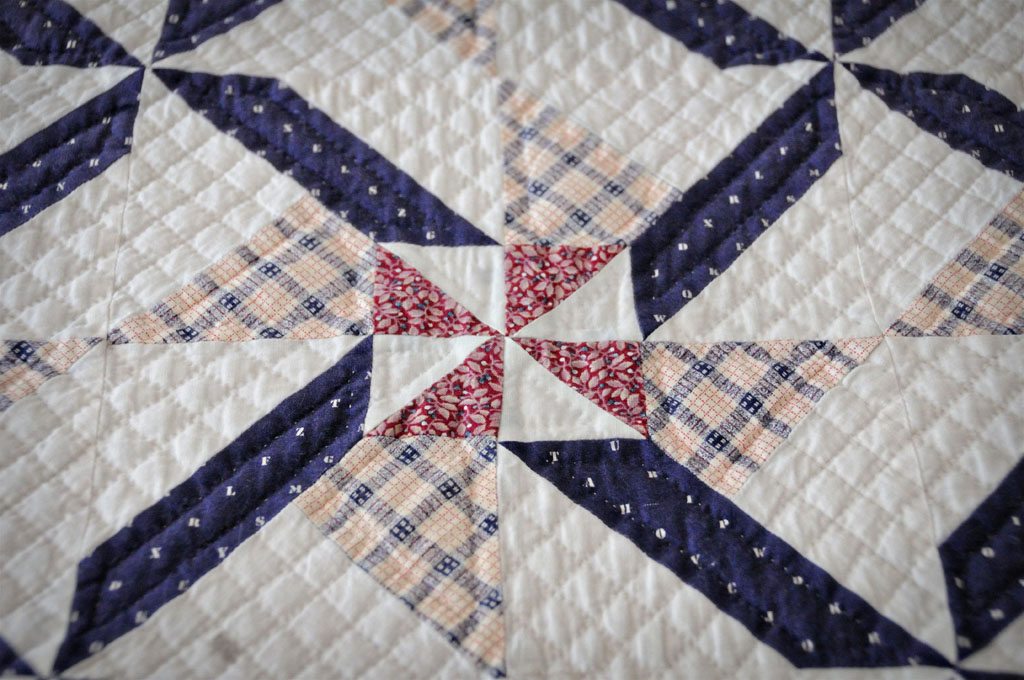
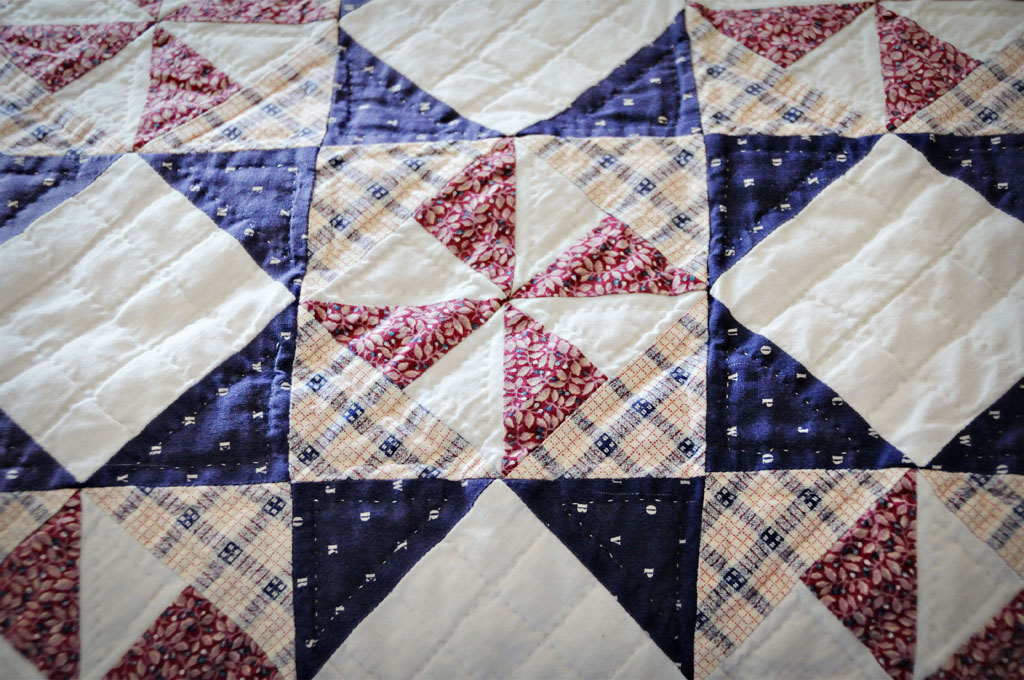
This block above, was made for TheSecondChild’s quilt.  He was a little wilder as a little boy (and funny, that’s still true!) so I wanted a pinwheel with a little more “movement”.  The block below is the block that I chose for TheFirstChild who was a little more calm and reserved.

Boys Quilts

Both quilts are hand quilted, but not by me.  I’m still working on a wall hanging that was started around the time I pieced these quilts, so it was a very good decision to have someone else quilt them.  Sadly, in spite of a window blind that is constantly drawn, TheFirstChild’s quilt is fading badly.  I now keep that quilt covered all the time with extra sheets, even with the blinds closed.

I’m off to NJ for my monthly trip tomorrow, so I won’t be around to enjoy my almost clean house.  But maybe I’ll be able to catch up on some blogs!

XOXO,
Anna

Kim Diehl and A Quilt Show

When my aunt was here (sorry, I warned you!) our local quilt guild had a quilt show and the guest teacher was Kim Diehl.  On Thursday, we took a 6-hour class from her to learn her machine applique technique.  Here is the project that we worked on:
Kim Diehl

I have to warn you that I’m not really much of a class-taker, but I do think that something can be learned from every experience.  Having said that, my aunt and I had a lot of fun and I did pick up a few tips from Kim’s techniques that I’ll be using from now on.  I didn’t get any great pictures of Kim (hey — I was busy sewing!), but here’s one of her doing a demo for some of the class.
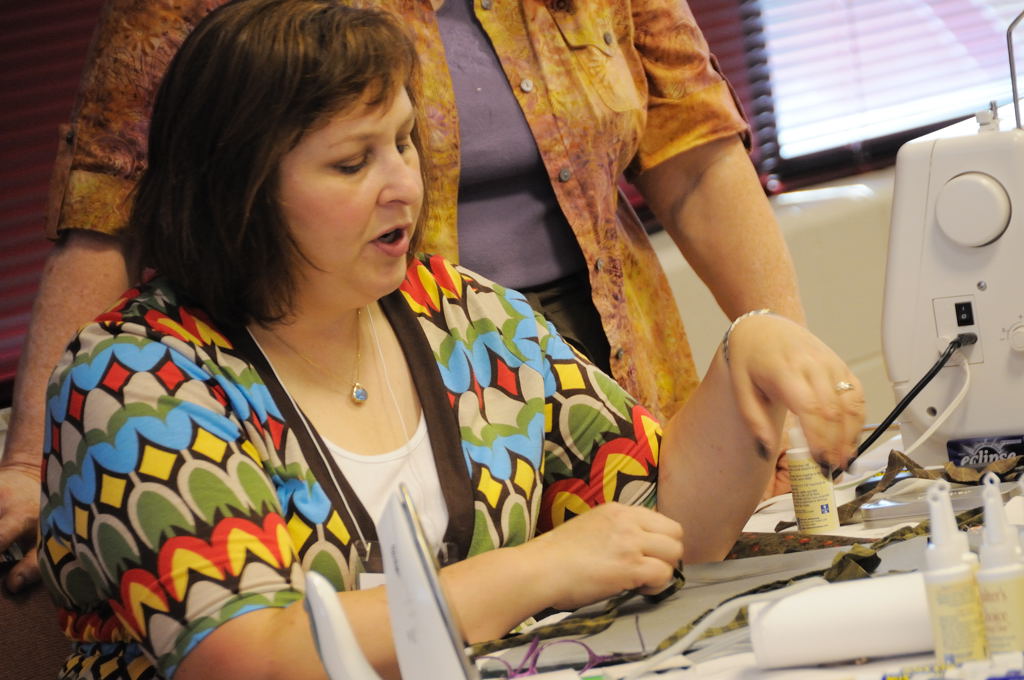
Kim Diehl

Kim is a very nice woman and her instructions are impeccable — very clear and easy to understand.  And I think her machine applique is beautiful and darn-near invisible.  Her quilting is beautiful too.  I found it amazing that she doesn’t use a hoop and she uses a size 5 embroidery needle — put that up next to a size 10 or 12 between — it’s a big needle!  I really think I might enjoy hand quilting that way and I might give it a try.  Here’s a little sample that she was preparing for a hand-quilting class that she was teaching the following day:
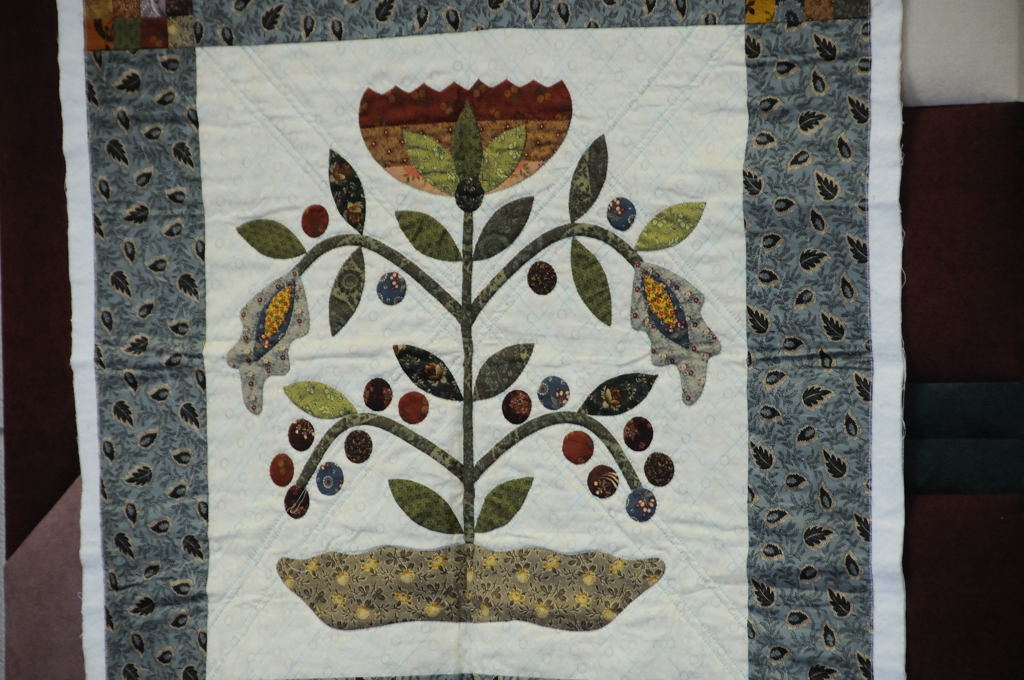
Kim Diehl

On Saturday, we attended a trunk show/luncheon and MeMum came along with us.  I loved seeing all of Kim’s quilts.
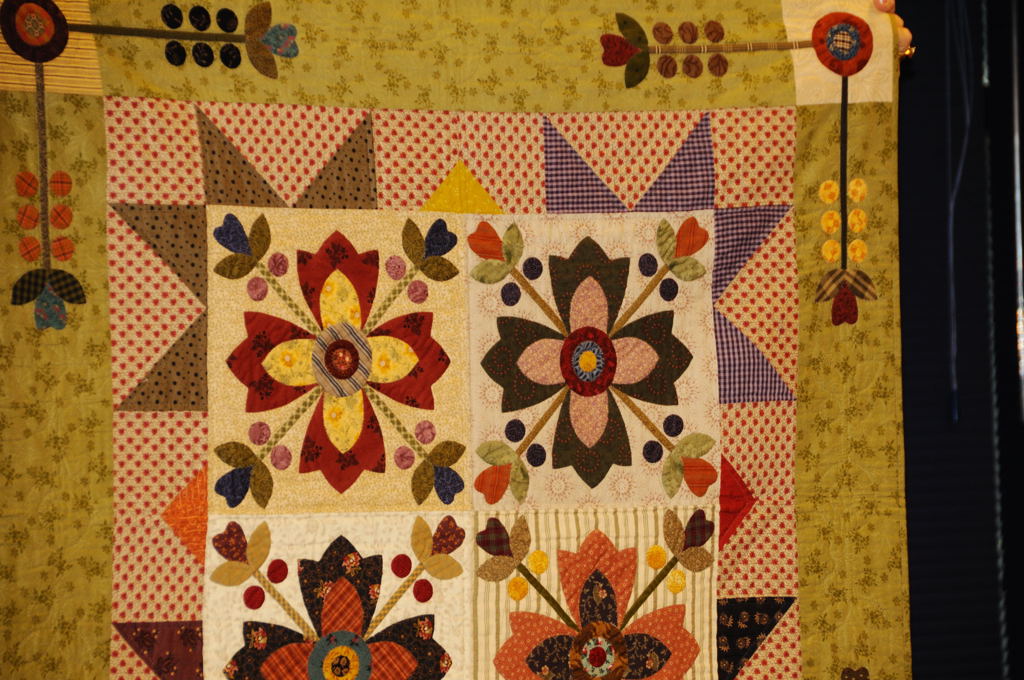
Kim Diehl

I’ve always loved the combo of applique and piecing and that’s Kim’s forte.  I was amazed at the number of quilts that Kim has completed in the last 10 years.  I’m only showing a few of the many here.
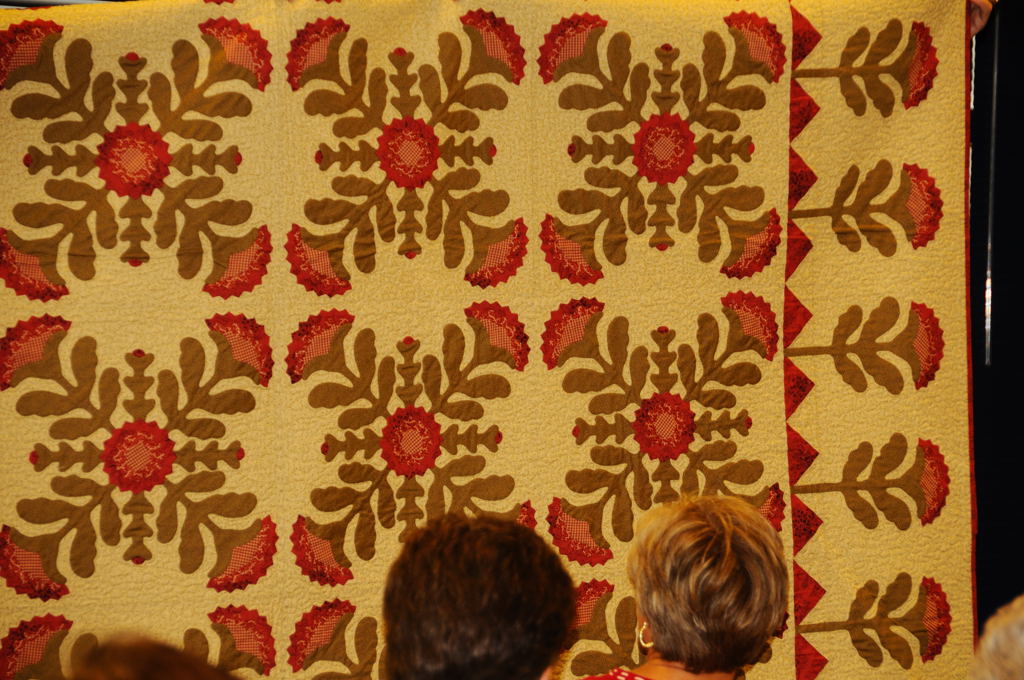
Kim Diehl

I liked that Kim had a few quilts in pastel/brighter colors.  I love all colors but I seem to be gravitating to pastel/brights more lately.  I blame it on blogland!  (And like noblogsorta Brigette, I’m loving pinwheels now.)
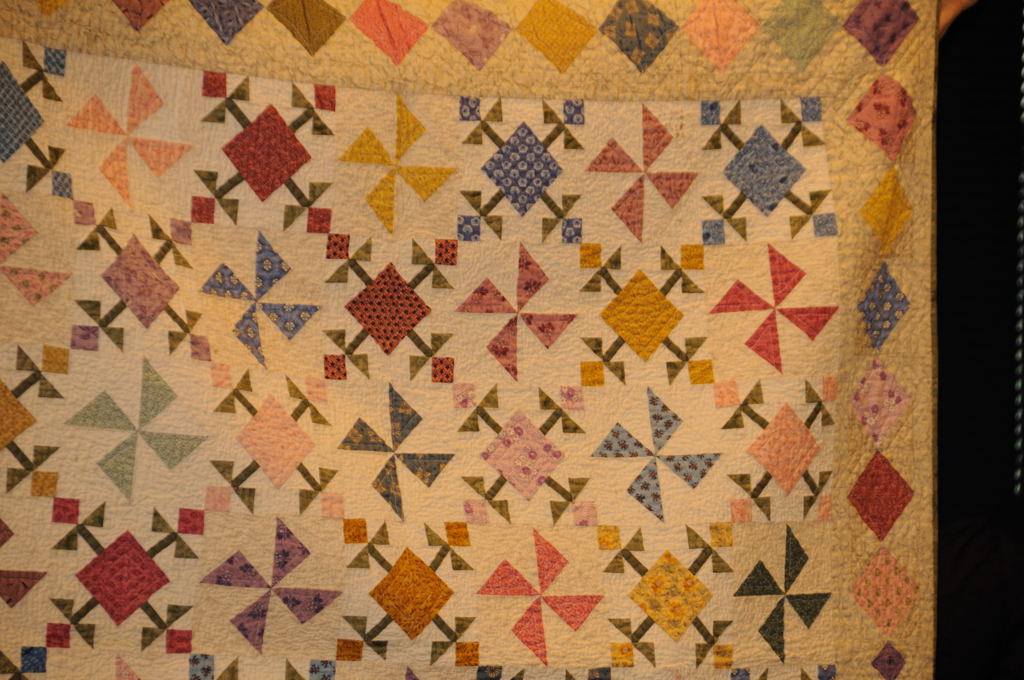
Kim Diehl

In general, we really had a wonderful time.  I’ve done a lot of quilt shopping with my Aunt, but I don’t think I’ve ever had the privilege of taking a class with her, so just being able to spend class time together was the best part for me.
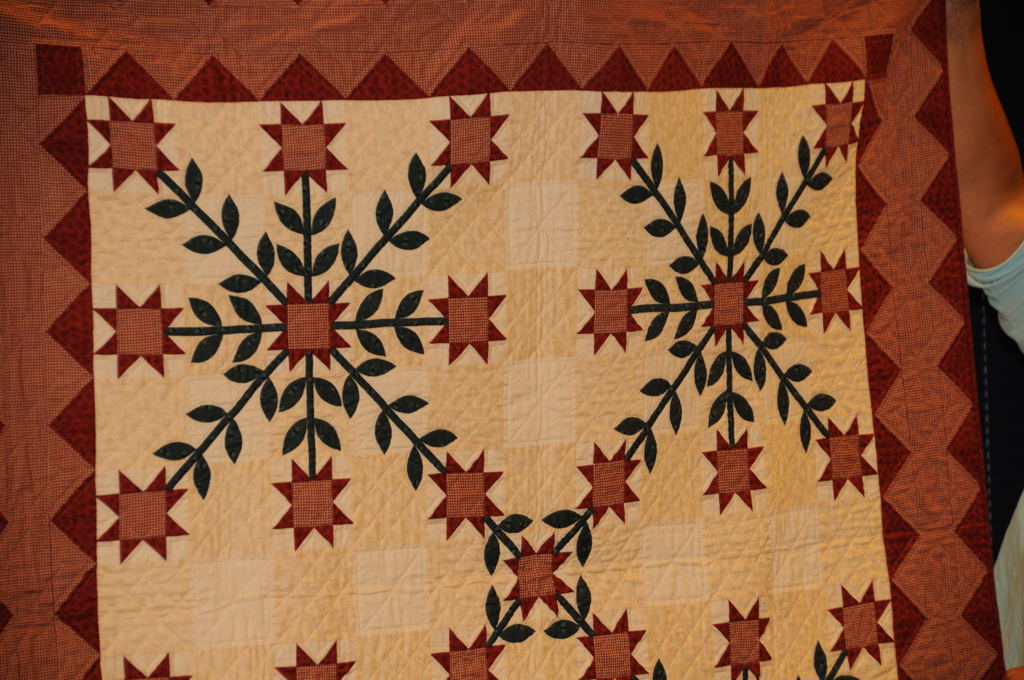
Kim Diehl

I think we both enjoyed Kim’s style and techniques, although we were a little disappointed that the class didn’t focus entirely on the machine applique technique.  The first three hours were spent piecing the background for the applique and we both felt we could easily have done that before the class.  I’m sure it’s hard to know the different skill levels of all your students, so Kim was probably just trying to be sure that everyone started out on the same page.
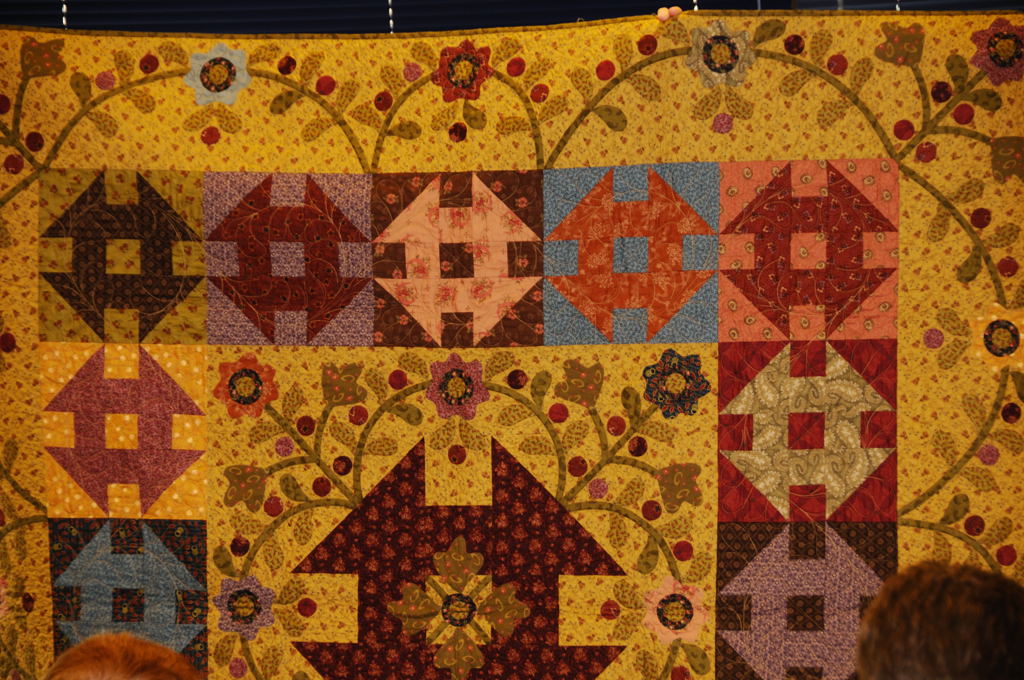
Kim Diehl

The problem was that we were only left with 3 hours to work on the machine applique technique which meant only completing a sample leaf.  It would have been nice to get more of the project completed.  And for me, it’s sadly a project that might end up in the UFO pile, at least for now, because there are too many other projects that I REALLY want to work on — life’s just too short and our project still needs a LOT of work before it’s finished.
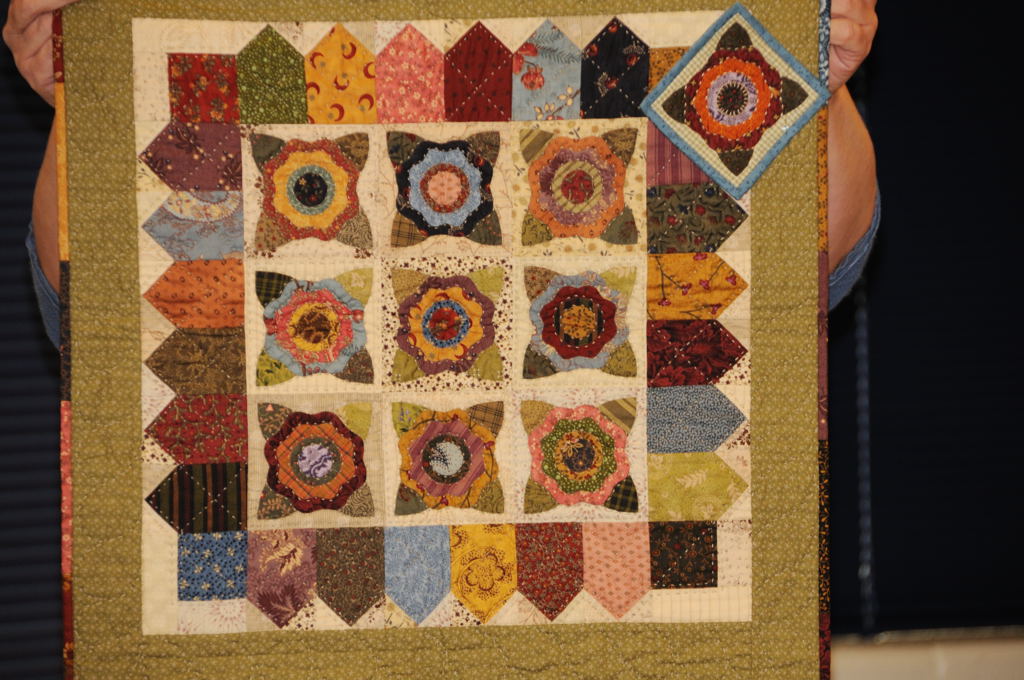
Kim Diehl

But, that’s ok.  I still learned something, so it was very worth it.  I would highly recommend a Kim Diehl class if you have the opportunity to take one!

After the luncheon, we walked around our local quilt show.  Um….how to say it?  One thing we DON’T do well around here is quilt shows.  They’ve just NEVER had much to look at.  Ever.  Maybe I’ve been to too many big shows and I expect too much.  I don’t think so though — I’ve been to other small shows that have quality work.  Needless to say, I was REALLY disappointed at the quality of the quilts being displayed and almost embarrassed for my Aunt to see what we didn’t have to offer.

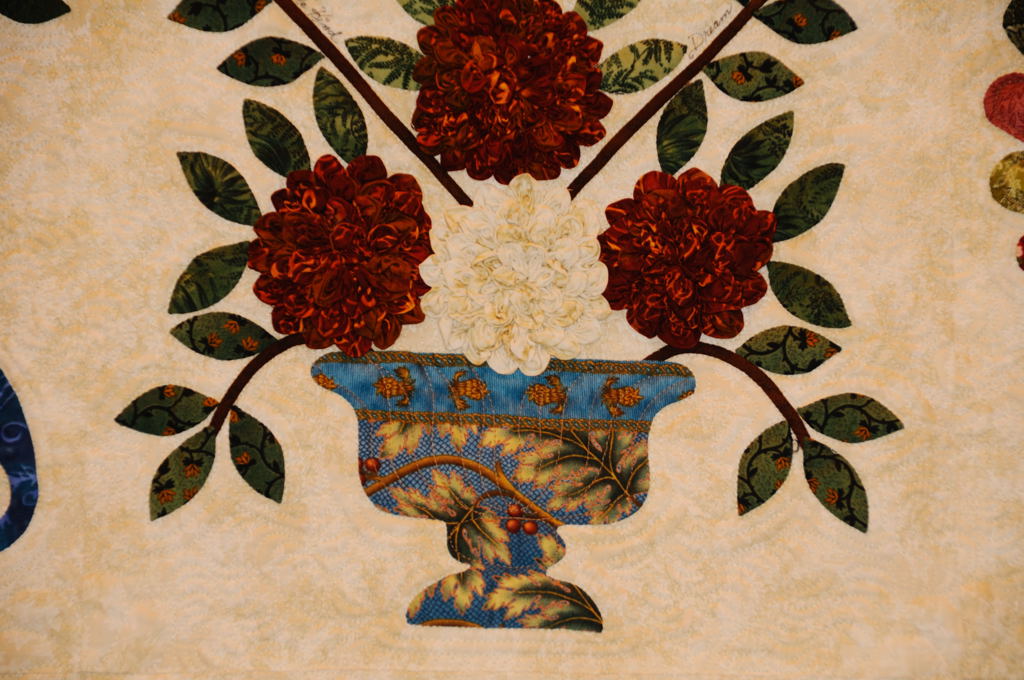
Among the small handful of decent quilts that I liked, was this pretty Baltimore album:
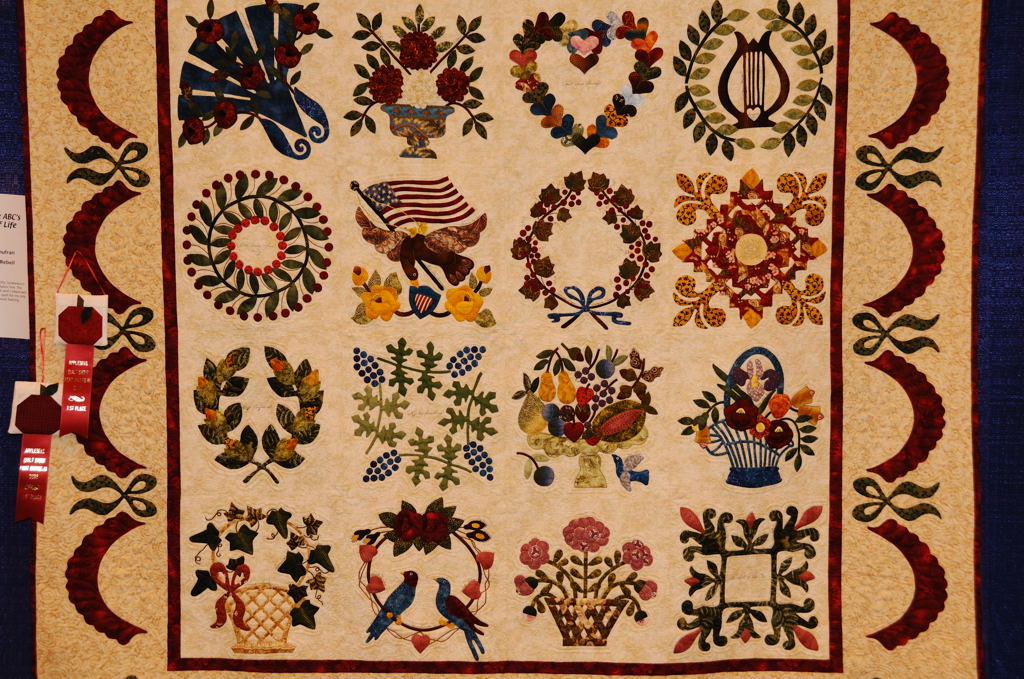
ABC Quilt

This was called the ABCs of Life.

ABC Quilt

Each block had one or more of the ABCs of life penned in small letters on the quilt.  Can you see them?
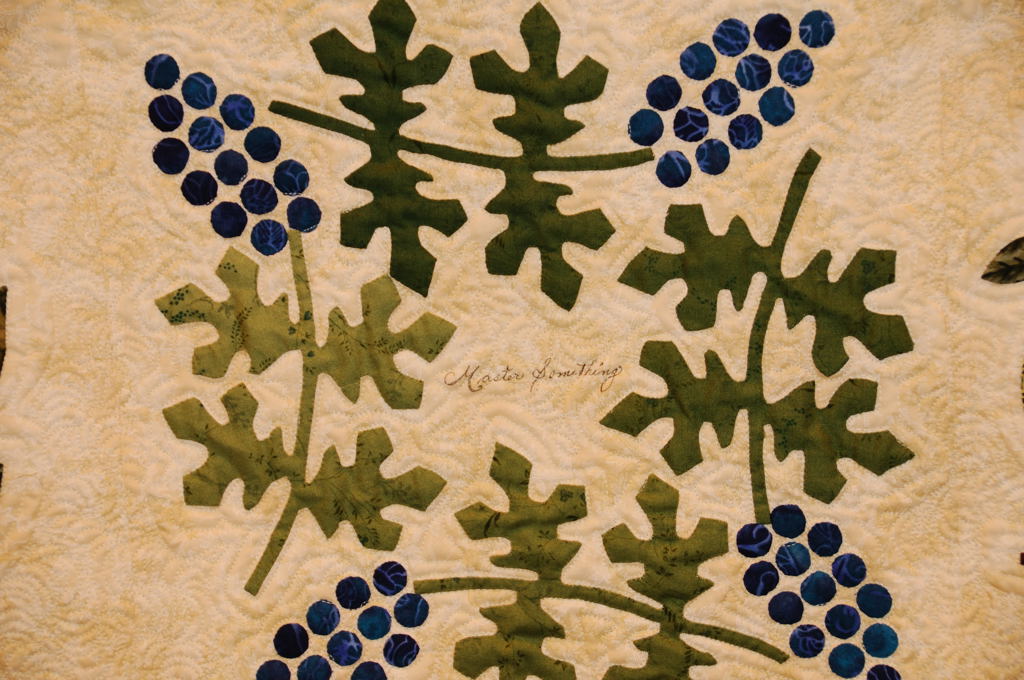
ABC Quilt

I loved this idea and I took a picture of the label on the back of the quilt so that I’d be able to remember the ABCs in case I decide to ever do something like this.  These ABCs would also be cute in other mediums…embroidery, paper crafts, etc.
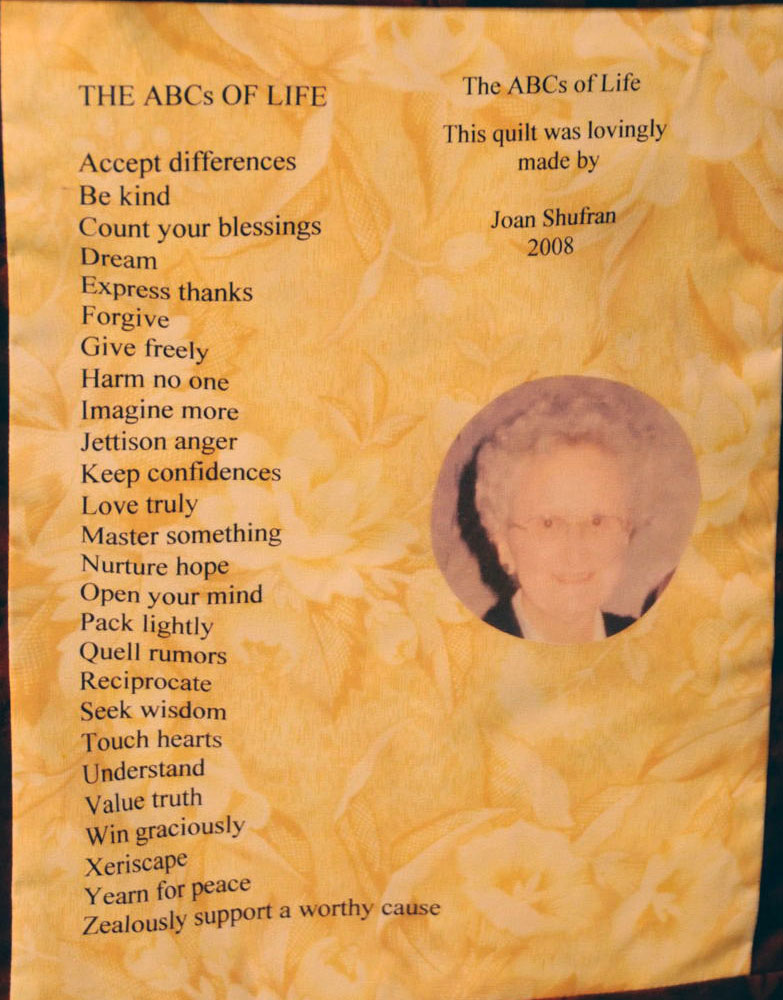
ABC Quilt

So now, you’ve been to see Gene Stratton Porter, been quilt shopping, been to the quilt show and met Kim Diehl with my Aunt and I …. next up, Auntie will be making something yummy!!!

XOXO,
Anna