Thimbleanna

Sewing

Bunnies and Kitties and Bears, Oh My!

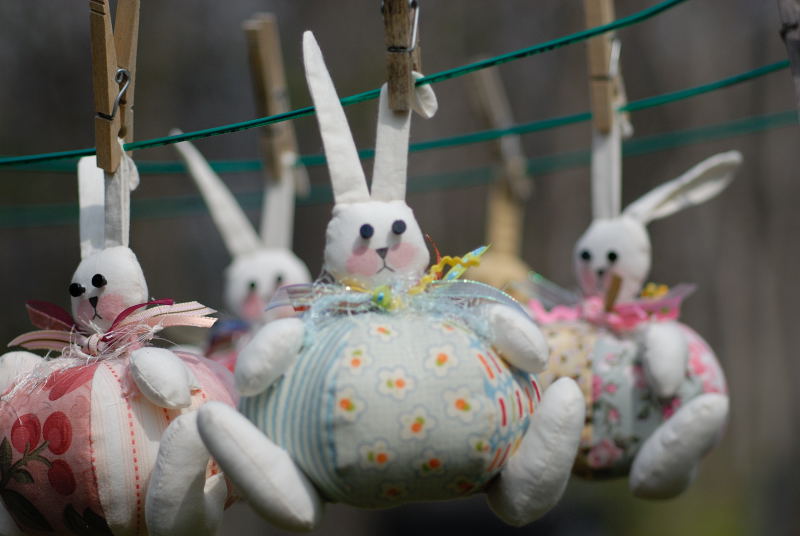
Those of you who have been hanging around here in ThimbleannaLand for any amount of time know how much we Looooove our Bunny Pincushions.  Love, Love, Love them!  From time to time I make a batch and have a giveaway or sell a bunch in the Thimbleanna.com store.

Pincushion

And almost every time that happens, someone asks me for a pattern for the bunny pincushions.  Sadly, I always have to say that the pattern is a 1989 pattern by Lori Karper and it’s copyrighted, so I can’t give it out.  Then, I’ll usually do an internet search, just to see if any information on Ms. Karper has popped up since the last time I did an empty internet search.  All I ever find is maybe an ebay link or two to one or another older pattern by Ms. Karper.

Pincushion

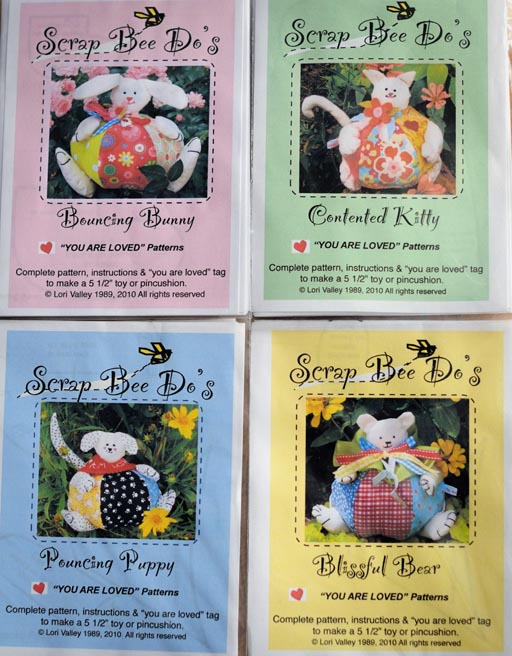
So.  Imagine my GREAT excitement and surprise one day last spring, when I got an e-mail from THE Ms. Karper herself.  Only there’s been a name change which is why I couldn’t find her.  Lori Karper is now Lori Valley and it’s been my great delight to be able to get to know the mother of all my bunnies!  Lori  has had an unbelievable 20+ years since the original bunny pattern was published — full of ups and downs and she’s come out on this end as one of THE sweetest people you’ll ever meet.  AND, BIG BIG exciting news — she’s re-issuing the bunny pincushion pattern AND she’s added a Kitty, a Bear, and a Puppy.  WOOHOO!!!

Pincushion

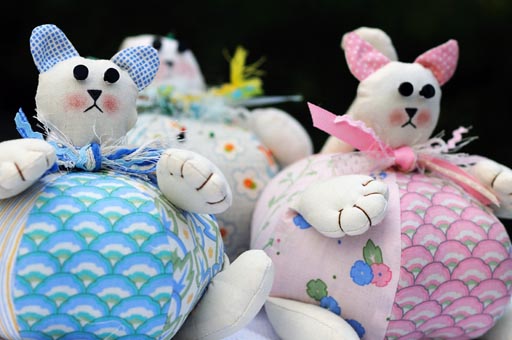
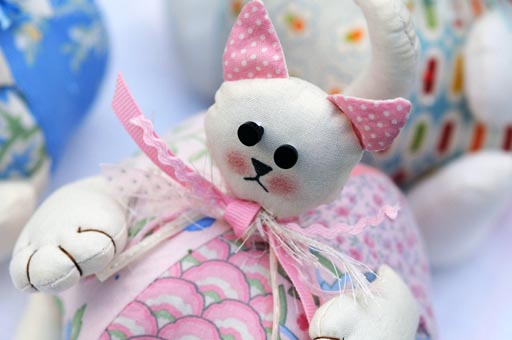
It’s so funny, because, over the years, I’d always thought how fun it would be to make other little pincushion animals.  I had a chance over the weekend to make up a Kitty.

Pincushion

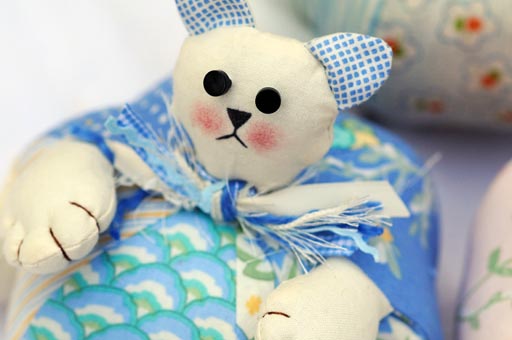
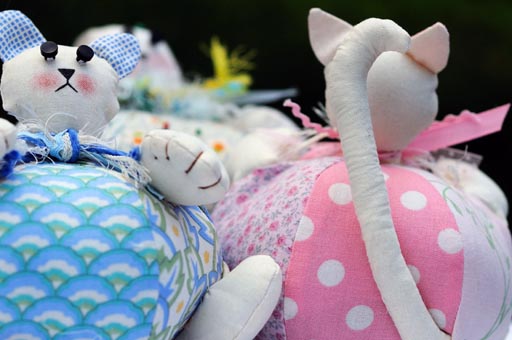
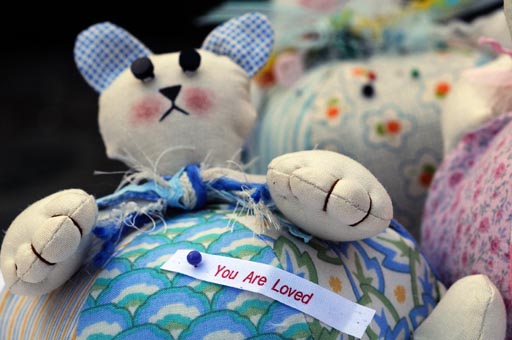
And a Bear.  The original bunny pattern had the stitching on the paws, but I always made my paws plain.  For the kitty and the bear, I did the extra stitching and I love how it turned out.  (Both the Kitty and the Bear are made from City Weekend by Oliver + S.)

Pincushion

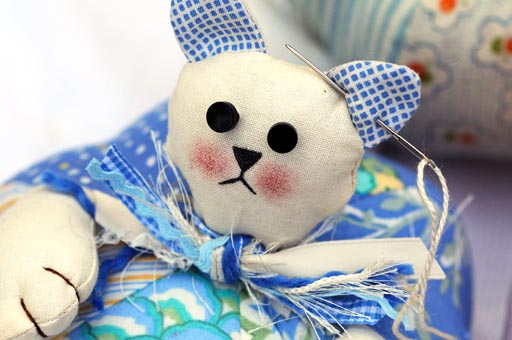
One of my favorite things about the bunny pincushions over the years has been the fact that the ears can be used to hold needles.  The Kitty and Bear ears are big enough to do that too.  (And you thought your teen had ear-piercing problems.)

Pincushion

Look how sweet — the kitty (and the puppy, who I didn’t have time to make) both have little tails.  Those might make good needle holders too.

Pincushion

Another thing I love about Lori’s patterns is that you can make them your own.  My faces are a little different than Lori’s.  And I thought this time I’d have some fun experimenting with a contrast fabric on the inside of the ears.  I really like how they turned out.

Pincushion

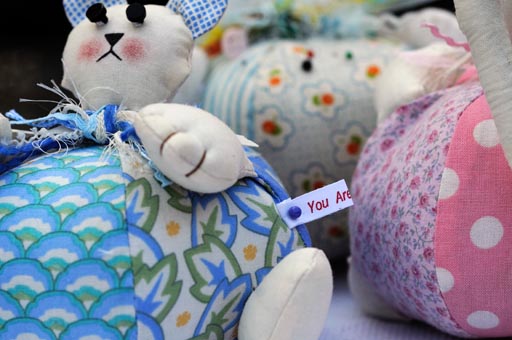
And one last very special thing.  Lori calls her patterns “You Are Loved” Patterns and she’s included a “You Are Loved” tape that can be sewn into the side seam of each pincushion.  The whole time I was making the kitty and bear, I kept telling myself “Don’t forget the You Are Loved Tape”.  So, of course, you know, I forgot it.  I pinned it on the side of the bear though, so you can see how cute it’s supposed to look, sticking out of the side of the pincushion.

Pincushion

I’ll stop talking now.  I’m sorry this sounds like a big sales pitch — I really don’t want it to be.  You know how much I Love my pincushions, and I know many of you have been wanting these patterns.  Lori is working on her own website (which I’ll link to when she’s done) but until then, you can buy them in the Thimbleanna.com store.  You can also get extra “You Are Loved” tapes in case you want to make more than one pincushion with a message in it’s side.

Pincushion

‘Cause Christmas is coming soon and I think these make great gifts for all of your crafty friends!  ;-)

XOXO,
Anna

Rain, Rain…

Hello…did you all have a good weekend?  Ours was rainy again, but very nice.  It’s like a baby who has it’s days and nights mixed up.  We’re in a weather cycle of beautiful, sunny weekdays and rainy weekends.  But, that’s ok, April Showers bring May Flowers you know.  

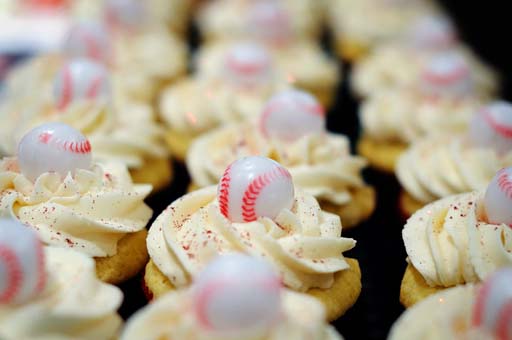
Anyway, we just hung around the house all weekend.  On Thursday night, I made baseball cupcakes for MyDadLovesMeBestSister.  It was her turn to make a treat for the boys on the baseball team.  My nephew plays on the same high school baseball team that our boys played on.  His teammates call him Little K (our last name), after TheFirstChild.  That cracks me up, since he’s not a Little K — he’s a Little L!

Baseball Cupcakes

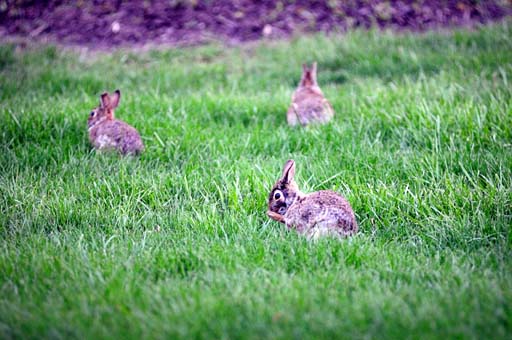
On Saturday, just after a rainstorm, we noticed the kitties on high alert in front of one of the windows.  We peeked out the window, and Look!  It’s Flopsy, Mopsy, and Cottontail. 

Bunnies

We watched them for awhile, and then I moved to another window to take pictures, and noticed this:

Bunnies

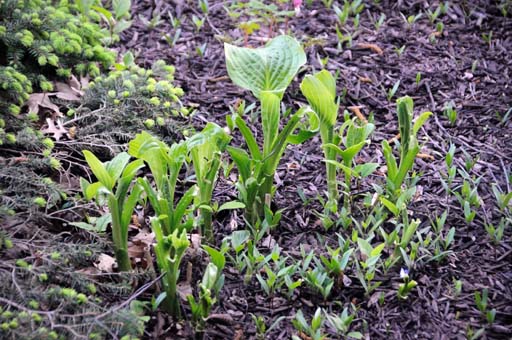
Bat Rastards!  Look what they’ve done to my hostas — there are hardly any leaves left.  And see all those little leaves next to the hostas?  Those are weeds.  Why can’t the bunnies eat the weeds and help me with my weed control issues?  So Rude.

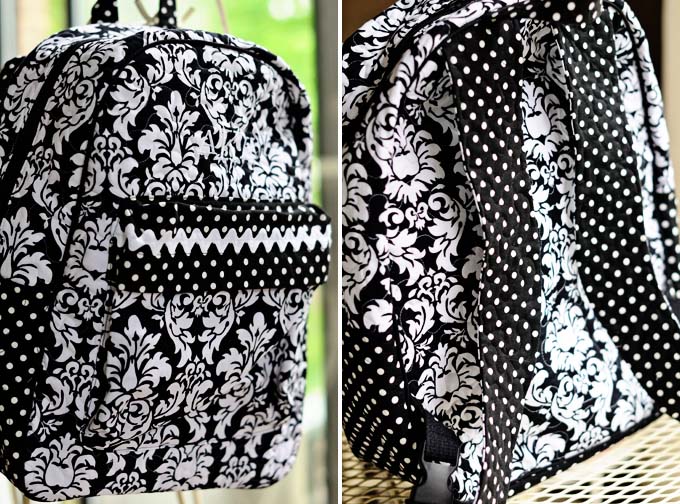
I finished my backpack this weekend.  My candy backpack is worn out and I’ve loved it so much, I had to make another one.  Someone at work the other day looked at my candy backpack and asked, what could I possibly need to carry around, that I need to carry such a big backpack?  I didn’t think he’d understand yoyo and sock knitting needs, so I just smiled at him and shrugged my shoulders. 

Backpack

This is my third black and white backpack (well, not for me — the other two were gifts) and the fabric is finally gone! ;-)

So, that was all the excitement for the weekend, but two other little things —

— I’ve been having a lot of trouble commenting on some blogspot blogs.  It happens on blogs that ask what account to use for my comment.  Blogger pops up a new window and makes me log in.  It takes my login and makes me think the comment registered.  It took me a few weeks (after checking on old posts) to realize that my comments were disappearing.  It makes me sad to think of all my comments that were lost.  So, if you’re a blogspot blog and I usually comment and suddenly I haven’t been, you now know why.  I’m thinking I’m not the only one with these problems?

— My April 20% sale for Bolts o’ Bella is over, but since there was so much interest in the Bella swatch cards, I’ve decided for May to send a free swatch card ($19.00 value) to anyone who buys a bolt.  It will be one swatch card per person, so please indicate in the comment box at checkout that you’d like the swatch card.  They’re really cool — I promise you’ll love them!

XOXO,
Anna

How I Made My Ruffley Camera Strap

I can’t believe the weekend is over already! I hope you all had a good weekend. It has rained and rained here in ThimbleannaLand — and from some of the blogs I’ve been reading, it looks like we’re not the only place. I love it — perfect weather for staying inside and sewing.

Camera Strap

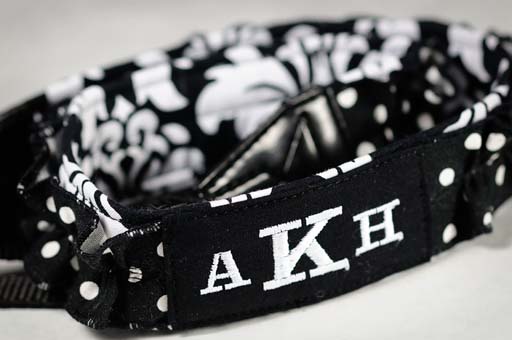
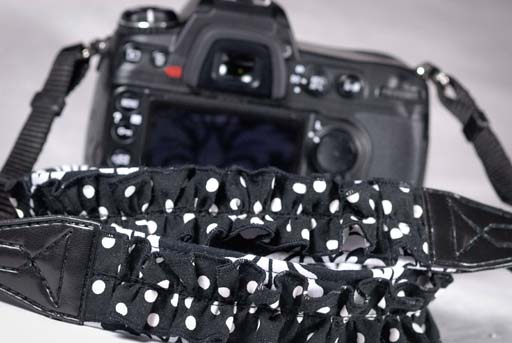
A few weeks ago I decided I wanted a ruffley camera strap, so I made one yesterday. I’ve seen them  on blogs and there are even tutorials out there, but I thought I’d show you how I made mine.  It’s kind of hard to even see my ruffle in the picture above, but it’s there.

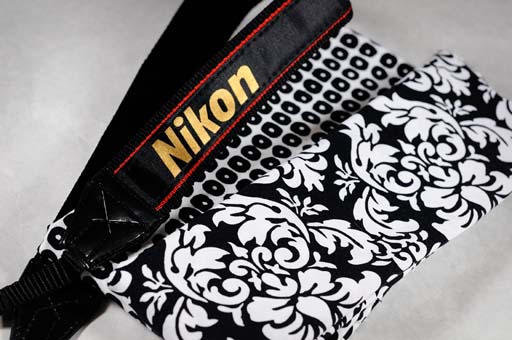
If you’d like to make a camera strap like mine, you’ll need a camera strap (I found a reasonably priced one here), and two pieces of fabric — one for the strap body and one for the ruffle.  I took this picture of the supplies and then decided to swap out the Paula Prass polka dots for my favorite black polka dots.  For pictures, I definitely wish I’d stayed with the lighter Paula Prass polka dots — they’re much easier to see.  On the other hand, black polka dots will show less dirt and they will match my backpack better  — if I ever get it finished.

Camera Strap

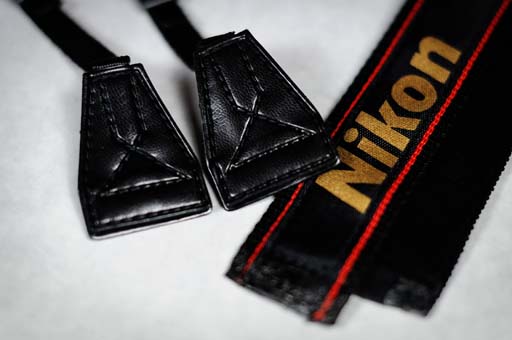
Remove enough of the stitches on the camera strap to separate the actual strap from the strap holder.  At this point, I was going to make the body of the strap out of a very heavy piece of interfacing, but I didn’t want to waste a perfectly good strap-piece, so I decided to use the old strap for the core of my new strap.

Camera Strap

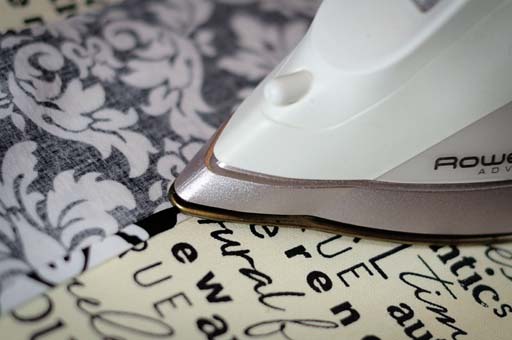
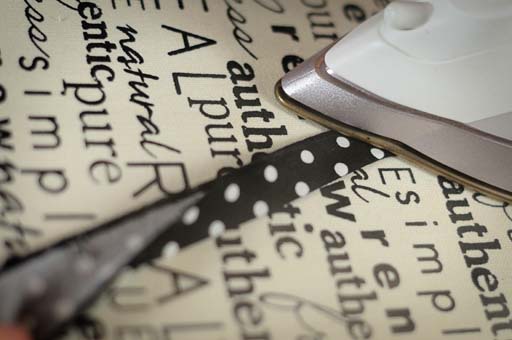
Cut a piece of strap fabric the same length as the old strap and the width of the strap x 2 + 1 inch.  My strap was 1 1/2 inches wide, so I cut my fabric 4 inches wide.  Press one long side of the fabric under 1/4 inch.  (And please do notice that my authentic ironing board cover is staying pretty clean.  Before too long, we’ll look back fondly on these pictures!)

Camera Strap

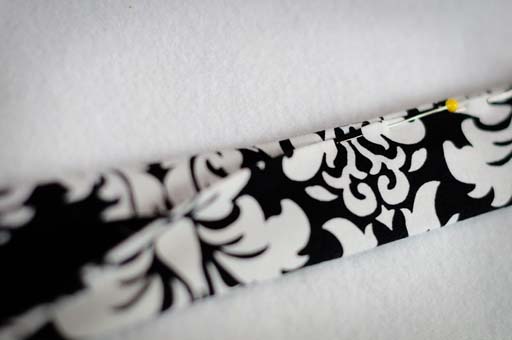
Fold the strap fabric around the old strap and pin close to one edge.  Then sew this long edge down on your machine.  (Oops, forgot a picture — the stitching will run approximately where the pin is in the picture below.)

Camera Strap

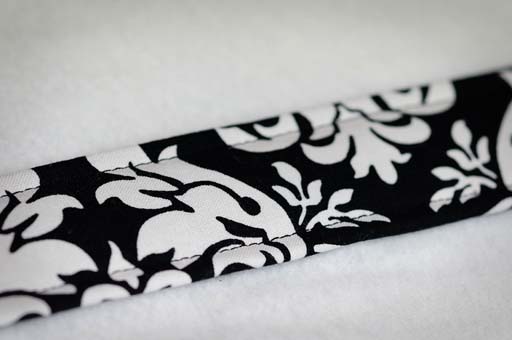
Turn the strap over and place another line of stitching along the other long side of the camera strap, the same distance in from the edge.  Your camera strap will now look like this:

Camera Strap

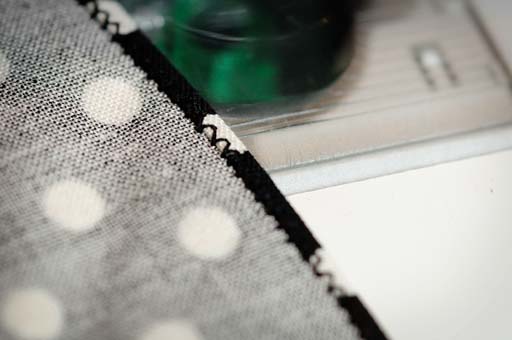
Now you need to prepare a ruffle for your camera strap.  I cut mine two times the length of the camera strap and 1/4″ wider.  How wide you cut your ruffle fabric will depend on how you finish the edges of the ruffle.  I finished mine with the narrow hem edge on my serger.  Unfortunately, you can’t really see it in this picture.  ;-(

Camera Strap

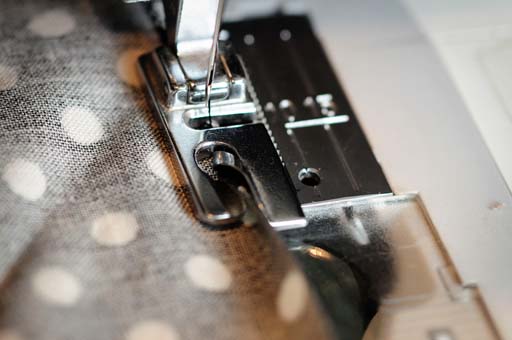
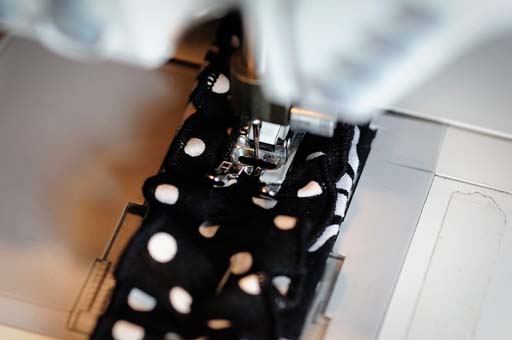
If you don’t have a serger, you can turn the edges under 1/4 inch and stitch with a zigzag stitch.  You can also use a narrow-hem foot.  Before I got my serger, I used to use this foot quite a bit — it’s really a handy foot to add to your foot library.

Camera Strap

See the little curli-que in the foot?  It rolls the fabric over as it runs through the foot, and then the needle sews the rolled fabric down.  Very cool.  I chose to use a very narrow zigzag stitch, but a straight stitch works just as well.

Camera Strap

Back to the ruffle.  Press it in half to mark a crease down the middle of the ruffle.

Camera Strap

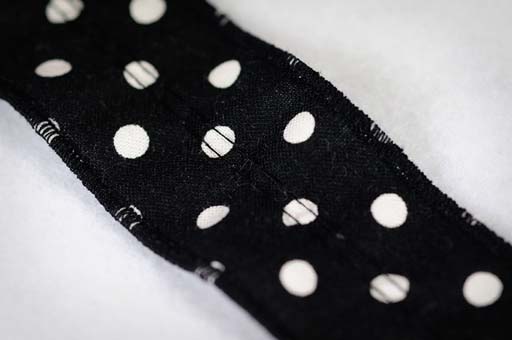
Adjust the stitch to a basting length on your machine, and then run a length of stitching just on either side of that middle crease, all the way down your ruffle.  You can gather fabric with just one line of stitching, but if you’ll just take the extra time to sew that second line whenever you need to make ruffles, your ruffles will be much prettier.

Camera Strap

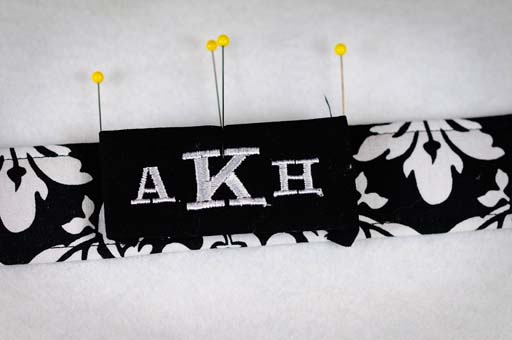
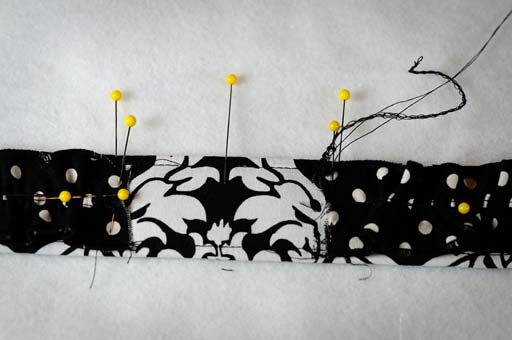
Now, for my strap, I decided to place a monogram label in the middle of the strap.  To do this, you need to mark the middle of your strap and the middle of your label and line them up.  Then, mark the edges of the label.

Camera Strap

Cut the ruffle in half and place an edge of each half just to the label side of the pins that marked the edge of the label.  Then, stitch those raw edges down, across the width of the camera strap.  (Don’t forget to return your straight stitch to it’s normal length.)  You don’t have to worry about these raw edges, they’ll be covered up by the label later.

Camera Strap

Now, from each outside end of the ruffle, pull on the bobbin threads of the two lines of basting stitches and gather, until each ruffle piece is the same length as it’s half of the camera strap.  Pin down the middle of the ruffle.

Camera Strap

Stitch down the middle of the ruffle.  You can remove the lines of basting stitches from the ruffles if you’d like — I chose to leave mine in, since my fabric is dark and they aren’t that visible.

Camera Strap

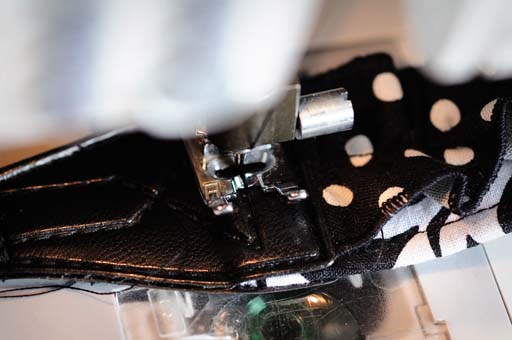
If you did a monogrammed or other label for the middle of the strap, stitch that down next. (Oops, another forgotten picture!) Place one end of the ruffley strap in between the ends of one of the strap holders.  Follow the old stitching lines and stitch the strap holder down.  Repeat for the other strap holder on the other end of the camera strap.

Camera Strap

And that’s it. You’re done. Attach it to your camera and you can go around announcing who YOU are, rather than who the camera is!

Camera Strap

I’m sorry my fabrics are so dark and hard to see, but hopefully, you get the idea.  Now, this week’s project is to try and get my backpack finished so the camera strap and backpack can match for a little while before that frilly ruffle wears out!

Have a good week everybody!

XOXO,
Anna
P.S.  Don’t forget — only a few days left of the Bella by the Bolt sale in the store — sale ends April 30th!

Spring Flowers

Hey – that was some serious fun — reading about all of YOUR recipe addictions.  It seems that MeMum isn’t alone in her little clipping obsession.  Thanks for all of the fun organizing ideas too.  You probably haven’t seen the last of those recipes.  ;-)

Crabapple

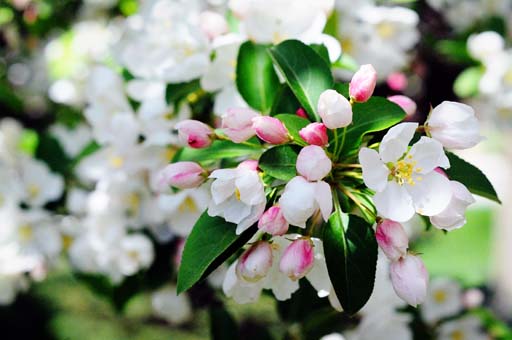
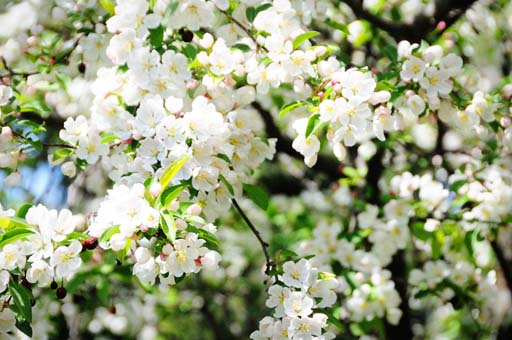
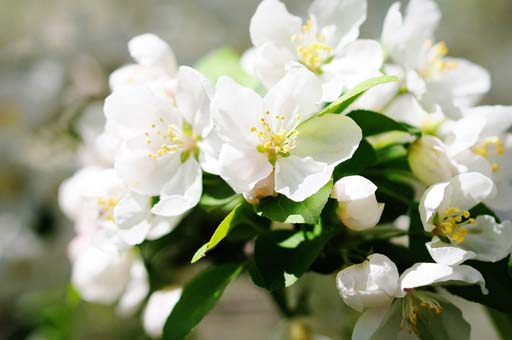
These are some pictures of the flowering crabapple in our backyard.  Isn’t she gorgeous?  I love this time of year when we get a pretty, but very brief burst of color from this tree.  I know she’s a she, because she smells like a girl.  I had our patio doors open tonight and the room smelled like it was full of fragrant flowers.  Yum!

Crabapple

We used to have a crabapple that had hot pink blooms in our front yard, but it was planted in the middle of an ivy bed and one spring, shortly after it bloomed, it died. Turns out, a nasty little rabbit hid in the ivy and ate a ring around the bark at the base of the tree and killed it. We keep the base of our pretty white tree in the backyard clear so that there will be NO hiding, bark eating bunnies.

Crabapple

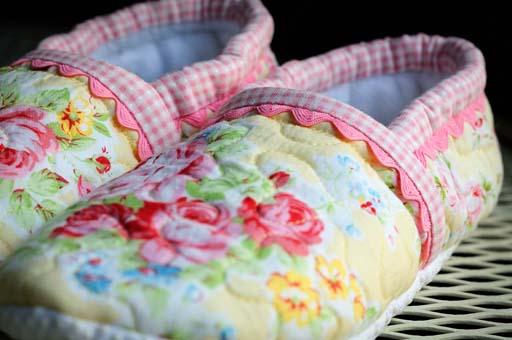
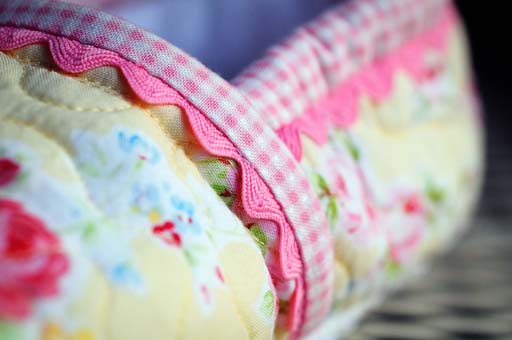
Still on the subject of flowers, I made this little pair of flowered slippers this week. The pattern is Foot Prints by Timber Lane Press.  The caterpillars met with an untimely demise shortly after Christmas and my tootsies have been cold since then.  I’m a big slipper wearer — both for warm feet and to prolong the life of my handknit socks.

Slippers

Only problem is, these little sweeties are just a bit too snug.  (Dang it BrigetteNoBlog (you need to post, hint hint) — you should have saved that snarky big feet comment that you left on one of my old sock posts for this special occasion!)  They only took a few hours to make, so hopefully I’ll have their replacements done in no time.

Slippers

And one last thing.  I saw these cute little dollar bill shirts on How About Orange.  I’ve entertained myself during BOOOORING telecons this week by wowing the guys at work with little shirts.  They’re really fun and easy to make.  I googled dollar bill origami and this project was by far my favorite!

Dollar Bill Shirt

So, that’s it for tonight.  Have a wonderful weekend — see you again in a few days!

XOXO,
Anna
Houston, We Have Pillowcases

Wow!  Thank you so much for all your lovely comments about The Wedding Quilt.  Several of you mentioned that I neglected to say whether the kids liked their quilt.  Yes — I think they did!  I received several wonderful text messages and a phone call from SweetiePie last week.  And we had a surprise visit from TheFirstChild on Monday and he said he loved it too.  Anyway, you’ve all been so sweet!  I’m thinking you deserve a little reward — look for a giveaway right around the corner. 
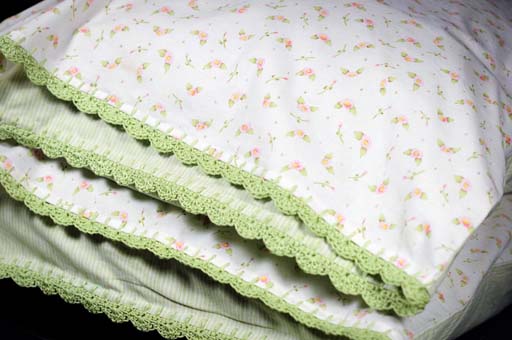
In the meantime, as part of my duties as a button-displaying member of Cassie’s crochet-along, I’ve finished some pillowcases this week.  They’re super fun to make and I love them!

Pillowcases

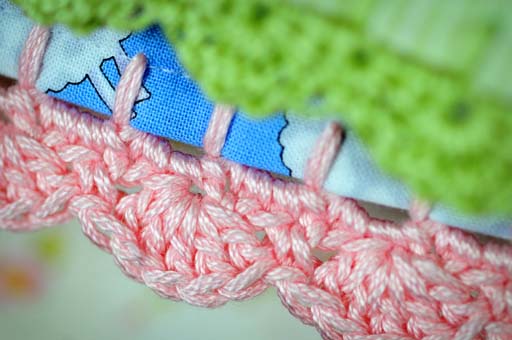
Cassie did a fantastic job with her instructions.  They’re clear and concise and her photos are perfect.  I do have just one little teeny, tiny complaint though.  Cassie, dearest…I think you severely underestimated the number of chocolates required for Step 3, A Firm Foundation.  Three???  Three measly chocolates for all that pain and suffering I had to endure while my yarn was all twisty and knotty???  The green crochet thread above wasn’t tooooo bad, but the pink yarn below was a pain in the b.u.t.t.  Step 3 may or may not have caused more bad words to slip out than quilting the wedding quilt!  I’m thinking at least 20 chocolates.  Yes, that would definitely soothe the pain.

Pillowcases

Shortly after I bought the pink flowers and green stripes, I found this little sheepy fabric.  I love sheepies and I thought it would be perfect for pillowcases.  I thought that pink yarn would be too heavy for this job, but it wasn’t too bad.  If it just hadn’t tangled so easily!  I really love the envelope style of the pillowcase — no more ugly pillows peeking out of pretty pillowcases.  I’ll definitely be making more of these in the future. 

Pillowcases

And one last thing, Knitter Sue and Yellow Beach Dog have very kindly given me Sunshine and Beautiful Blogger Awards.  Thank you so much ladies!  As they say in the UK, I’m rubbish at this sort of thing, so, I’ll just pass these along to everyone who is reading!

Now, I’m off to prepare a little goodie for a giveaway.  Have a great weekend!
XOXO,
Anna