A Purse Thingy
So, how was your weekend? Mine was fun, but exhausting. I decided to go and visit TheSecondChild on Saturday. It’s a six hour drive, so I got up early and I was down there by noon. I made a quick fabric shop stop and then TheSecondChild and I had a little lunch. Then we had a fun-filled afternoon of cleaning the house he lives in with 2 other 22-yr. old pigs guys. They had the clutter pretty well picked up, but boy, was it ever dirty. While we were cleaning, TheFirstChild and SweetiePie called to say they were on their way home from spring break in a crowded vehicle of seven people and would I mind meeting them on the road (we were traveling the same route) so that they could move to my car and then I would take them home? I was happy to have some travel time with them, but since we didn’t meet up until 10 p.m., we didn’t get to their place until 5 a.m. on Sunday morning. I slept there for about 4 hours and then came home. I’m getting too old for that college behavior!
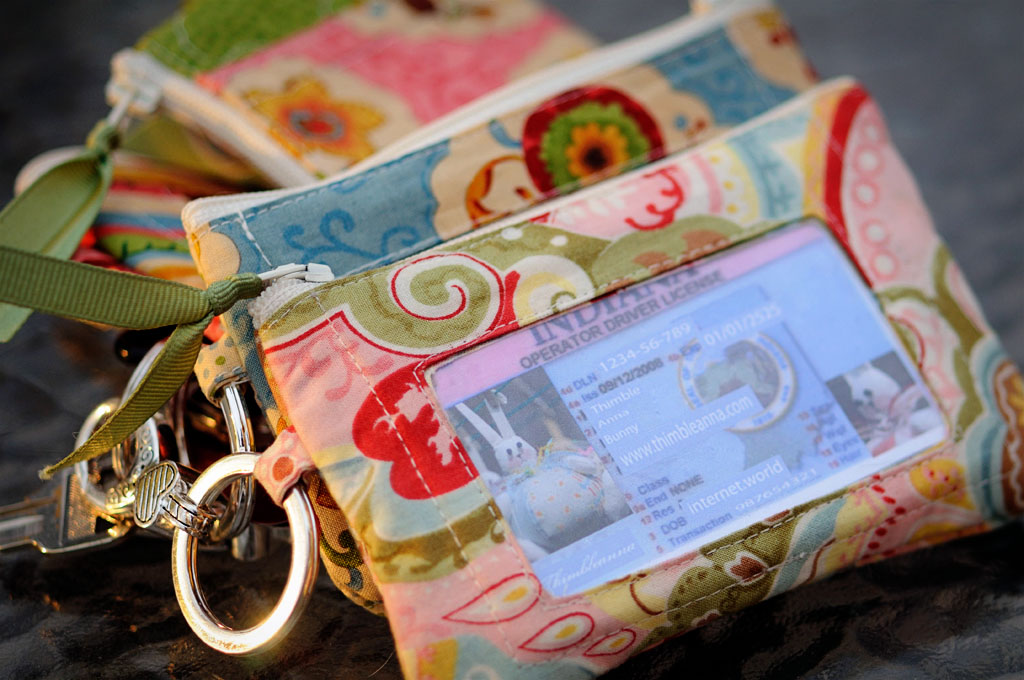
Anyway, last week. before all that excitement, I had fun making some little keychain cell phone id coin whatever-else-you-want-to-throw-in-there purses. I’ve seen little fabric/vinyl purses like this in the stores and I thought it would be fun to make some of my own. I’ve been using mine for about a week now and I love it for the times when I just want to run a quick errand (not to mention how convenient it is to just pull my id purse out of my pocket instead of rummaging through my big wallet when I’m in the airport.) Plus, I figured they will make nice little gifts for new graduates, bridesmaids, etc. now that spring is here.
They’re pretty easy to make and I thought you might like to make some too, so I took some pictures of the process and thought I’d write a little tutorial.
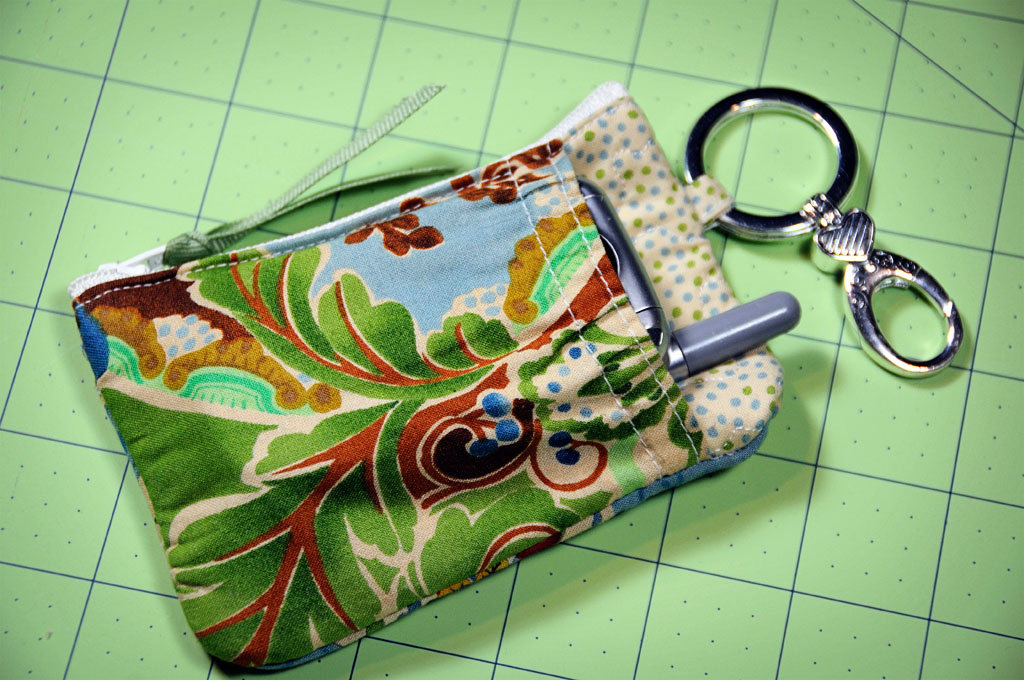
Here’s a shot of the back of the purse with my cell phone tucked into the little pocket.
So, shall we start? Here’s a picture of what you will need:
Some scraps of fabric — I used three different prints. You can use more or less, however you want your little purse to appear.
One 7-inch zipper.
One 3 1/4″ x 5 1/2″ scrap of quilt batting or heavy fabric like flannel.
One 3″ x 5 1/2″ piece of Heat and Bond or Wonder Under double sided fusible.
One 2 1/2″ x 3 3/4″ piece of vinyl.
One 6″ long piece of 1/2″ wide steam-a-seam.
One 3 3/4″ long piece of 1/4″ wide elastic.
One 5″ piece of coordinating ribbon for the zipper pull.
One keychain ring. The ones I used came from Michael’s craft store.
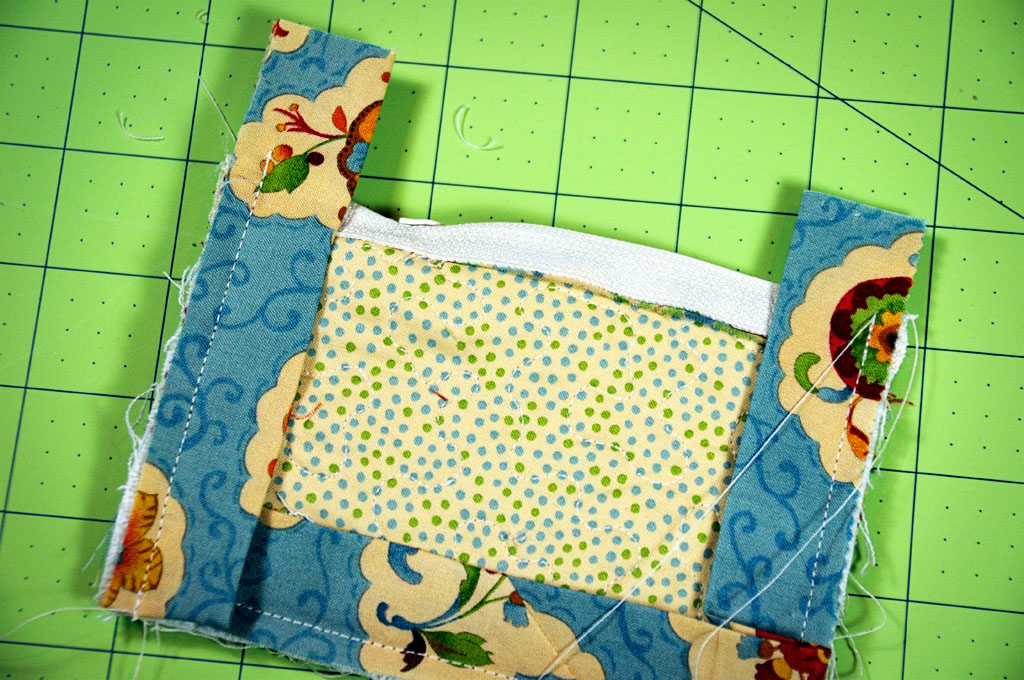
Purse Back: Cut a 7″ long x 5 1/2″ wide piece of fabric. Place the scrap of flannel on one end of the wrong side of the fabric and fold the other end over the top of the flannel. This will sandwich the flannel in between the larger piece of fabric.
Quilt this little sandwich however you would like — stipple, straight lines, or make up your own.
For the cell phone pocket, cut another piece of fabric, 8 1/2″ long x 4″ wide. Fold the fabric, wrong sides together, so that the 2 4″ edges meet at one end. Sew a line of stitching next to the folded edge. Then sew another parallel line of stitching, 3/8″ away from the first line. This will form the channel for the piece of elastic.
Feed the elastic through the channel and secure the elastic at each end of the channel with a tacking stitch. Your fabric will now have a slight gather across the top.
On the opposite end of this pocket, where the 4″ edges meet, sew a few lines of basting stitch 1/4″ and less from the raw edge. You’ll use this stitching to slightly draw up the end of the pocket.
Lay the quilted back on the table with the folded edge to your left and place the gathered pocket on top and to the bottom of the back so that there is a 1/4″ overlap along the left side. Press that 1/4″ overlap around the folded edge of the back. Slightly gather the basting stitches on the bottom of the pocket until the pocket is the same width as the quilted back. Secure with a few pins and set aside.
Purse Front: Cut a piece of fabric 7″ long x 5 1/2″ wide. From a piece of paper or cardstock, make a little window template that measures 1 3/4″ wide x 3″ long. Place the window template on one end of the fabric, 1″ from the end and centered width-wise. Trace around the template with a pencil. Draw another window 1″ from the other end of the fabric.
Draw another, smaller window 3/8″ in from each edge of the larger window. Cut out the smaller window and then clip the corners of each window up to the outer lines.
Turn the fabric over and press the 3/8″ edges to the inside of the window, folding along the pencil line.
Fold the two windows, wrong sides together, so that they meet each other and press. Slip the piece of vinyl between the two windows and secure with pins.
Take the window to the sewing machine and topstitch close to the edge to secure the vinyl between the two windows. Set aside.
Now you need to make a piece of fabric that will go behind the window to form a pocket to hold an ID. Cut a piece of fabric 5 1/2″ wide x 6″ long. Place the piece of wonder under along the wrong side of one end and press.
Peel the paper off of the wonder under, fold the end of the fabric over the wonder under and press again. Now you will have a little wonder-undered sandwich of fabric. Set aside.
Assembly: Take the 6″ long piece of steam-a-seam and cut it in half horizontally. You will now have two pieces of steam-a-seam that are 1/4″ wide x 6″ long. Flip the purse back over and press the steam-a-seam along the edge where the cell-phone pocket wraps around the folded edge of the back. This is a little tricky, as the quilted piece will try and slip away from the folded edge that overlaps it.
Peel the paper off of the steam-a-seam and center the purse back along one edge of the zipper and press until the purse back is adhered to the zipper. This will help hold the fabric in place along the zipper until it can be stitched. Repeat this step for the window piece, placing the steam-a-seam along the folded edge of the window piece and ironing the window piece to the other side of the zipper. Be careful not to place the iron on top of the vinyl or you will have a sticky, gooey, melted mess.
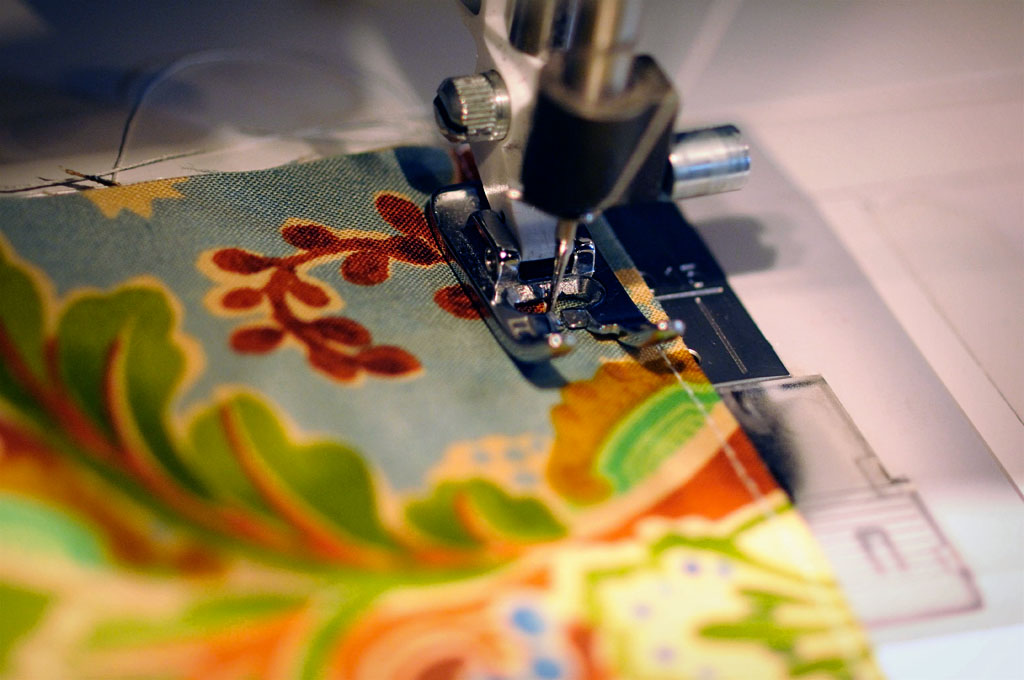
Stitch both the front and back pieces to the zipper, using your zipper foot and stitching closely to the edge. You might need pins to help keep the quilted back piece tucked up into the edge of the cell phone pocket, so that the stitching will catch the quilted edge.
For the little key-chain tab, cut a scrap of fabric 1 1/4″ wide x 1 1/2″ long. Fold in 1/4″ on each long side and press, then fold wrong sides together and press again. Stitch along the folded edges to hold the fabric together.
Fold the little tab in half and pin along one edge of the window front, about 1 inch down from the zipper.
Oops! We forgot to place the wonder-undered sandwich of fabric behind the window to form the id pocket. Ideally, you would do this before you attach the window half to the zipper, but you can do that now. Place the pocket on the back side of the window, so that the pocket overlaps the top of the window. If the raw edge of the pocket is longer than the window piece, don’t worry, you can trim it later. The folded edge of the pocket will run along the edge of the zipper, but not necessarily right up to the zipper. Pin the pocket in place.
Flip over and stitch approximately 3/8″ from the edge of the vinyl on three sides of the window, leaving the top edge open. Start and end up against the zipper.
Fold right sides of the purse together, with the zipper forming one edge and stitch a 1/4″ seam along the three non-zipper edges. Be careful when stitching across the zipper on each end — I like to use the hand wheel on my machine and take it slowly so the needle won’t hit the zipper teeth. (Make sure you have unzipped the zipper at least 1/2 way before you stitch the 1/4 inch seams or you won’t be able to turn the purse when you are finished.) Trim the ends of the zipper off.
Cut a binding, 15″ long x 2″ wide. Press binding in half, length-wise, wrong sides together. Sew binding around raw edges of purse, leaving tails at the zipper edge. You can find instructions for how to sew the corners HERE — I did this binding just like you would a quilt binding.
Wrap the binding around to the opposite side, tuck the tails in, and stitch the binding down. I just left my tail ends raw since they’ll be protected inside the coin purse, but you might want to give them a prettier finish.
Turn the little coin purse inside out, attach a key ring on the tab, stick the ribbon through the hole in the zipper tab and Voila! you’re finished! (Note: The corners will not pop out perfectly square because of the bulk of the binding. This doesn’t bother me, but if it bothers you, you might want to make a bias binding and make rounded edges to your coin purse.)
So, that’s it. It seems long and involved, but each step actually goes quickly, and it doesn’t take very long to make one of these little purses. Make more than one while you’re at it. If you make any, let me know — I’d love to see them.
Have a good week!
XOXO,
Anna

