Thimbleanna

A Bunch of Random

It’s the first Thursday of the month so that means it’s time for another recipe box swap. As always, Randi, at I Have to Say, is hosting and this month it’s a no-theme month, so we can post one of our favorite recipes.

Photobucket

I have a new favorite this month! When we had our quilty peep sewing day last weekend, Peep Jewels brought an awesome Lemon Dessert. I LOVE creamy foods and nuts and this recipe combines the two. Jewels has very kindly allowed me to share this recipe — I think you’ll like it, especially if you need something good for your next friend or family get-together. You can find the recipe HERE. Thanks Jewels for sharing your great recipe!  (Excuse that stray nut in the creamy top, it jumped up there from the crust.)

Lemon Dessert

I’ve recently been given several awards and {gasp} I can’t remember who they’ve been from.  Two that I do remember were from the adorable Petits Details and Not-So-Plain Jane.  They both have beautiful blogs that I enjoy reading, and just like Jewel’s Lemon Dessert, I think you’ll enjoy them too.  If you’ve given me an award and I’ve forgotten it, I’m so sorry — it’s a well known fact here in ThimbleannaLand that I’m forgetful and that I’m just awful with awards.  They make me blush.  Anyway, thanks are in order, so THANK YOU.  I do very much appreciate the blog love!

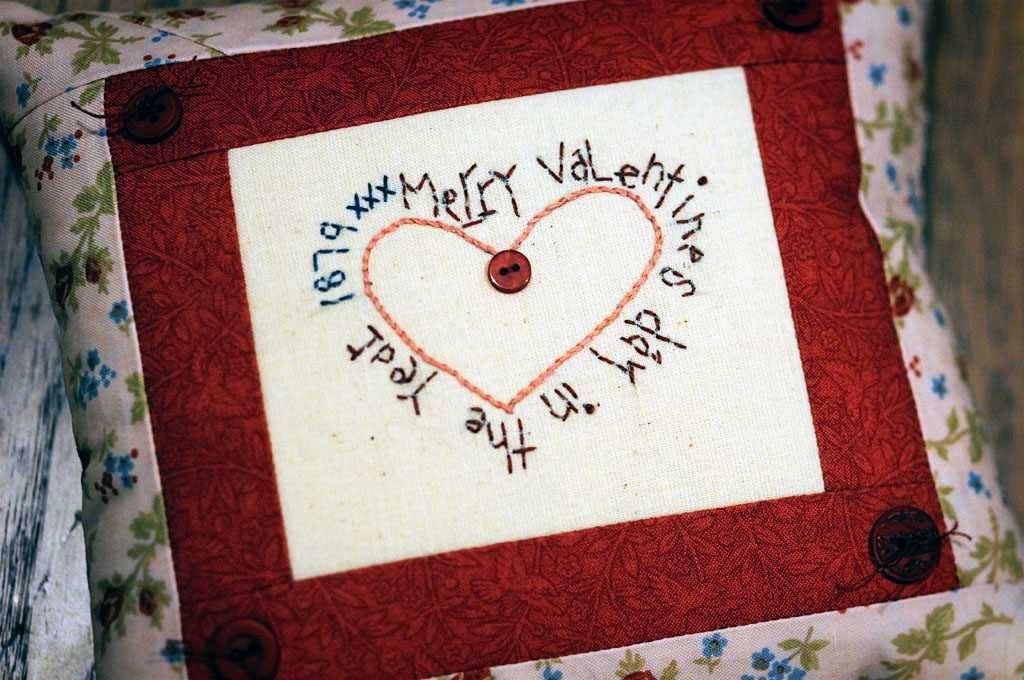
And while we’re on the subject of extreme blogging kindness and my awful manners, Ms. Geranium sent me a cute little Valentine pillow and I’m dreadfully late in expressing my thanks. In my defense, apparently the postman was fondling my pillow, because the postal service had it for 2 1/2 weeks. It could have gone to Scotland and back twice in that amount of time! So, THANK YOU Sharon, I love my new little pillow and I’m looking forward to adding it to my Valentine decorations every year.  Isn’t it cute?

Sharon's Gift

Thanks to Woollie Wanderings (another fabulous new discovery) I found out that the woman who did all those teeny tiny sweaters for Coraline lives right here in Indiana. If you haven’t been to her website, you should check it out — her art is a-m-a-z-i-n-g. (And look Cassie — she has 10 yr. old triplets, too!)

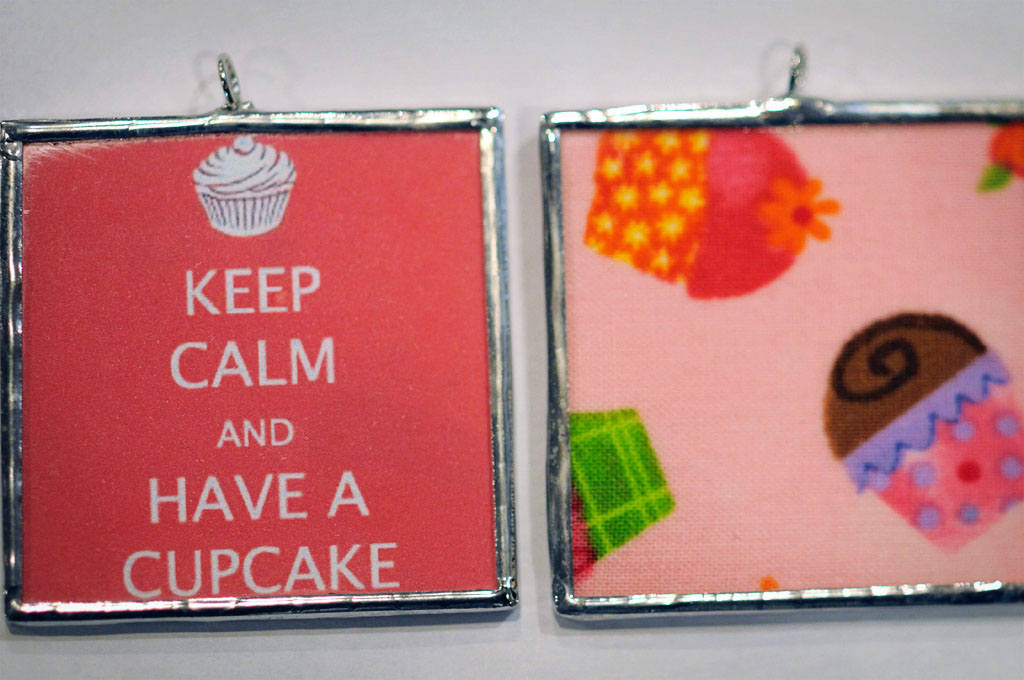
After the last post, Miss Marzie asked if she could see more of the pendants that the quilty peeps and I made last weekend. Of course you can … and please excuse my poor manners!  We shamelessly copied some of the Keep Calm and Carry On knock-offs.  We also tried a new thing this time … we put fabric on the back side of some of them.  It worked out surprisingly well.  This one is 2 x 2 inches.

Pendants

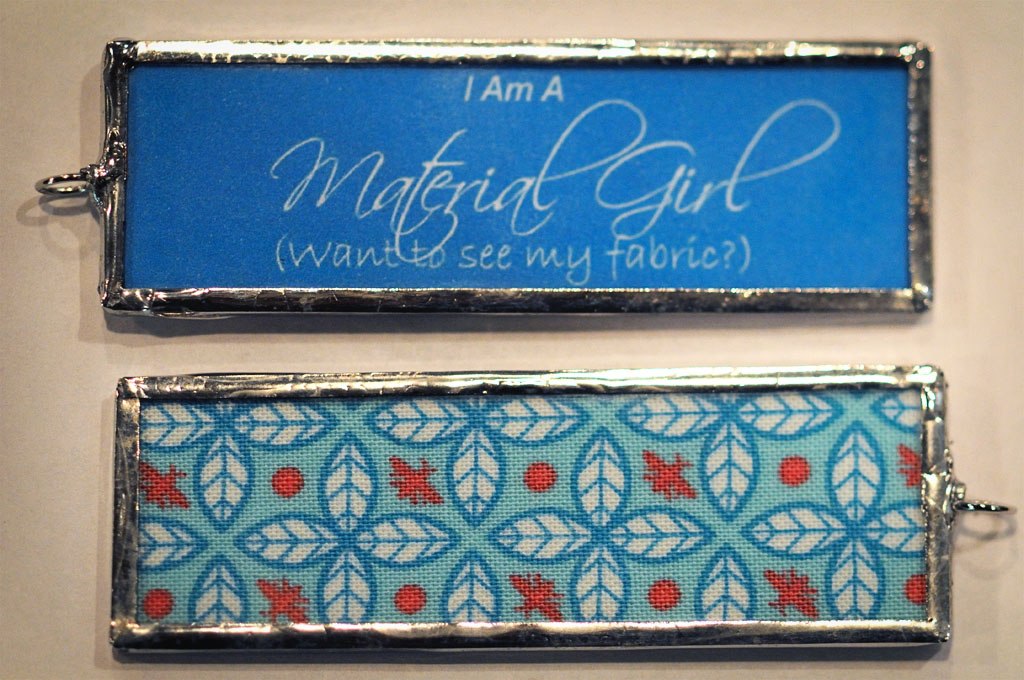
Can you read this one ok?  Is says I Am (next time I’ll put I’m) a Material Girl (want to see my fabric?)  I really like the fabric that we put on the back of this one.  This one is 1 x 3 inches.

Pendants

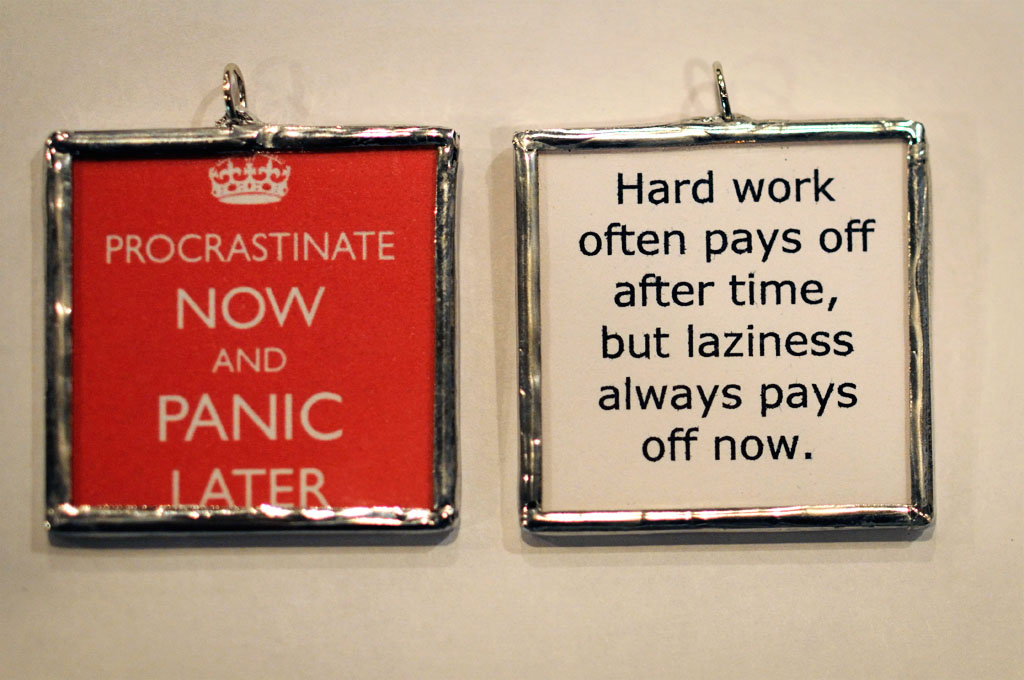
This one is probably my favorite, with my all-time favorite quote from Despair.com.  They have some REALLY funny stuff over there and I’ve been a huge fan for years.  And boy, if there’s ever been a better time for their de-motivational stuff, now is it!

Pendants

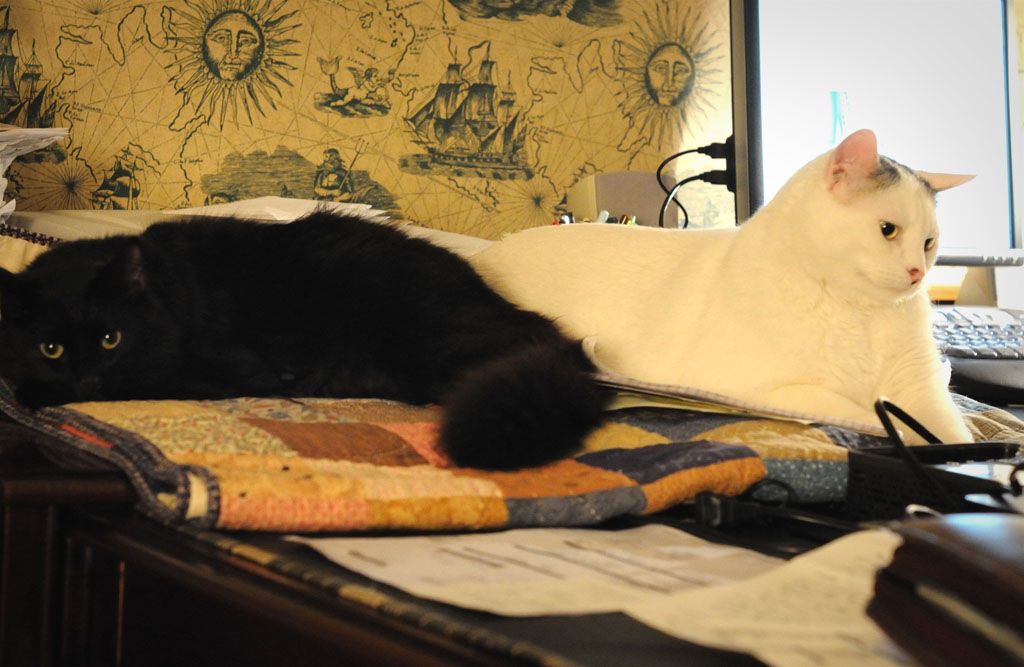
And finally, I’ll leave you with a shot of my two little buddies. Whenever I’m on the computer, they insist on lying on the desk by me. I put them on the floor…they jump back up…I put them on the floor…they jump back up…over and over again. I finally gave up and put a blanket up here to protect the desk. I figured I could spend all my time messing with the kitties, or I could get something done. TheManoftheHouse is having a Cow. But then, he’s in the other room and the kitties know that. ;-)  These are going to be two very sad kitties when little Paul has to go back home.  ;-(

Two Kitties

Whew!  That’s it.  I’m sure you’re relieved — if you’re still with me — I heart you!  I hope you all have a wonderful weekend!

XOXO,
Anna

A Good Weekend

Well Hello!  Did all you invisible friends have a good weekend?  Mine was pretty busy with activities that ranged from some cleaning, knitting and then ripping out that which was knitted, and stripping wallpaper.  Good clean fun!  In the middle of it all I had a wonderful day with my quilty peeps (we missed you Gurney!)  We like to get together every now and then for a sewing day, and Saturday was the day.

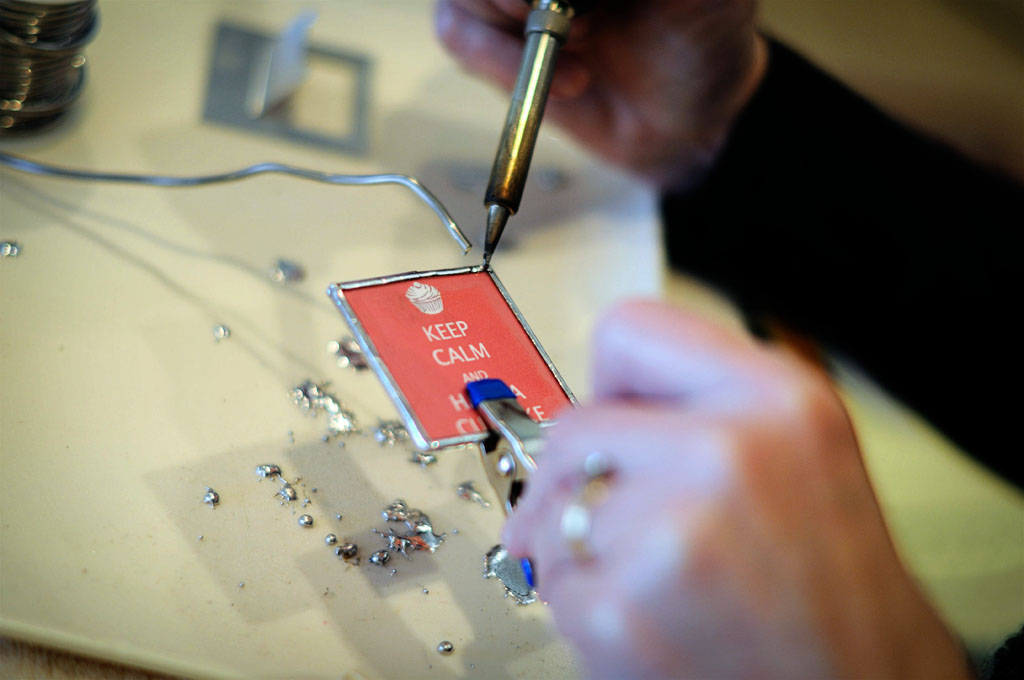
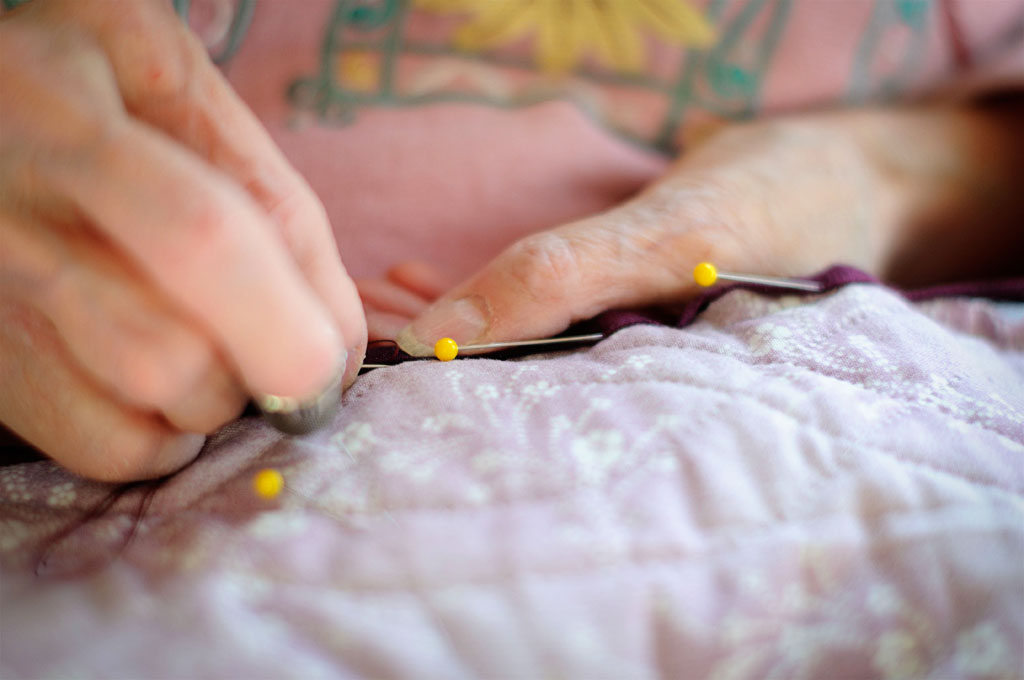
We started the day off by teaching the peeps how to make soldered pendants.  I’m paying forward the skills that Beckie taught me just over a year ago.  I sure wish Beckie had been here though — I think I’m not quite up to Beckie’s standards.  The pendants I made at Beckie’s are still my best ones.  Anyway, Junie and Jewels did a great job — I hope they’ll try them again.

Peep Day

Shortly before lunchtime, MeMum joined us which added to the fun.  We stopped soldering so that we could make an appetizer (more on that later).  Then I made lunch while Junie finished up her pendants, Jewels started sewing and MeMum got her project unpacked.

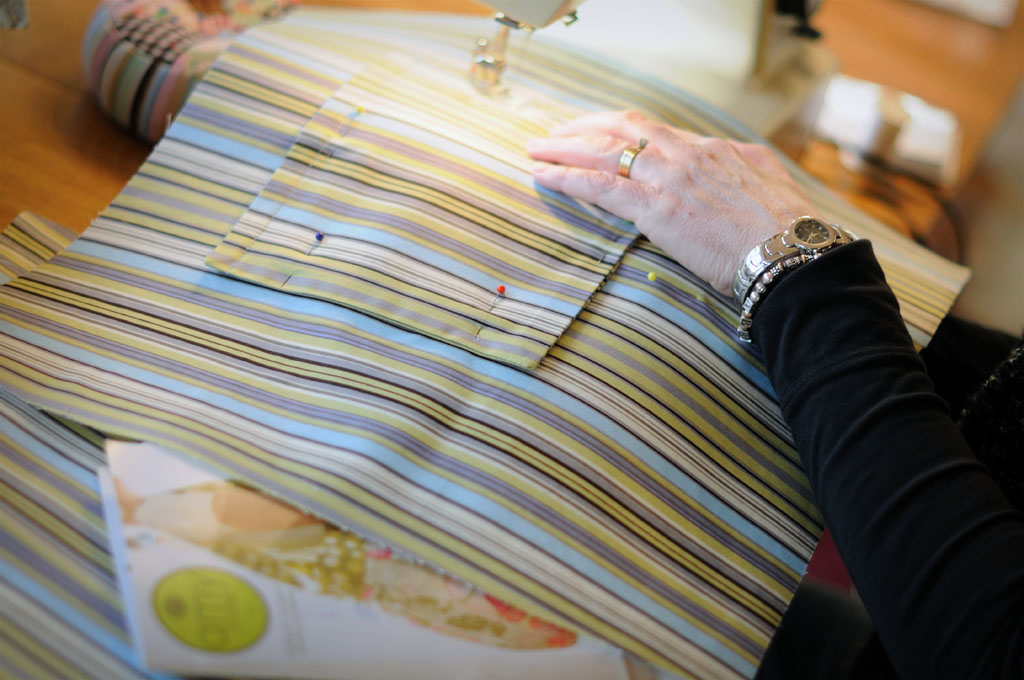
After lunch, it was back to work.  Junie worked on an Amy Butler bag.  This is the lining.  I forgot to get a shot of the rest of the fabric — I think it was Amy Butler fabric and I loved it.  The handles were big blue/gray polkadots.

Peep Day

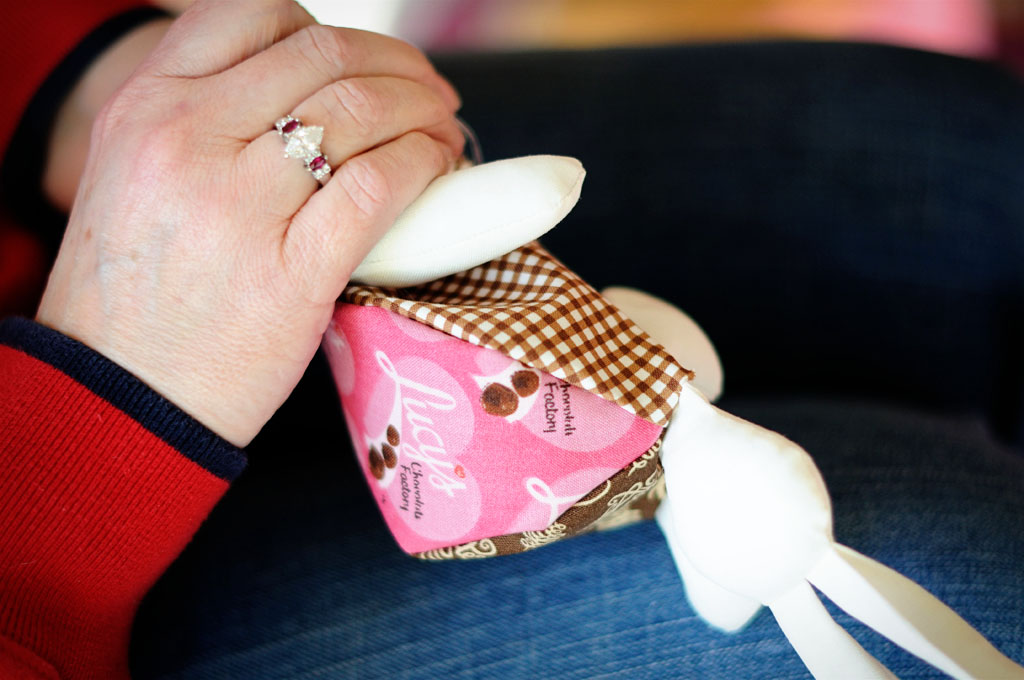
Jewels worked on a bunny pincushion.  She’s a HUGE I Love Lucy fan and she decided to use some of the cute new Lucy fabric in her bunny.  This is going to be one adorable bunny!

Peep Day

And MeMum worked on binding her flying geese quilt.  She hand quilted this quilt, which as you know, takes a long time, so it will be fun to see this quilt finally finished.

Peep Day

And I worked on….puttering.  Didn’t get much done.  I had a hard time deciding what to do and finally just ended up cutting out some blocks.  Not much exciting to show there.

So … back to that appetizer.  MyDadLovesMeBestSister is the queen of fabulous Brie recipes and she made some last year for SweetiePie’s wedding shower.  I liked one of them so much I made it for my book group in December and it was a big hit.  Junie hosted a wedding shower last weekend and she used it too.  Since she had some extra ingredients, we decided to make it for our sewing day and take pictures for all of you invisible friends — you know, just in case you need a great appetizer recipe to add to your repertoire.

Brie

You will need:
1 package frozen puff pastry, thawed
1 Small wheel Brie Cheese (the one pictured here was perfect for the four of us, but I used a bigger size for my book group)
1 small jar apricot preserves
1 bag slivered almonds

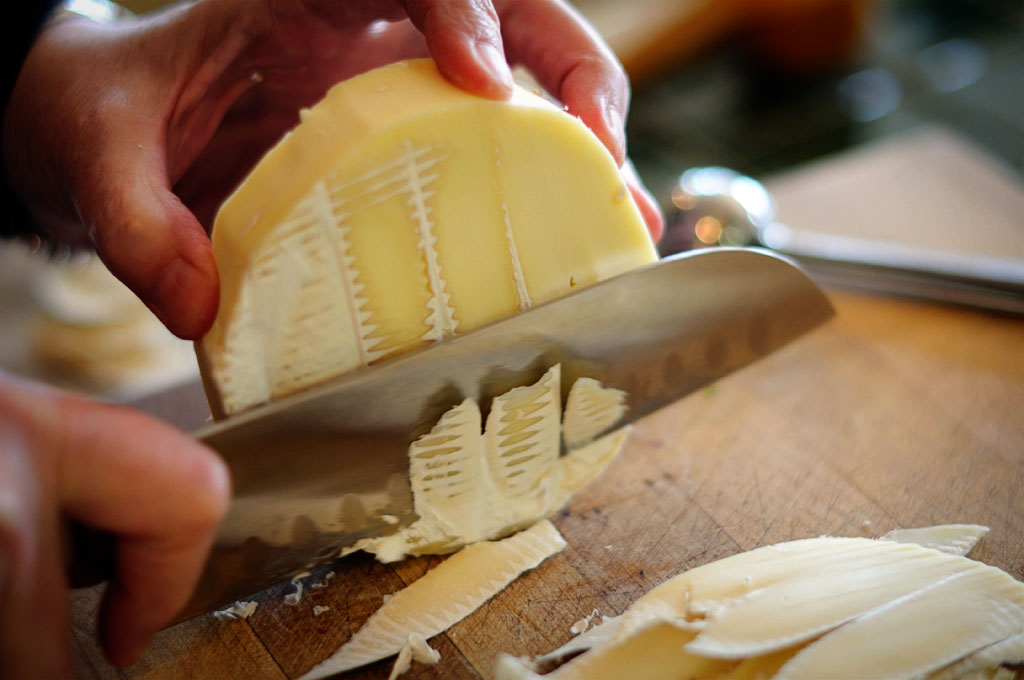
We debated about whether to trim the crust off of the Brie or not.  MyDadLovesMeBestSister and I didn’t trim it and it was fine.  But Junie did trim it, so she showed me how she did it.  I’ll probably trim the crust from now on — I think it makes the finished brie easier to cut into and it’s good to make things easy on your guests.

Brie

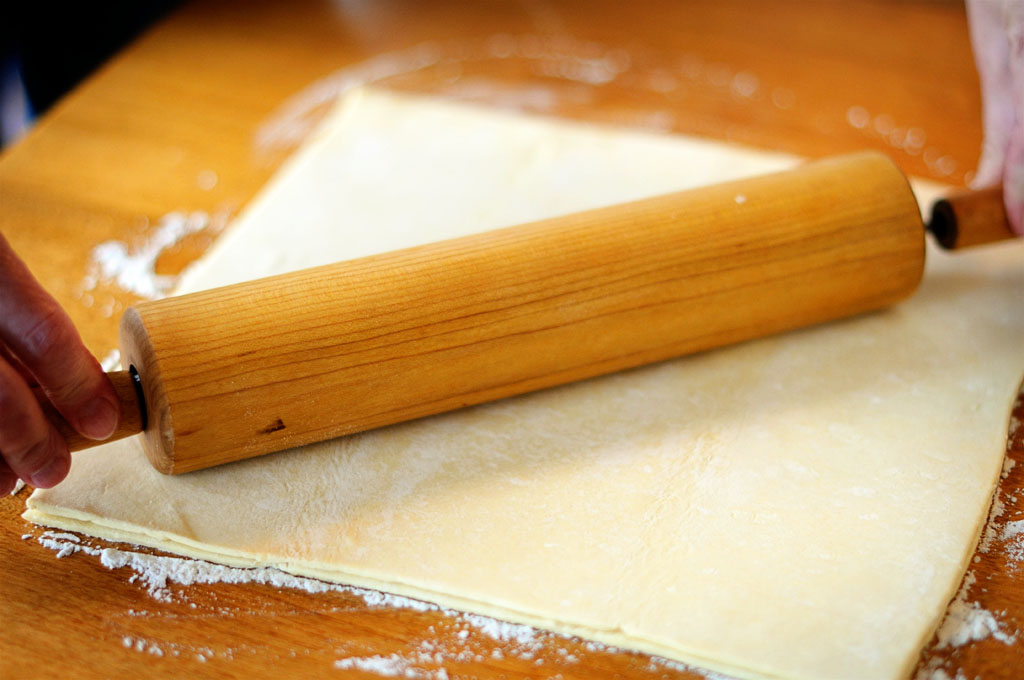
The package of pastry should have two sheets in it.  Place one sheet on top of the other one and roll them out into a 14 inch square.

Brie

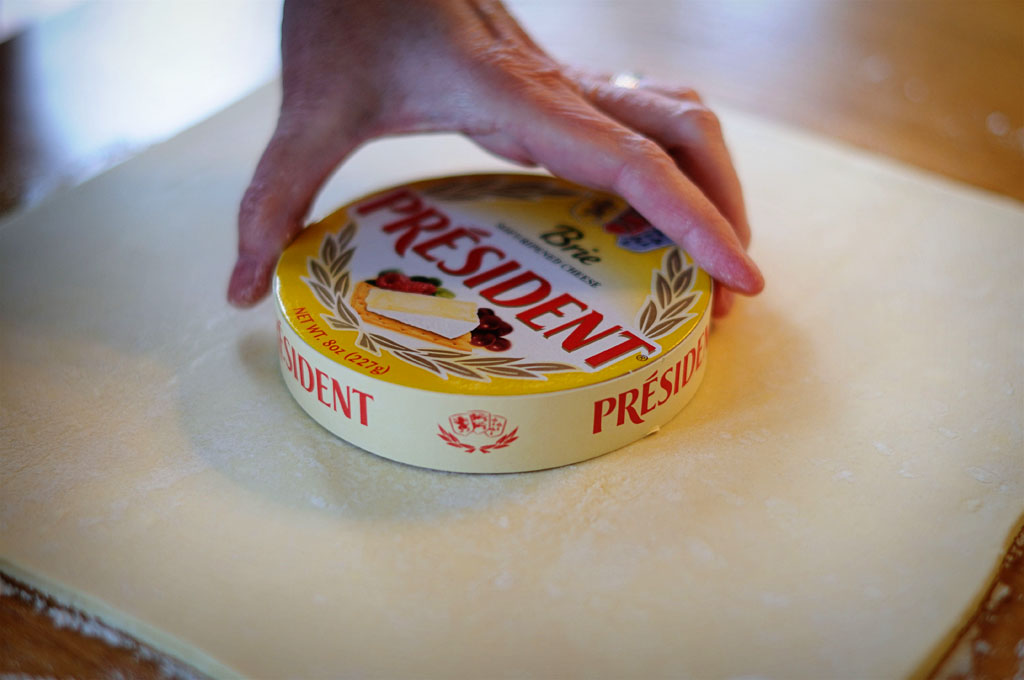
Take the cover of the Brie and press it lightly onto the puff pastry.  This will give you a guide for placing your ingredients.

Brie

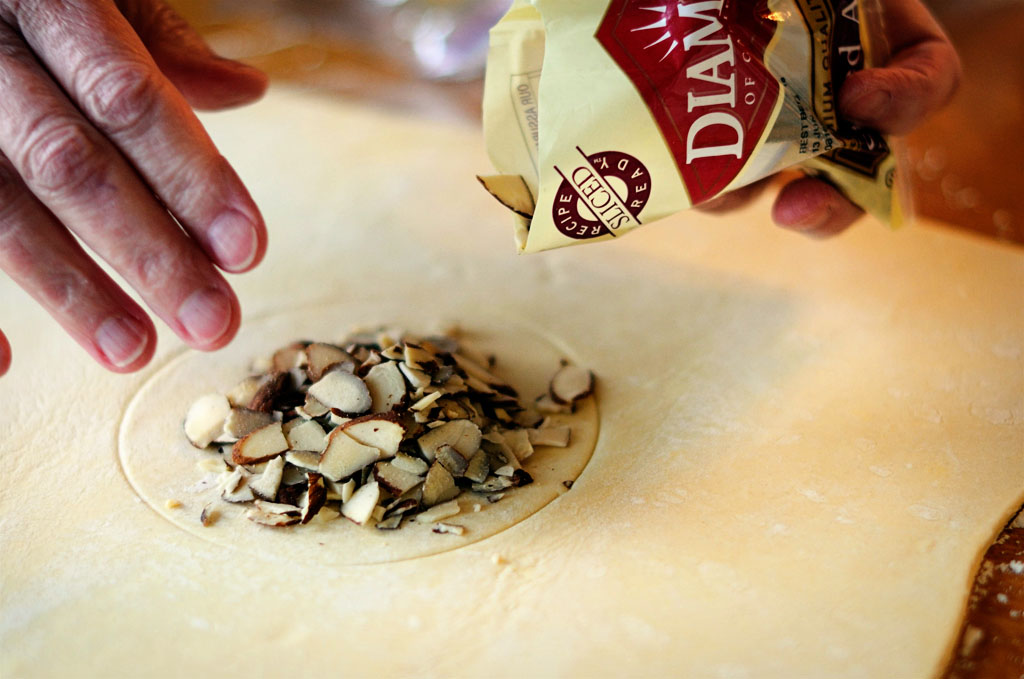
Sprinkle a layer of almonds onto the puff pastry.

Brie

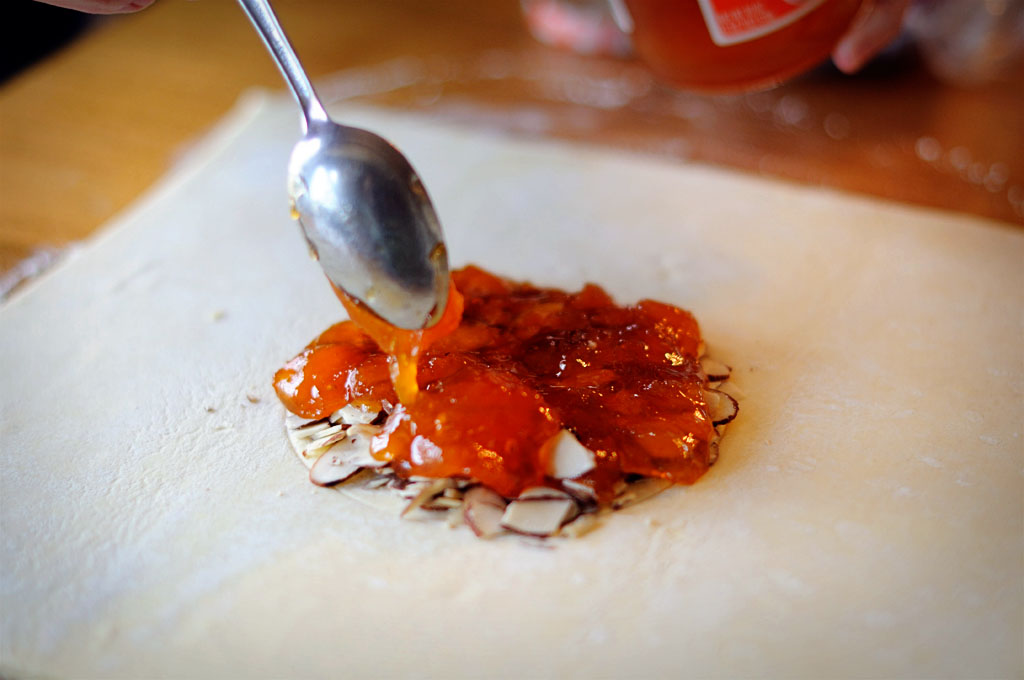
Spoon some apricot preserves onto the almonds.  We made the layer about 1/4 inch thick.

Brie

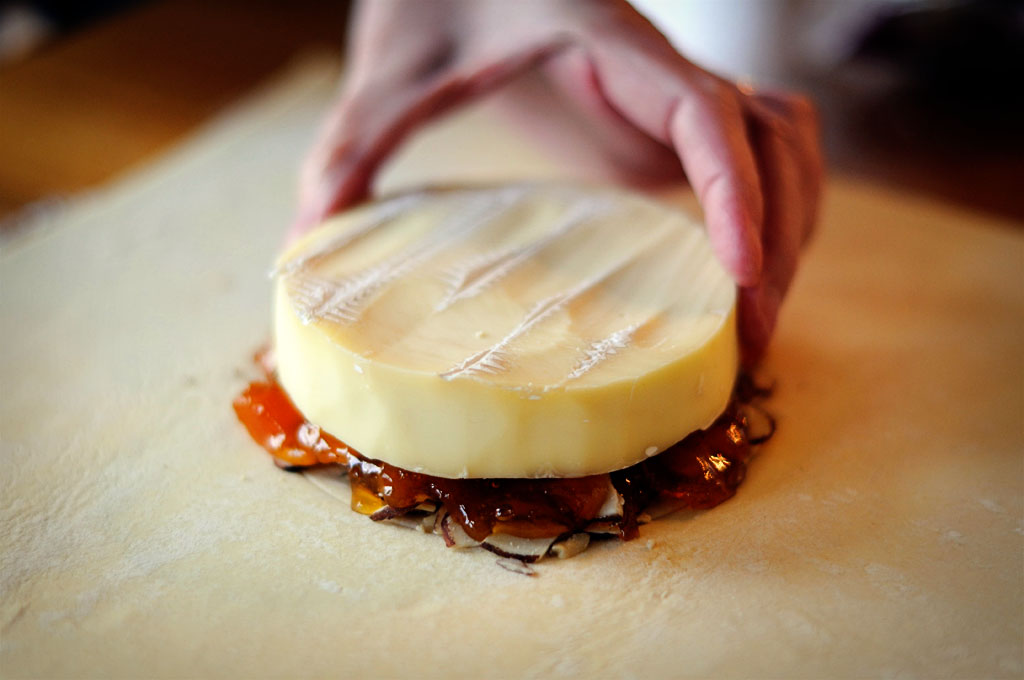
Place the Brie wheel on top of the apricot preserves.

Brie

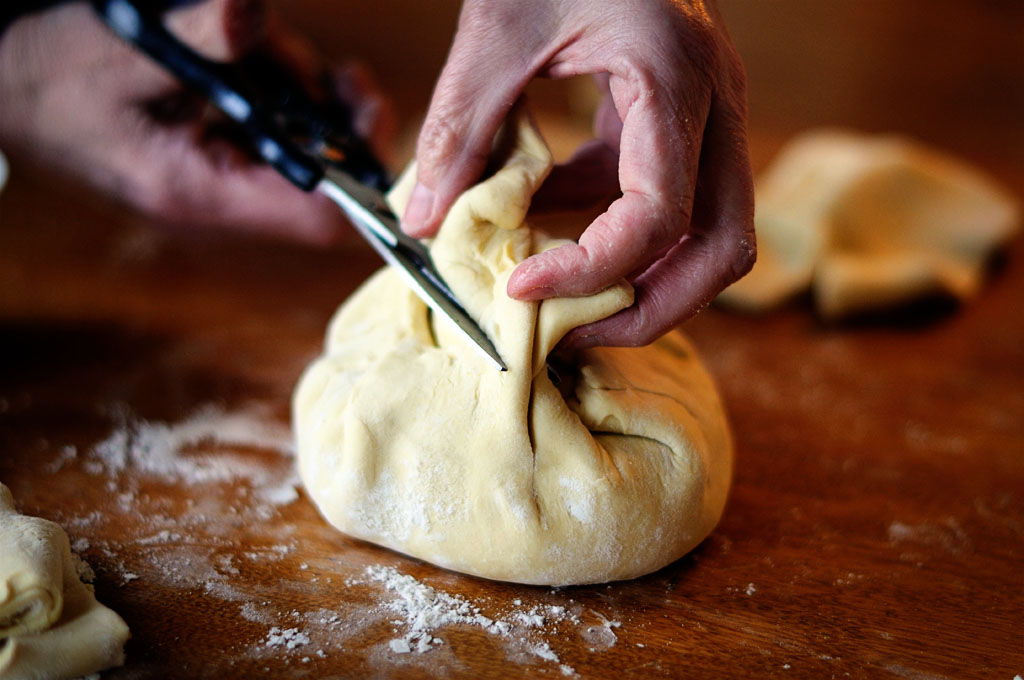
Pull the corners of the puff pastry up around the Brie.  Trim off excess dough and then put a bit of water on your fingers and then onto the dough to help seal the seams.

Brie

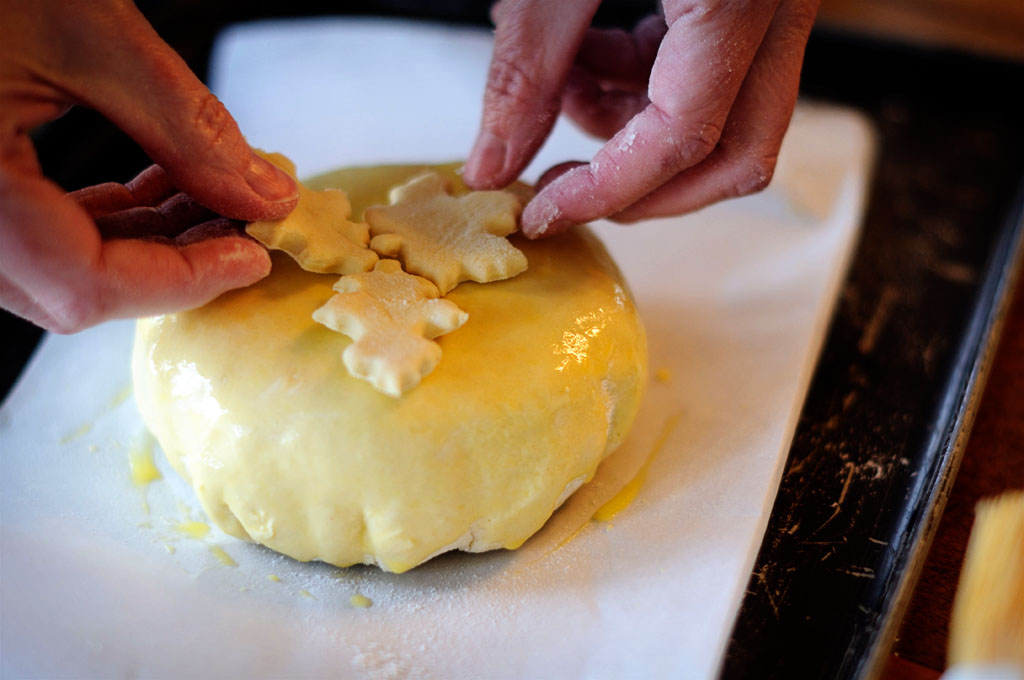
Flip the brie pastry over and place seam side down onto a piece of parchment paper on a cookie sheet.  Brush the top of the pastry with an egg wash (one egg whisked with a tablespoon or two of water) and place some decorative cutouts (from the leftover puff pastry) onto the brie.

Brie

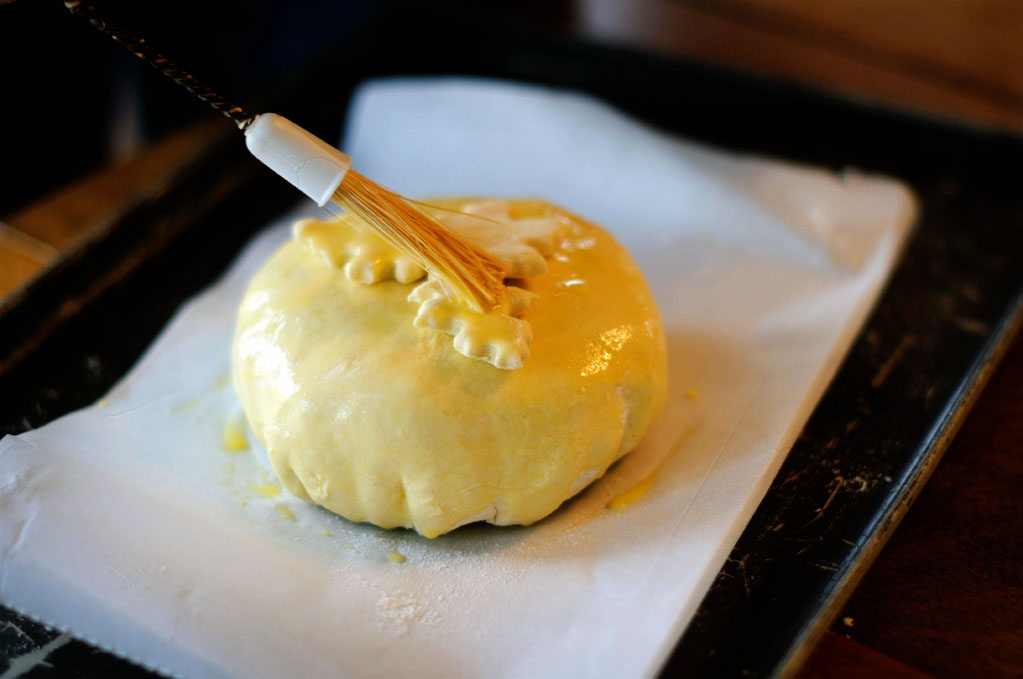
Finish by brushing the entire puff pastry with the egg wash.  Bake at 350 degrees for approximately 25 minutes.  To keep from browning too much, we tented aluminum foil over the Brie for the first 15 minutes.  After 25 minutes, I thought it could use a little more time, so I bumped the temperature up to 400 degrees and kept an eye on it for another 5 to 10 minutes.  I really don’t think 25 minutes is quite long enough to get the brie nice and soft.

Brie

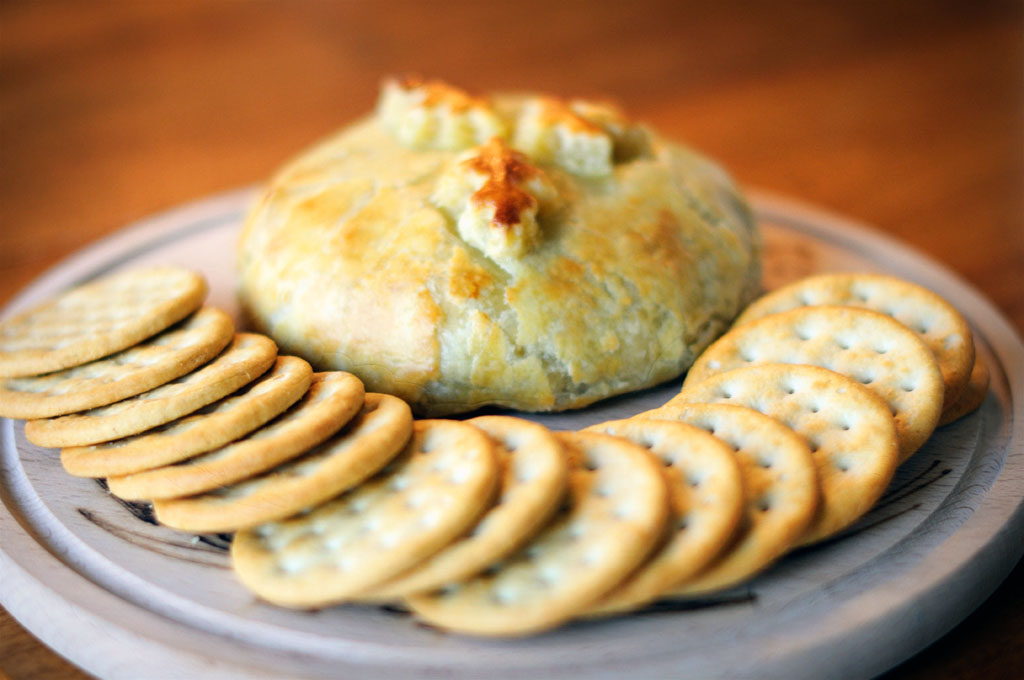
Remove from oven and Voila!  Serve with crackers while still warm.  This is YUMMY, Yummy!!!  I promise, your guests will love it.

Brie

Thank you, Thank you Junie, Jewels and MeMum for spending a fabulous day together (and for being the hand models in my pictures LOL.)  A day spent with the quilty peeps and MeMum is the BEST!  I hope we can do it again soon.

XOXO,
Anna

Shilasdair

Ooops!  I sort of fell off of the blog wagon this week.  Earlier in the week I received an e-mail that detailed some reduced air fares, which, when combined with the boredom of a very gray late February, made me start to think of potential summer vacations.  Unfortunately, I mis-read the rates and thought they were a much better deal than they actually were, so I guess I won’t be flying anywhere this summer.  ;-(

I had to console myself by looking through some pictures from our last trip to Scotland.  And, just in case you’re a knitter and you happen to be planning a trip to Scotland this summer (the dollar is doing much better against the GBP now than it was last fall!) I thought you might like to see a fun knitterly place to visit.

Shilasdair

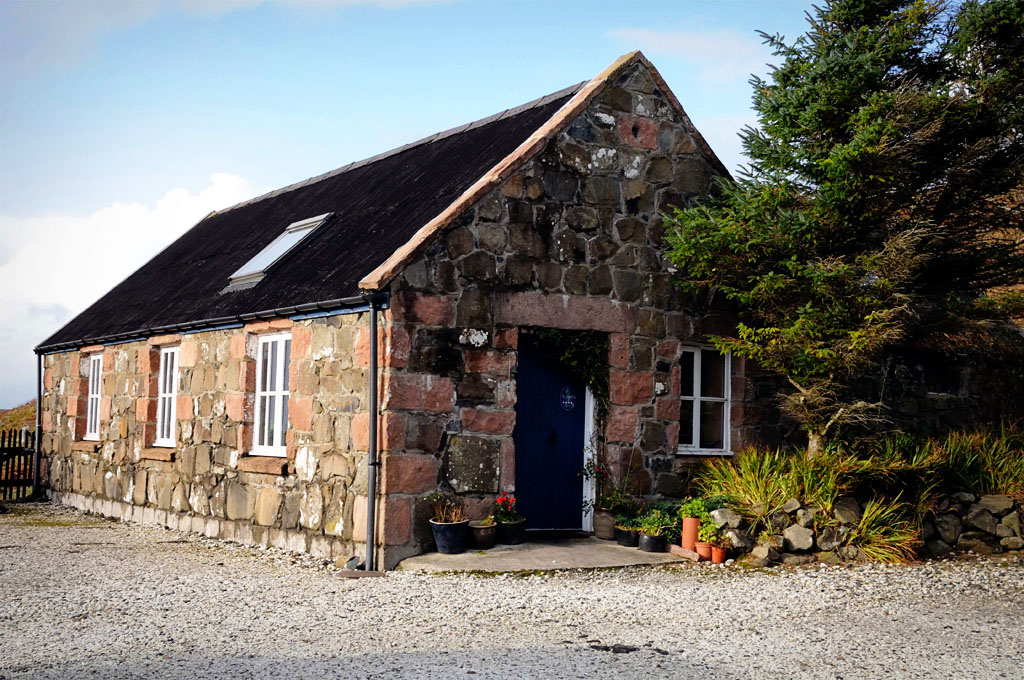
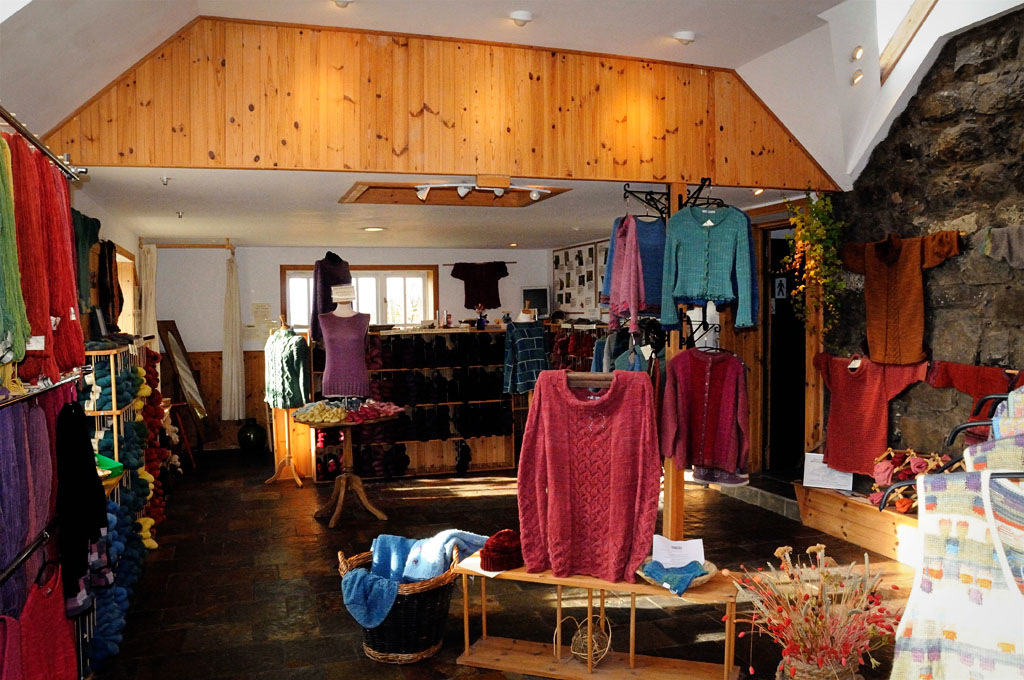
This is Shilasdair on the Isle of Skye.  Shilasdair is a small yarn studio known for their yarn dying.  The shop is in a pretty little rock building, in a very small village with spectacular views of the water, off of the northern end of the Isle of Skye.  We were greeted by the owner, Eva.  (Oops, I didn’t get a picture, but there’s one on her website.)

Shilasdair

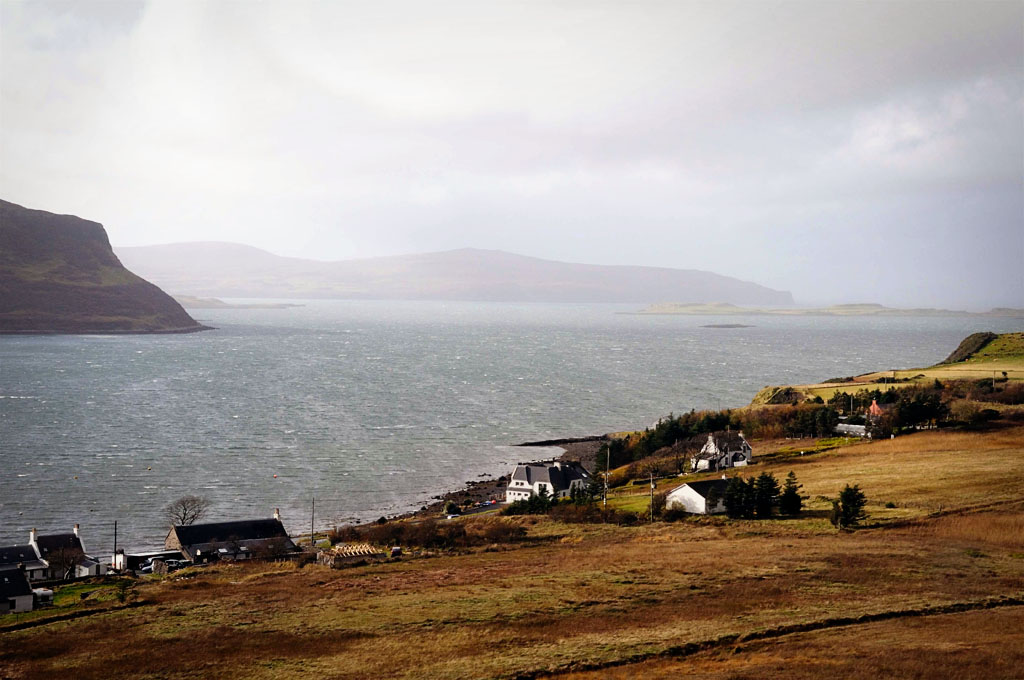
Above, you can see the gorgeous view just beyond the shop.

Shilasdair

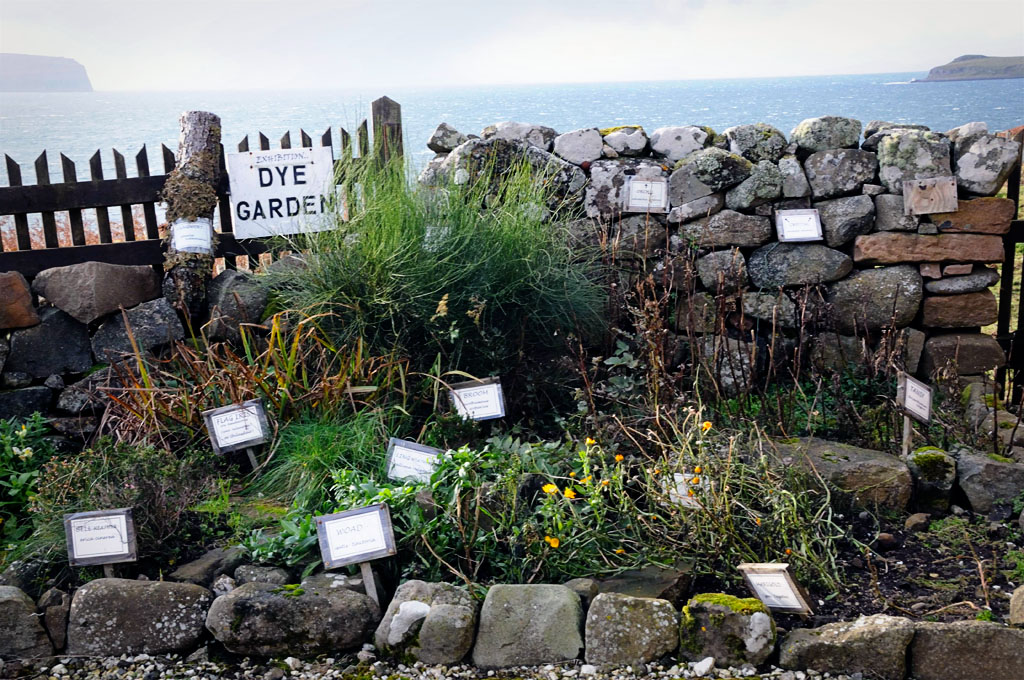
Just to the left of the shop is the dye garden where Eva grows plants that make the dyes.  All of the dyes are natural but surprisingly, the yarn does not come from the Isle of Skye (despite all the grazing sheep!)  Eva said that Isle of Skye wool is very coarse and 95% of it is shipped to I-can’t-remember-where in central Europe to be used in things like mattresses.

Shilasdair1 Shilasdair1

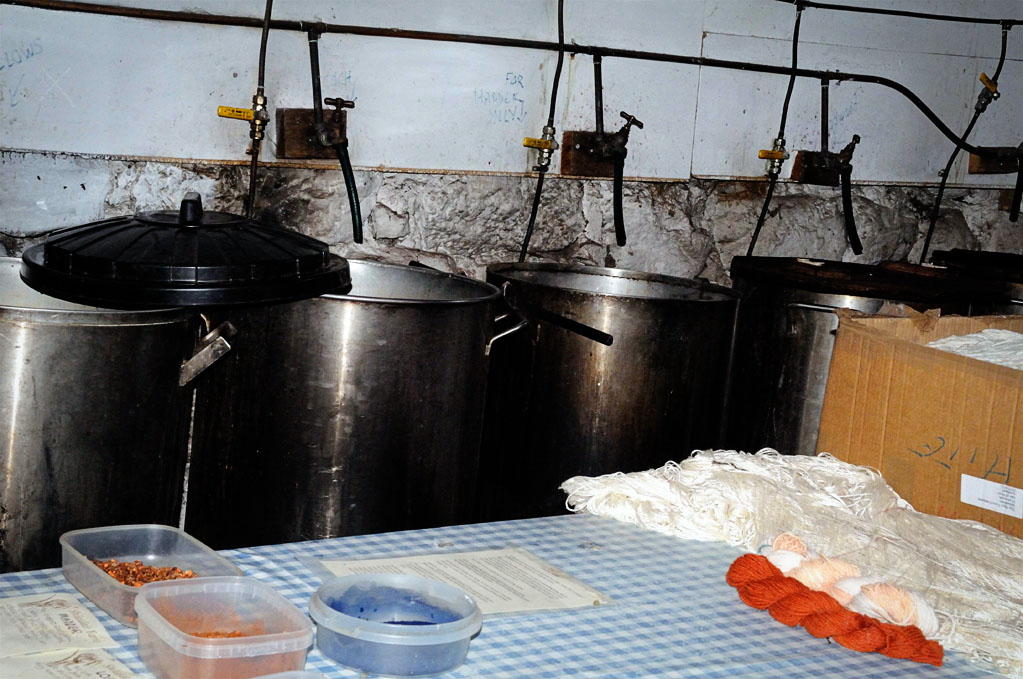
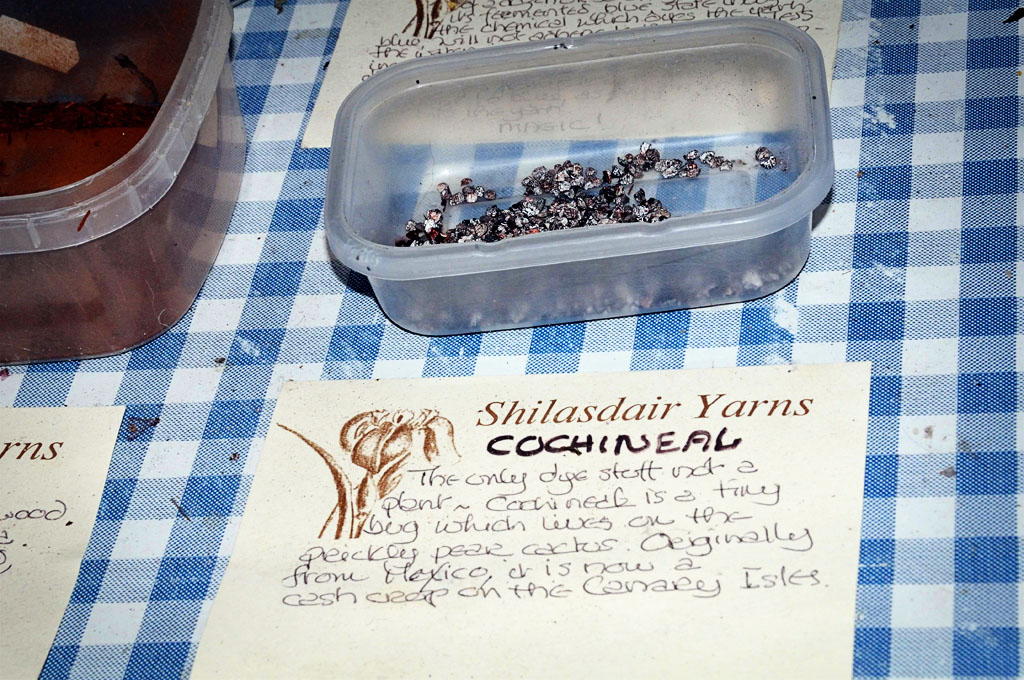
Most of my pictures from the dye room didn’t turn out very well.  It’s a pretty small room, but there are giant dye vats and places to hang the yarn to dry.  Eva said that all of their dye colors come from 3 plants and 1 insect and combinations of those 4 items.  Bowls containing the three plant samples are in the bottom left-hand corner of the above picture with the dye vats.  The insect, cochineal, is shown in the right-hand picture, above.  (As always, all pictures can be enlarged by clicking on them.)  Eva explained the process to us and it was very interesting.  I think TheManoftheHouse even had a good time.

Shilasdair1 Shilasdair1

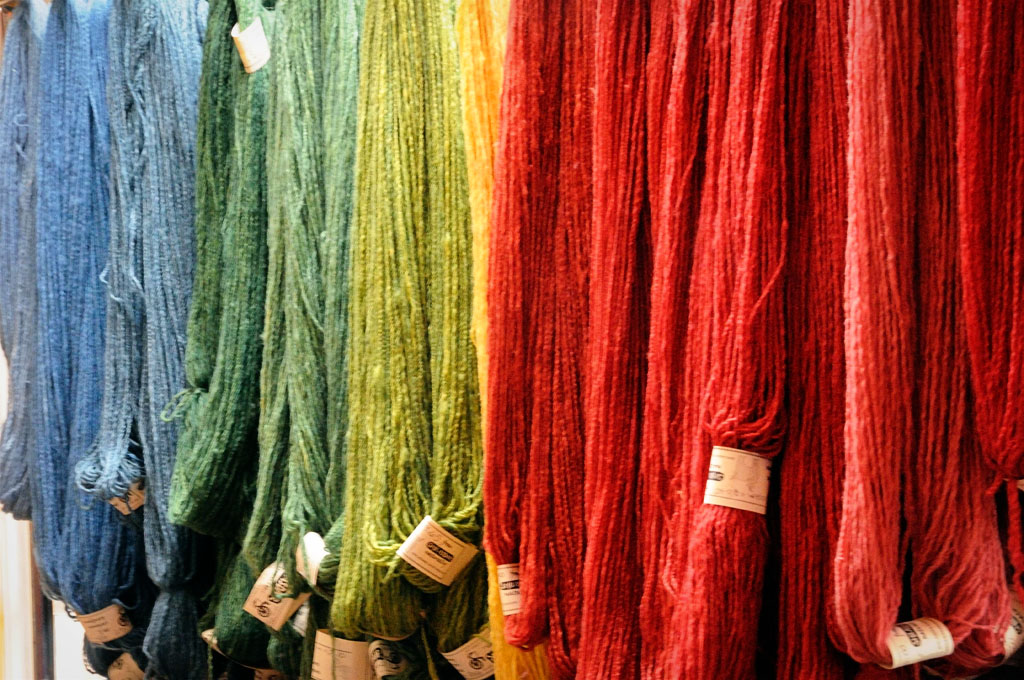
Some pictures of the pretty yarn.  I bought some blue yarn and I spent a long time debating whether to get wool or cotton.  I got cotton and after we drove away, I wanted to slap myself upside the head — who goes to Scotland to buy cotton yarn?  In my defense, I think I was overcome by visual stimulation and couldn’t think straight.  The colors were sooooo beautiful.  And to make matters worse, I’m thinking the yarn I ended up with wasn’t even dyed by Eva.  She does sell some yarns that are dyed elsewhere.  So, I struck out on two counts!  (But don’t tell TheManoftheHouse — I’m sure he was wondering why it was so hard for me to figure out what yarn I wanted.  There was a gorgeous red yarn that almost sucked me in too.)

Shilasdair

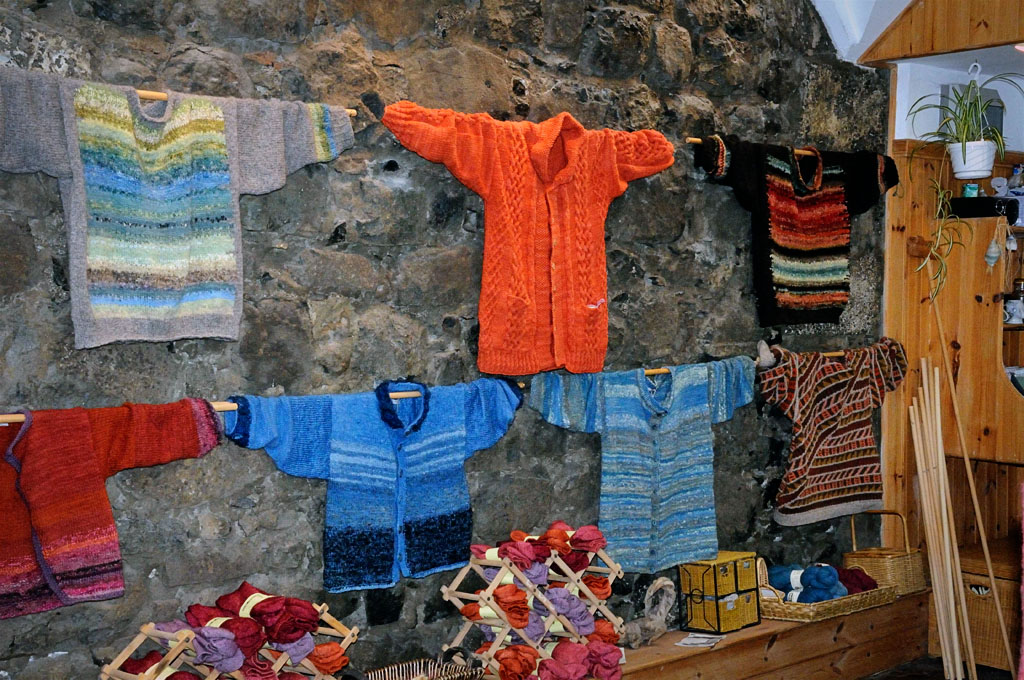
These were some sweaters for sale hanging on the wall.  Some were for sale and some were available in kits.  You could also have a sweater made in a different size than the samples shown.

Shilasdair

This is a picture of the shop while standing with my back to the front door, shown in the first picture of this post. This one room is it…the whole shop. In the middle of the wall on the right (just in front of that blue-green sweater hanging up so high) is the door that leads to the dying room.

Shilasdair

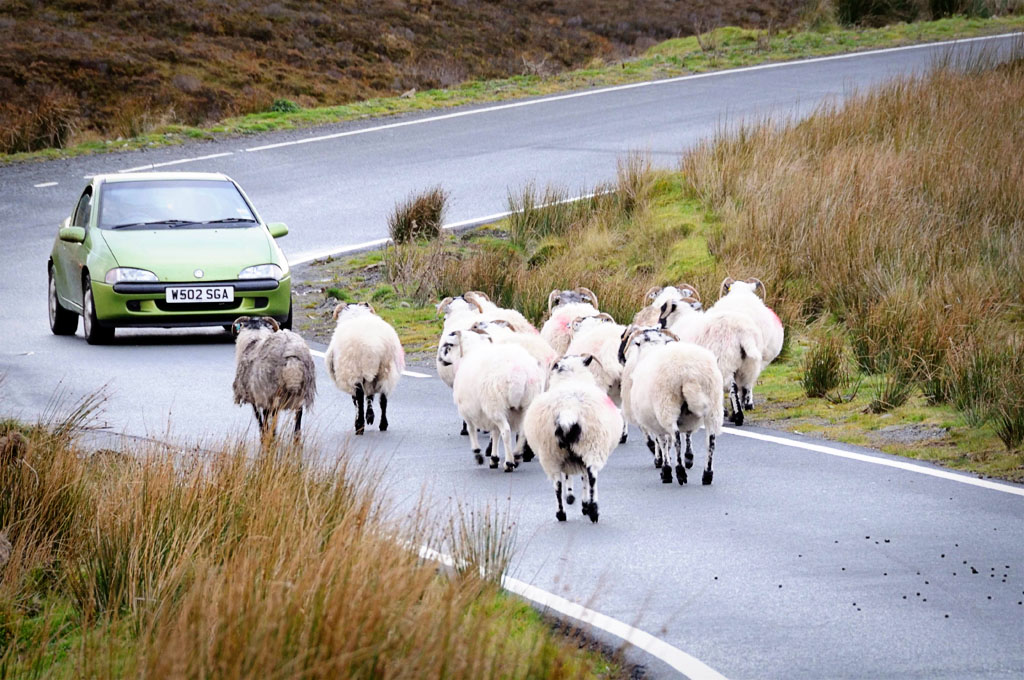
The shop may be small, but it was very inspiring and well worth the trip.  (The only way it could have been better would have been if there were quilts.  Oh, and maybe some guy in a kilt!)  And besides, the drive to get there and the scenery are spectacular.  Lots of little one lane roads and sheepies everywhere!  I hope you get to go there someday!

We’re having high winds and thunderstorms as I type, which is just creepy in February.  I hope the weather is better where you are!

XOXO,
Anna
A Few Sock Tips

Well hello there!  The weekend is getting away from me in a hurry.  I hope you’re having a good one.  My weekend has been pretty lazy.  I went over to MeMum’s this afternoon and watched a movie.  We’ve been watching Netflix movies for the last several Saturdays.  Last weekend we watched Keeping Mum and we loved it (thanks for the great recommendation Melly and Cami) — highly recommended!

In the last month or so, I’ve had a few invisible friends ask me some sock knitting questions, so I thought I’d write down a few things I’ve learned about sock knitting for those of you who are beginners.  And for those of you who harbor a secret desire to start knitting socks (yoohoo Penny…we know that means you LOL!)  I’m by no means an expert and I’m sure all sock knitters have their own way of doing things — this is what works best for me.

Mountain Socks

Socks really aren’t as complicated as you might think.  When I took a sock class, the instructor kept talking about a ratio of stitches, but I couldn’t figure out what she was talking about.  After I had a few pairs of socks under my belt, it made more sense. Try to think of a sock in halves.  The front half and the back half.  The front half is the front half of the leg and it runs down on top of the foot.  The back half is the back half of the leg and it runs down the heel and along the bottom of the foot.  Your sock stitches are evenly divided between front and back.  So, for me, I make a sock with 64 stitches — 32 stitches for the front half of the sock and 32 stitches for the back half.

Mountain Socks

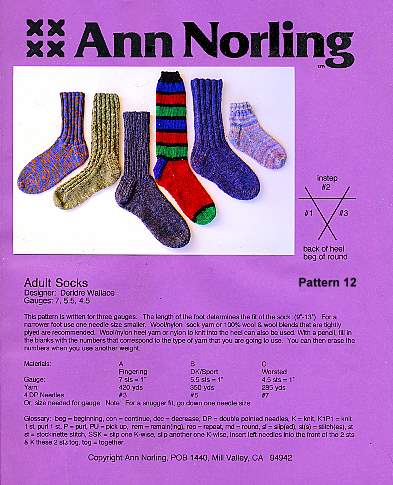
I always use the Ann Norling basic sock pattern for all of my socks.  I learned with this pattern and I know that it will always fit me.  I think finding a basic pattern that works for you is key to sock success.  Here’s a picture of the pattern I use:

Ann Norling

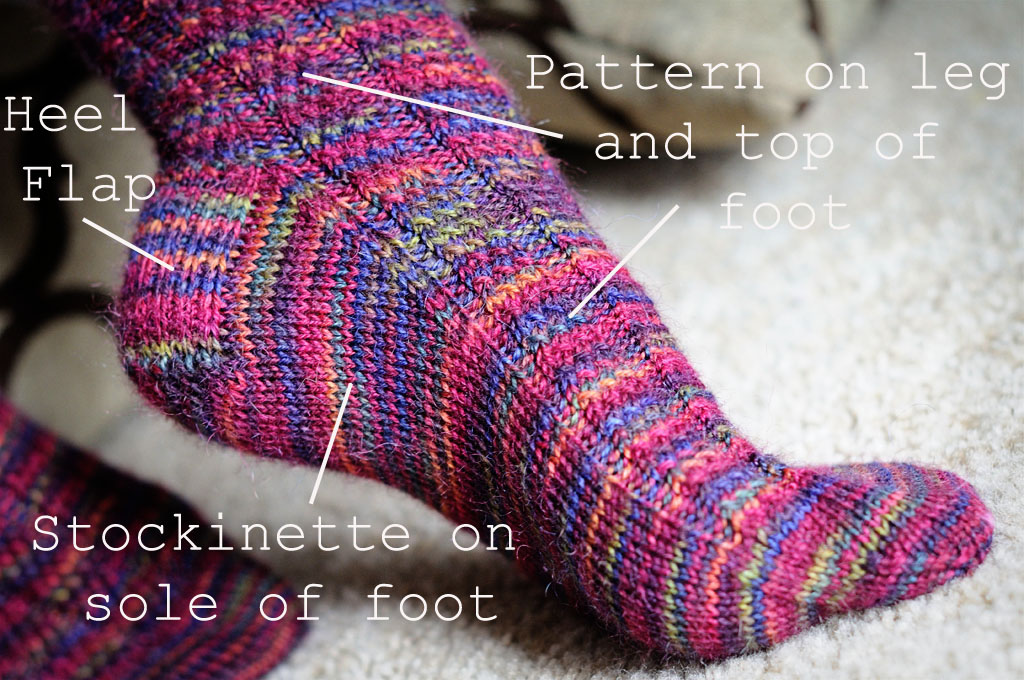
Then, from this basic sock pattern, I vary the pattern (note how the word pattern is an overloaded term here) on the leg and the top of the foot.  So, for example, if I say I made a pair of socks from the mockery pattern, I really mean that I used my basic Ann Norling sock pattern, but for the cuff and top of the foot, I used the decorative stitches from the mockery pattern (that means that if you click on the mockery pattern, you’ll see that the only instructions I actually used were rounds 1 – 10 of the leg section.)  I always knit approximately a 1-inch ribbing at the top of the cuff, plain stockinette on the bottom of the foot and either plain stockinette or the eye of partridge stitch on the heel flap.

Mountain Socks

When I get to the instructions for the heel flap on my Ann Norling pattern, I substitute eye of partridge instructions.  There are lots of eye of partridge variations out there — here is my favorite:

Row 1: sl1, (k1, sl1) to last stitch, k1
Row 2 & 4: sl1, purl across all stitches.
Row 3: sl1, (sl1, k1) to last stitch, k1.
Repeat Rows 1 – 4 for the length required for your heel flap.

And, back to that ratio thing mentioned above, the number of rows in the heel flap should equal 1/2 the total number of stitches.  So, in my 64-stitch example, my heel flap will be 32 rows of stitches.

Mountain Socks

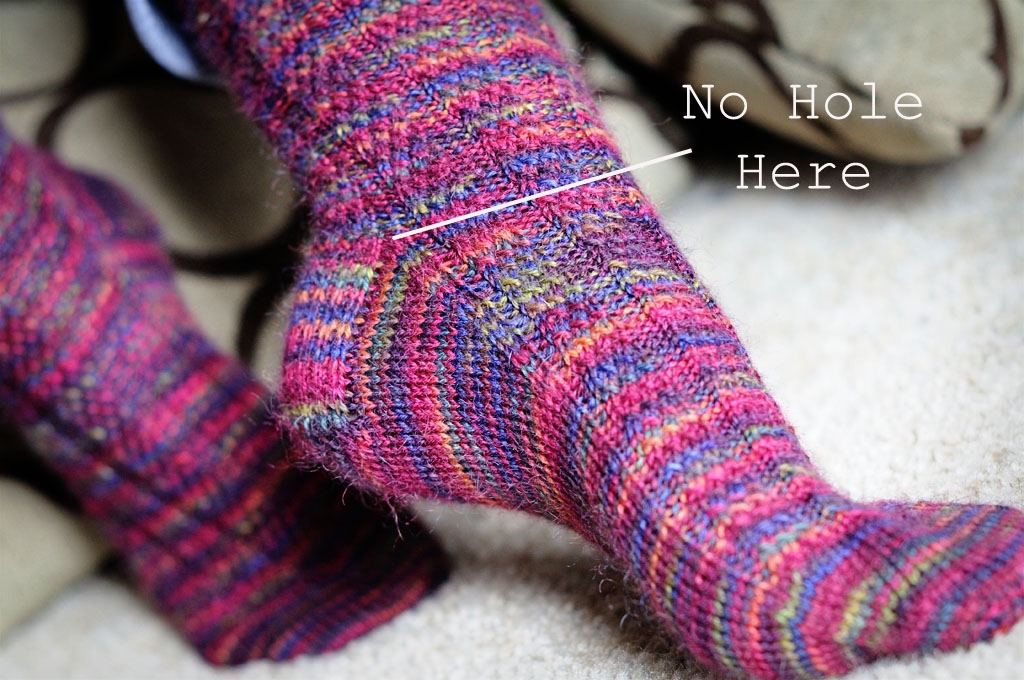
The first time I made socks, I had a hole in the valley of the “V” of the sock’s gusset.  I ripped it out and signed up for a sock class.  The teacher recommended that if we got a little hole, we should wait until the sock was finished, then turn the sock inside out and run a piece of yarn around the edge of the hole and pull it tight until the hole closed.  I really didn’t like that suggestion, so I started picking up an extra stitch in that little valley.  It’s incredibly difficult to explain, but luckily for us, Jean has a great little video to show you what we do to prevent that little hole from forming.  It’s a great tip and it works every time.

Mountain Socks

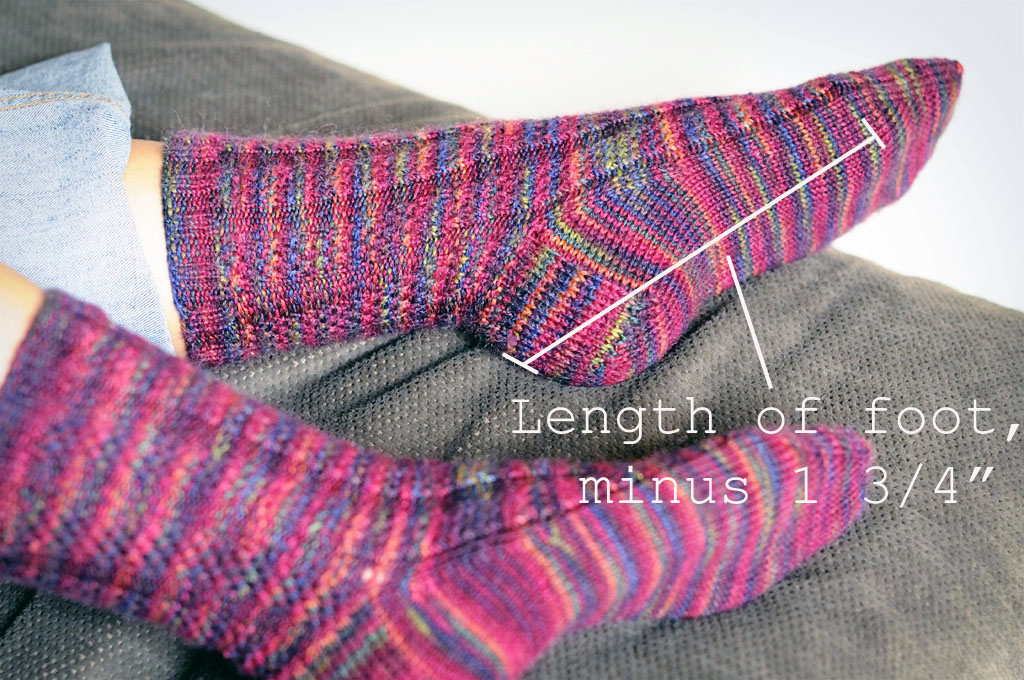
To determine how long to make the foot of your sock, measure the length of your foot, from heel to toe.  Then subtract 1 3/4 inches from that measurement and when you reach that length, as you’re knitting the foot, you can begin your toe shaping.  So, for example, if your foot measures 9 inches, knit the foot until it measures 7 1/4 inches and then begin your toe shaping.

Mountain Socks

Finally, at the end of the toe shaping, the sock is finished off with the kitchener stitch.  For some reason, many people have trouble with the kitchener stitch.  As long as I have the following instructions in front of me, I can always keep it straight (note: kitchener stitch is done with your yarn threaded through a darning needle and you work the darning needle among the stitches as if you were knitting or purling):

Set-up: (do 1 time):  FN (front needle) – Purl, leave on needle, BN (back needle) – Knit, leave on needle.

Repeat across toe:
FN-Knit, slip off needle, Purl, leave on needle.
BN-Purl, slip off needle, Knit, leave on needle.

When there are 2 stitches left (one on each needle) just pull them off the needles and weave the end of the yarn through the stitches on the inside of the sock.

Some of my little tips might not make sense if you’ve never made a sock before, but hopefully if you try a sock, they’ll become clear. If you have any questions, feel free to ask!   I love to knit socks — they’re the perfect portable project. If you have any interest in knitting at all, I hope you’ll try them!

XOXO,
Anna

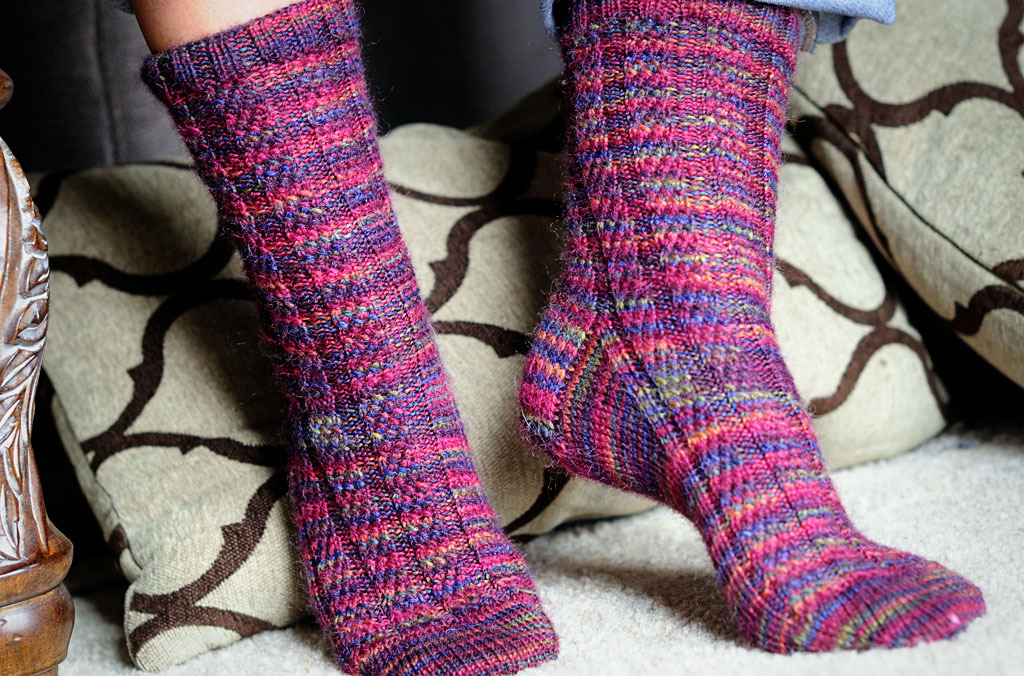
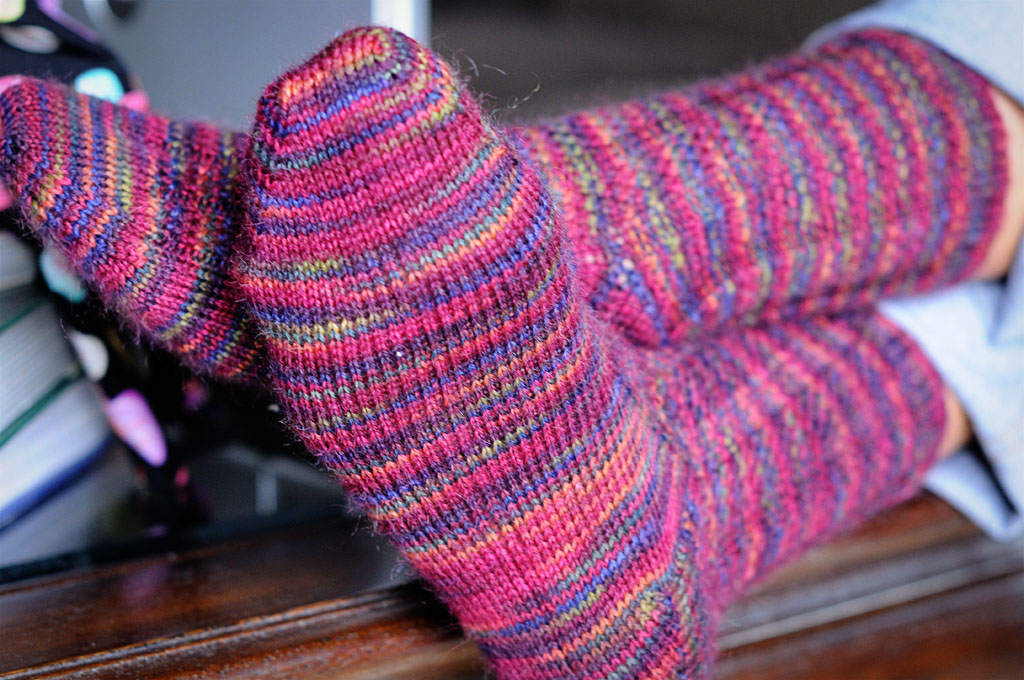
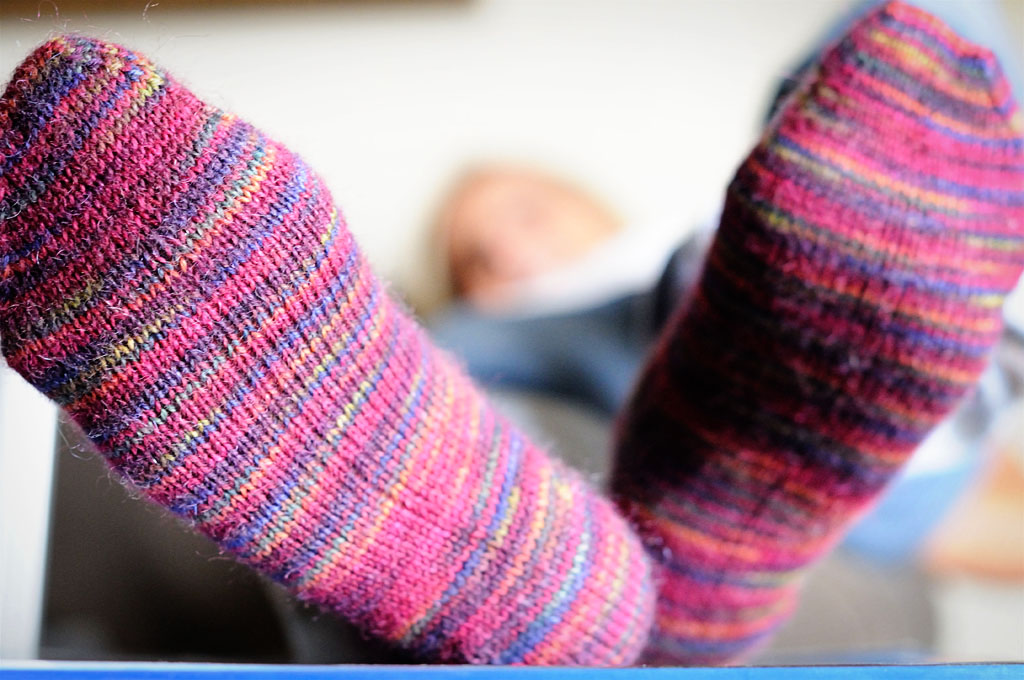
P.S. These socks are the Fascine Braid Sock pattern from Mountain Colors. The yarn is Mountain Colors in Wild Raspberry.  And special thanks to my SweetiePie model!

You Say Potato…

Well, how’s it going out there?  Are you all still on a Valentine’s luuuuv high?

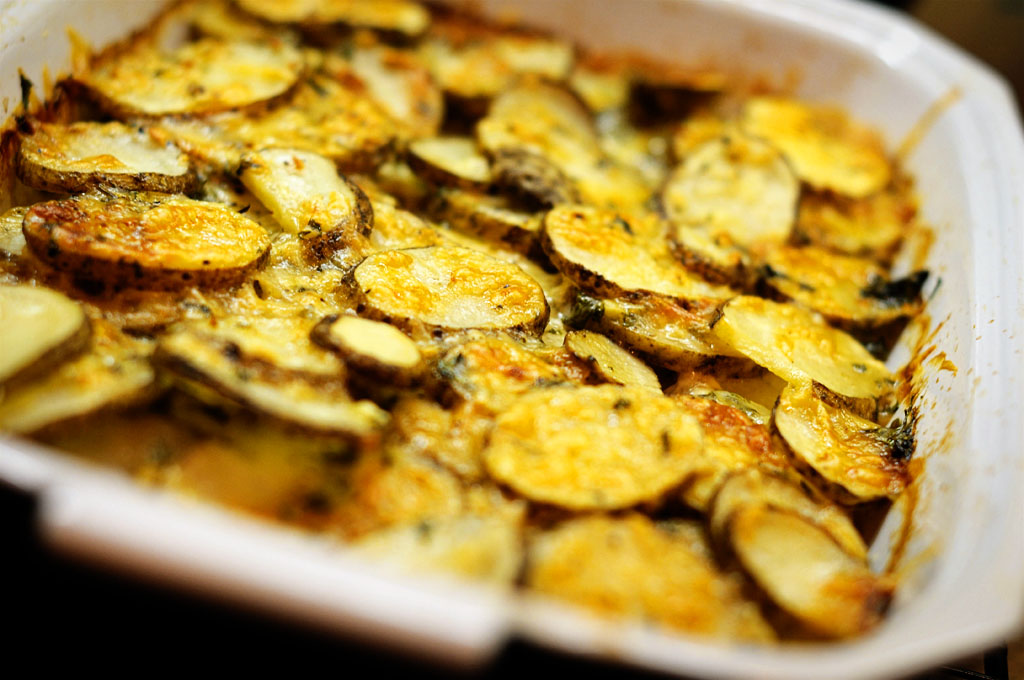
Not much going on around here.  We’re having a quiet week.  Our little Valentine dinner on Saturday night was Wunderbar (if I do say so myself!) so I thought I’d post the potato recipe that I made.  We love these potatoes, but they’re expensive to make, so it doesn’t happen very often.  And the expense is compounded because I always make them with the Steak Au Poivre* recipe, because the sauce made for the steak is awesome and even though these potatoes are plenty moist, they’re even better when they’re dragged through the steak sauce.

Potatoes Savoyarde

Potatoes Savoyarde

1 tablespoon butter, melted
3 tablespoons butter, cut into small pieces
3 cloves garlic, minced
2 T. finely chopped parsley
1/2 lb. (or a little more — the more the better!) Gruyere cheese, shredded (Gruyere is very expensive and you could probably use other cheeses, but I think Gruyere cheese is why we love this dish so much.)
1/2 teaspoon pepper
4 – 6 russet potatoes, unpeeled and cut into 1/4 inch thick slices
1 1/2 cups chicken stock (this is a very generous amount — I think you could get by with a little less.)

Preheat oven to 375 degrees**.  Brush the bottom and sides of the baking dish with melted butter.  In a small bowl, stir together the garlic, parsley, cheese, and 1/4 teaspoon pepper.

Layer 1/3 of the potatoes in the prepared baking dish, sprinkle 1/3 of the cheese mixture over the potatoes, and dot with 1 tablespoon of the butter.  Repeat once more.  Then, layer the last 1/3 of the potatoes.  Pour the chicken stock over the potatoes, sprinkle the last 1/3 of the cheese mixture and dot with the remaining tablespoon of butter.  Cover with buttered aluminum foil and bake for 30 minutes.

Remove the foil and continue baking, uncovered, for 30 – 40 more minutes or until the top is crusty and browned and the potatoes are tender when pierced with a fork.  Serve immediately.

On a totally unrelated subject, look who’s back!

Paul

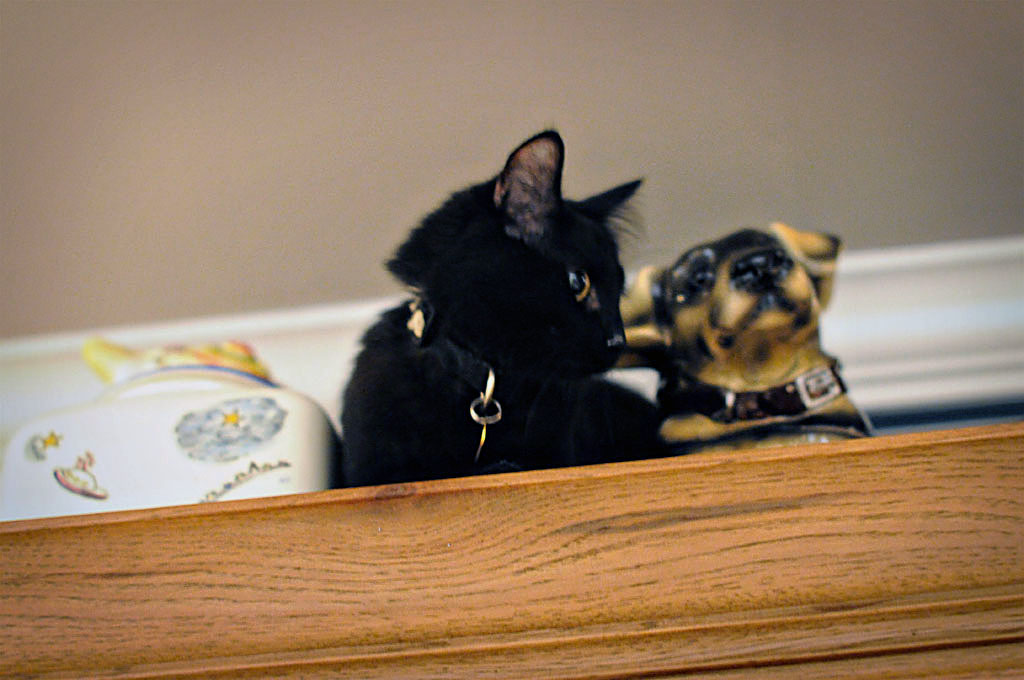
It’s Paul (TheSecondChild’s 8 month old kitty), who’s here for several weeks, since TheSecondChild will soon be going on spring break.  And, as you can see, Paul is displaying some very poor guest manners.  In case you can’t tell, that’s the ceiling behind Paul, and he’s on top of my kitchen cupboards.  Our ceilings are 9 ft. high, so that’s quite a feat for and adventurous kitty, and he had to have help getting down.  When I expressed my dismay over Paul’s lack of manners to TheSecondChild, he responded, “Well, he thinks he’s a cookie jar.”  I think he was just letting that dog know who’s boss.

Tomorrow is a travel day for me and I’m already behind on your posts.  I hope you’re having a good week!

XOXO,
Anna
* The Steak Au Poivre recipe that I like calls for beef demi-glace which is painfully expensive.  It says it will keep for 6 months which, considering how infrequently it’s used, isn’t nearly long enough.  I keep my jar in the freezer.  It’s been in there forever and it’s still working just fine.  If you don’t want to spend that much money, Ina Garten has a Steak Au Poivre recipe without the demi-glace, which she claims is just as good.
** So, what do you do if you don’t measure your oven temp the way we do in the states?  You go HERE, to a fun and very helpful British cookbook primer for some conversion tables!